A Loop Scarf for My Dog?
Since (mostly short-haired) dogs can sometimes suffer from sore throats during the transitional seasons, the demand for the loop scarf came up.
When I sewed a loop scarf for Che last year alongside my first star pillow, Martina just laughed at me.
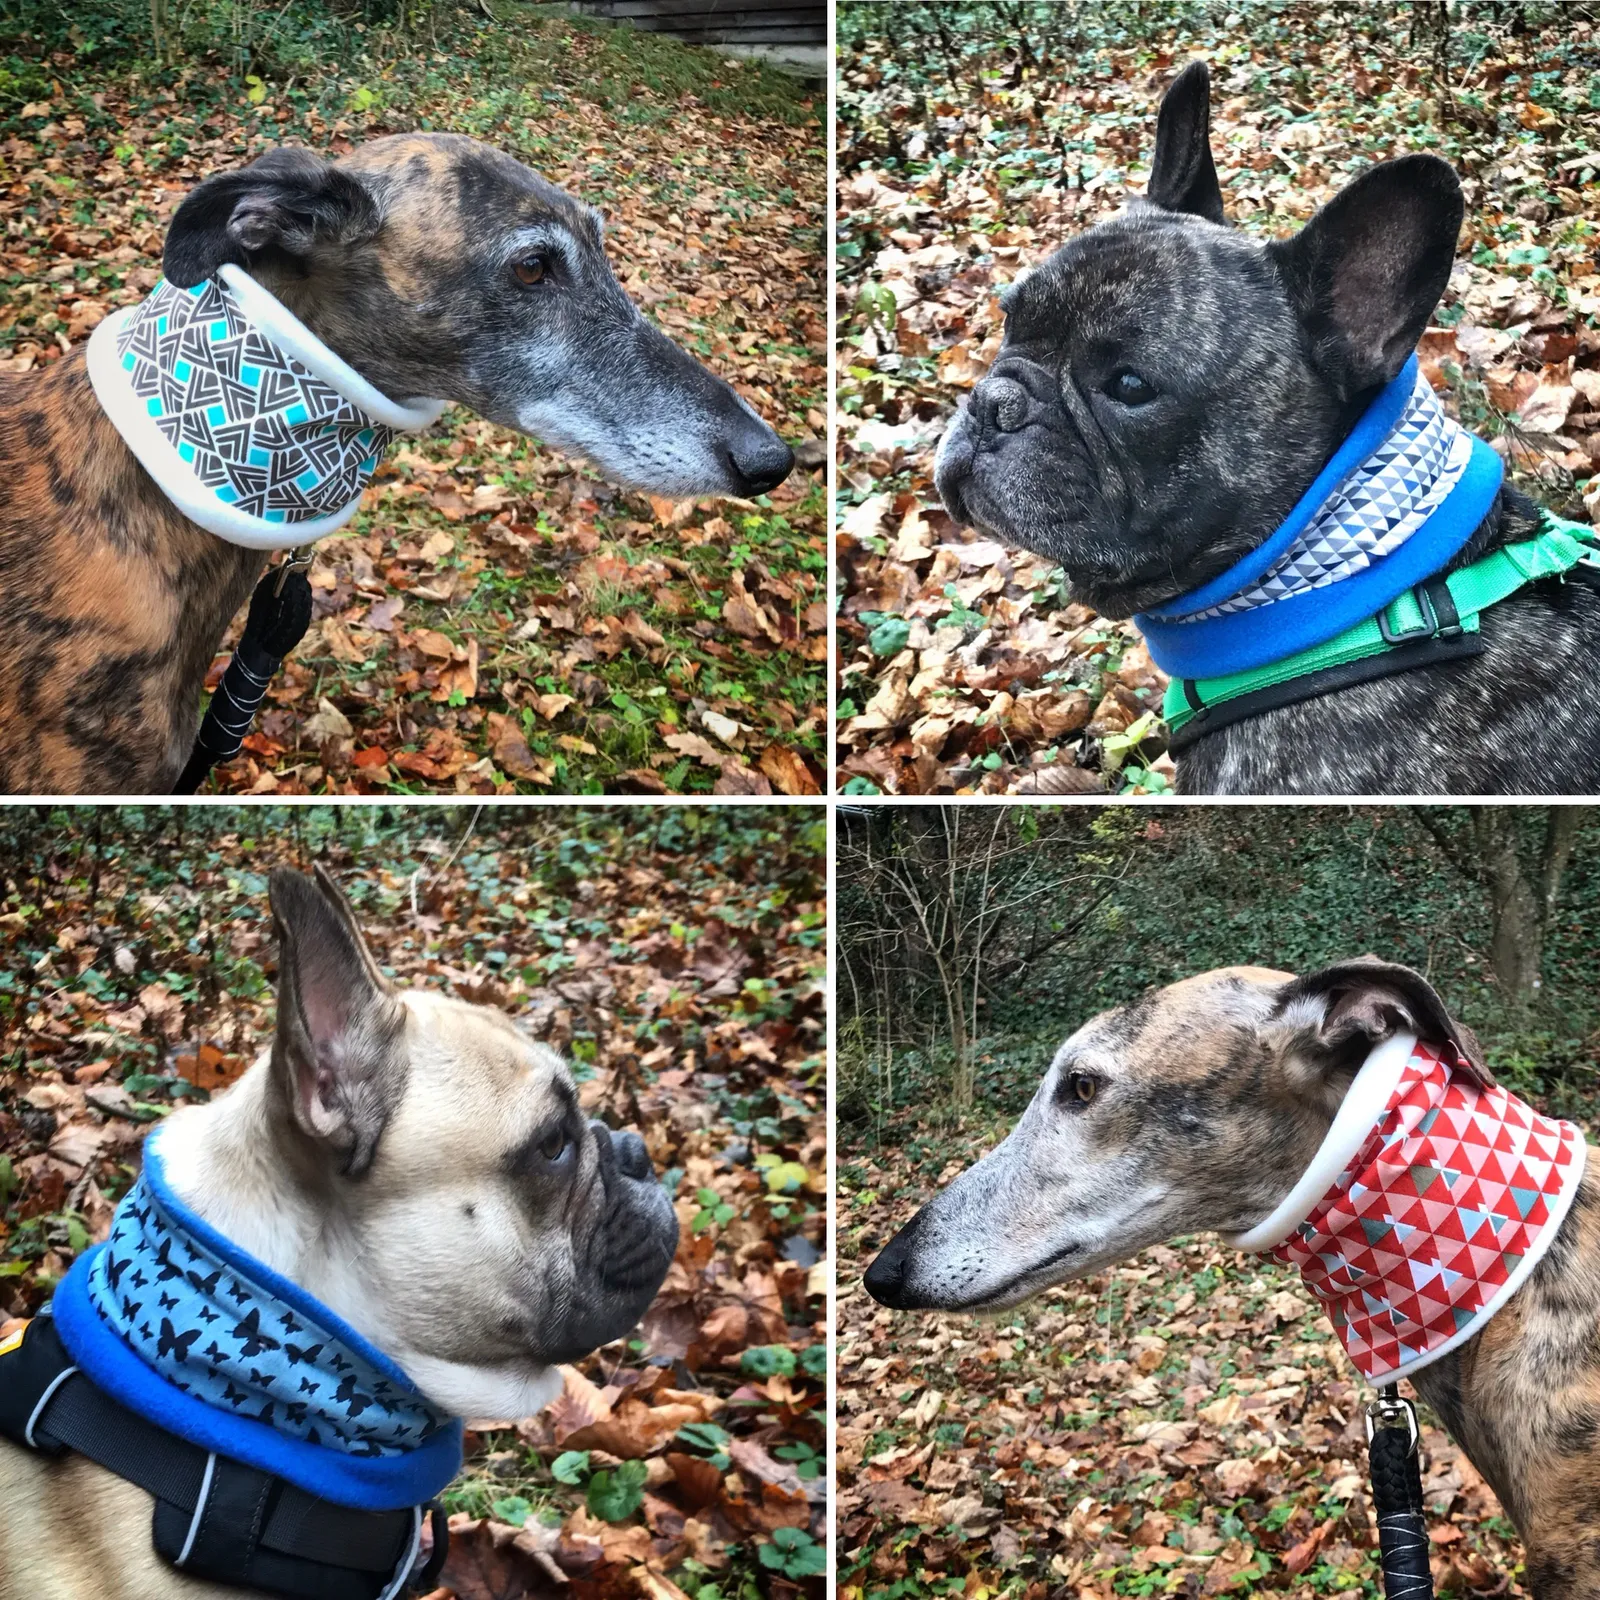
I have to admit: I simply found it quite lovely to style the Frenchie a little. When Tiago and Atlas briefly had a throat infection this past autumn, Martina came to me and asked for two neck warmers for the two Spaniards.
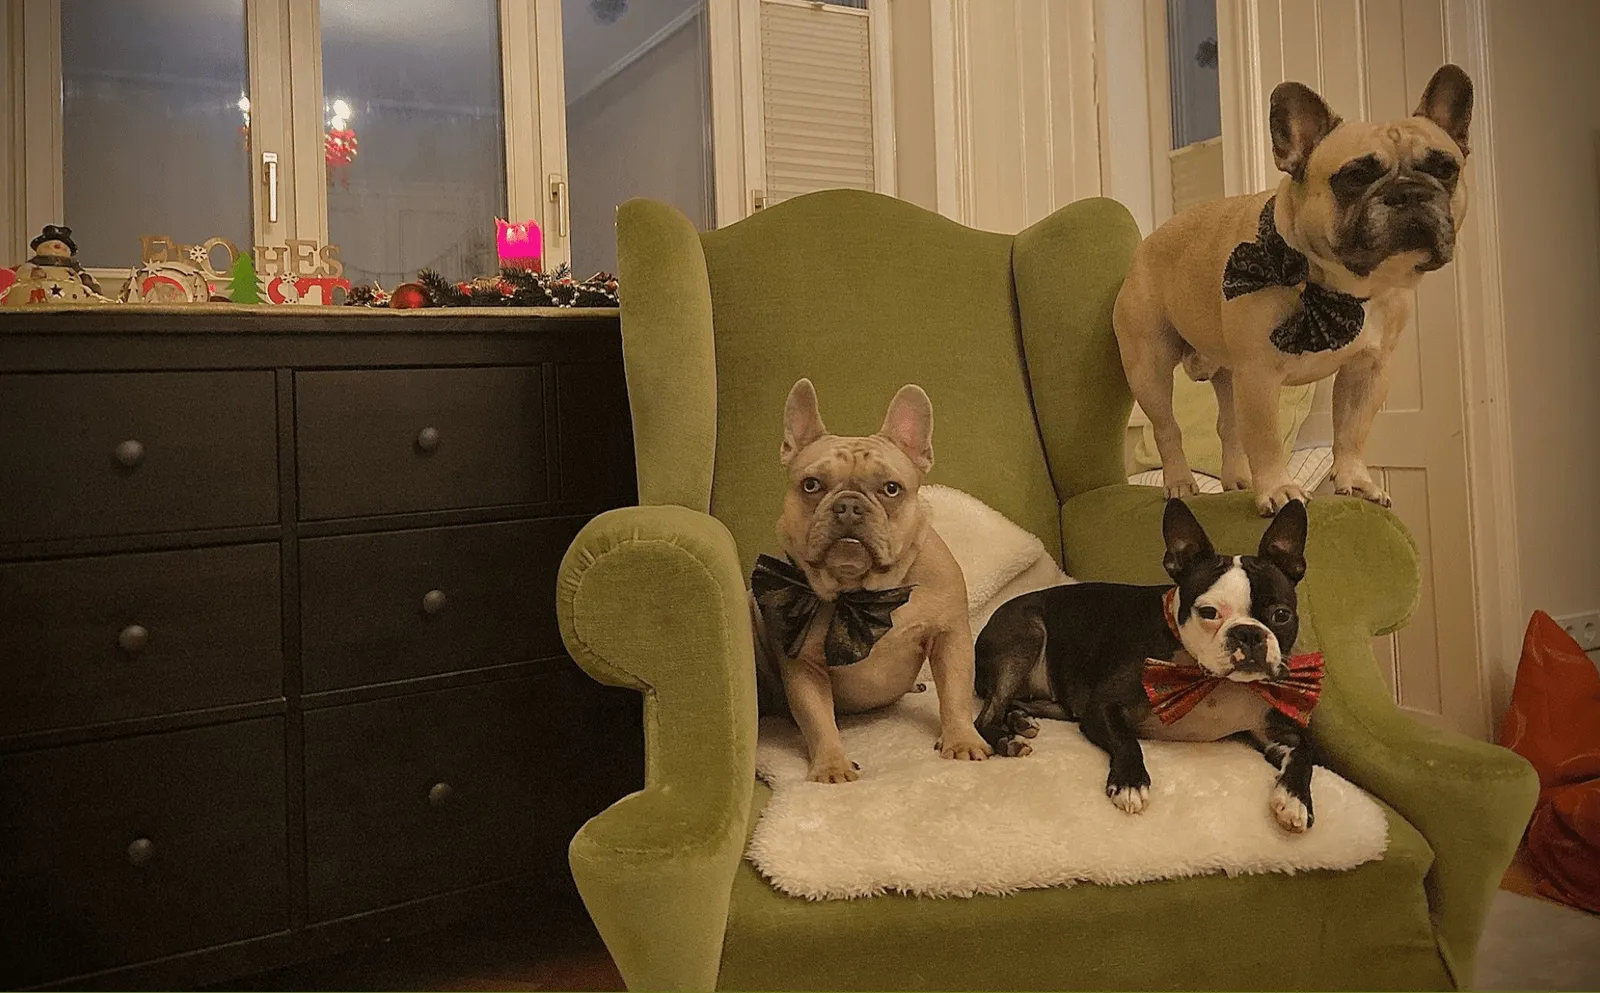
So this past autumn I sewed quite a few loop scarves for the "Greyhound girls" and "Frenchies" — but our dear Donna (the in-laws' Continental Bulldog) doesn't have one yet and has put in a Christmas wish request…
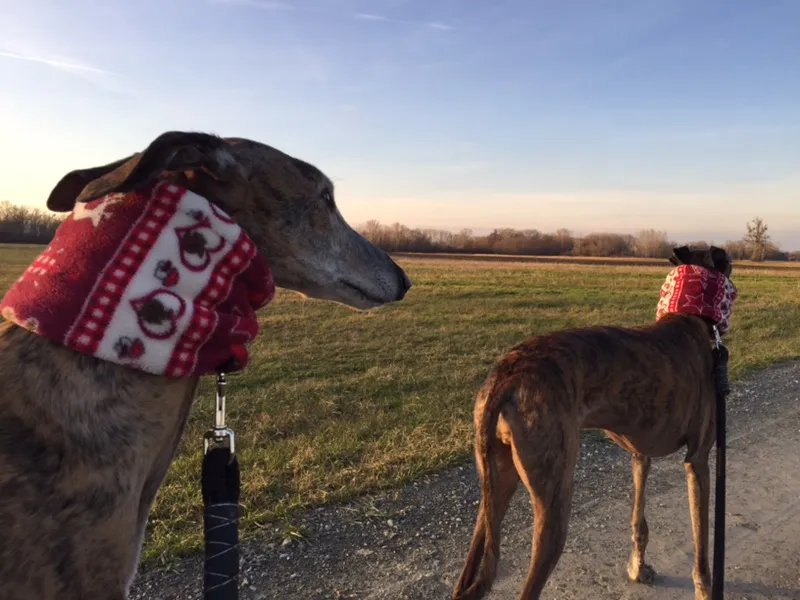
So if you're still looking for a gift for your dog, how about a loop scarf?
DIY - How Do I Sew a Loop Scarf?
What Do You Need?
- Sewing needle
- Sewing machine
- Thread
- Pins or clips
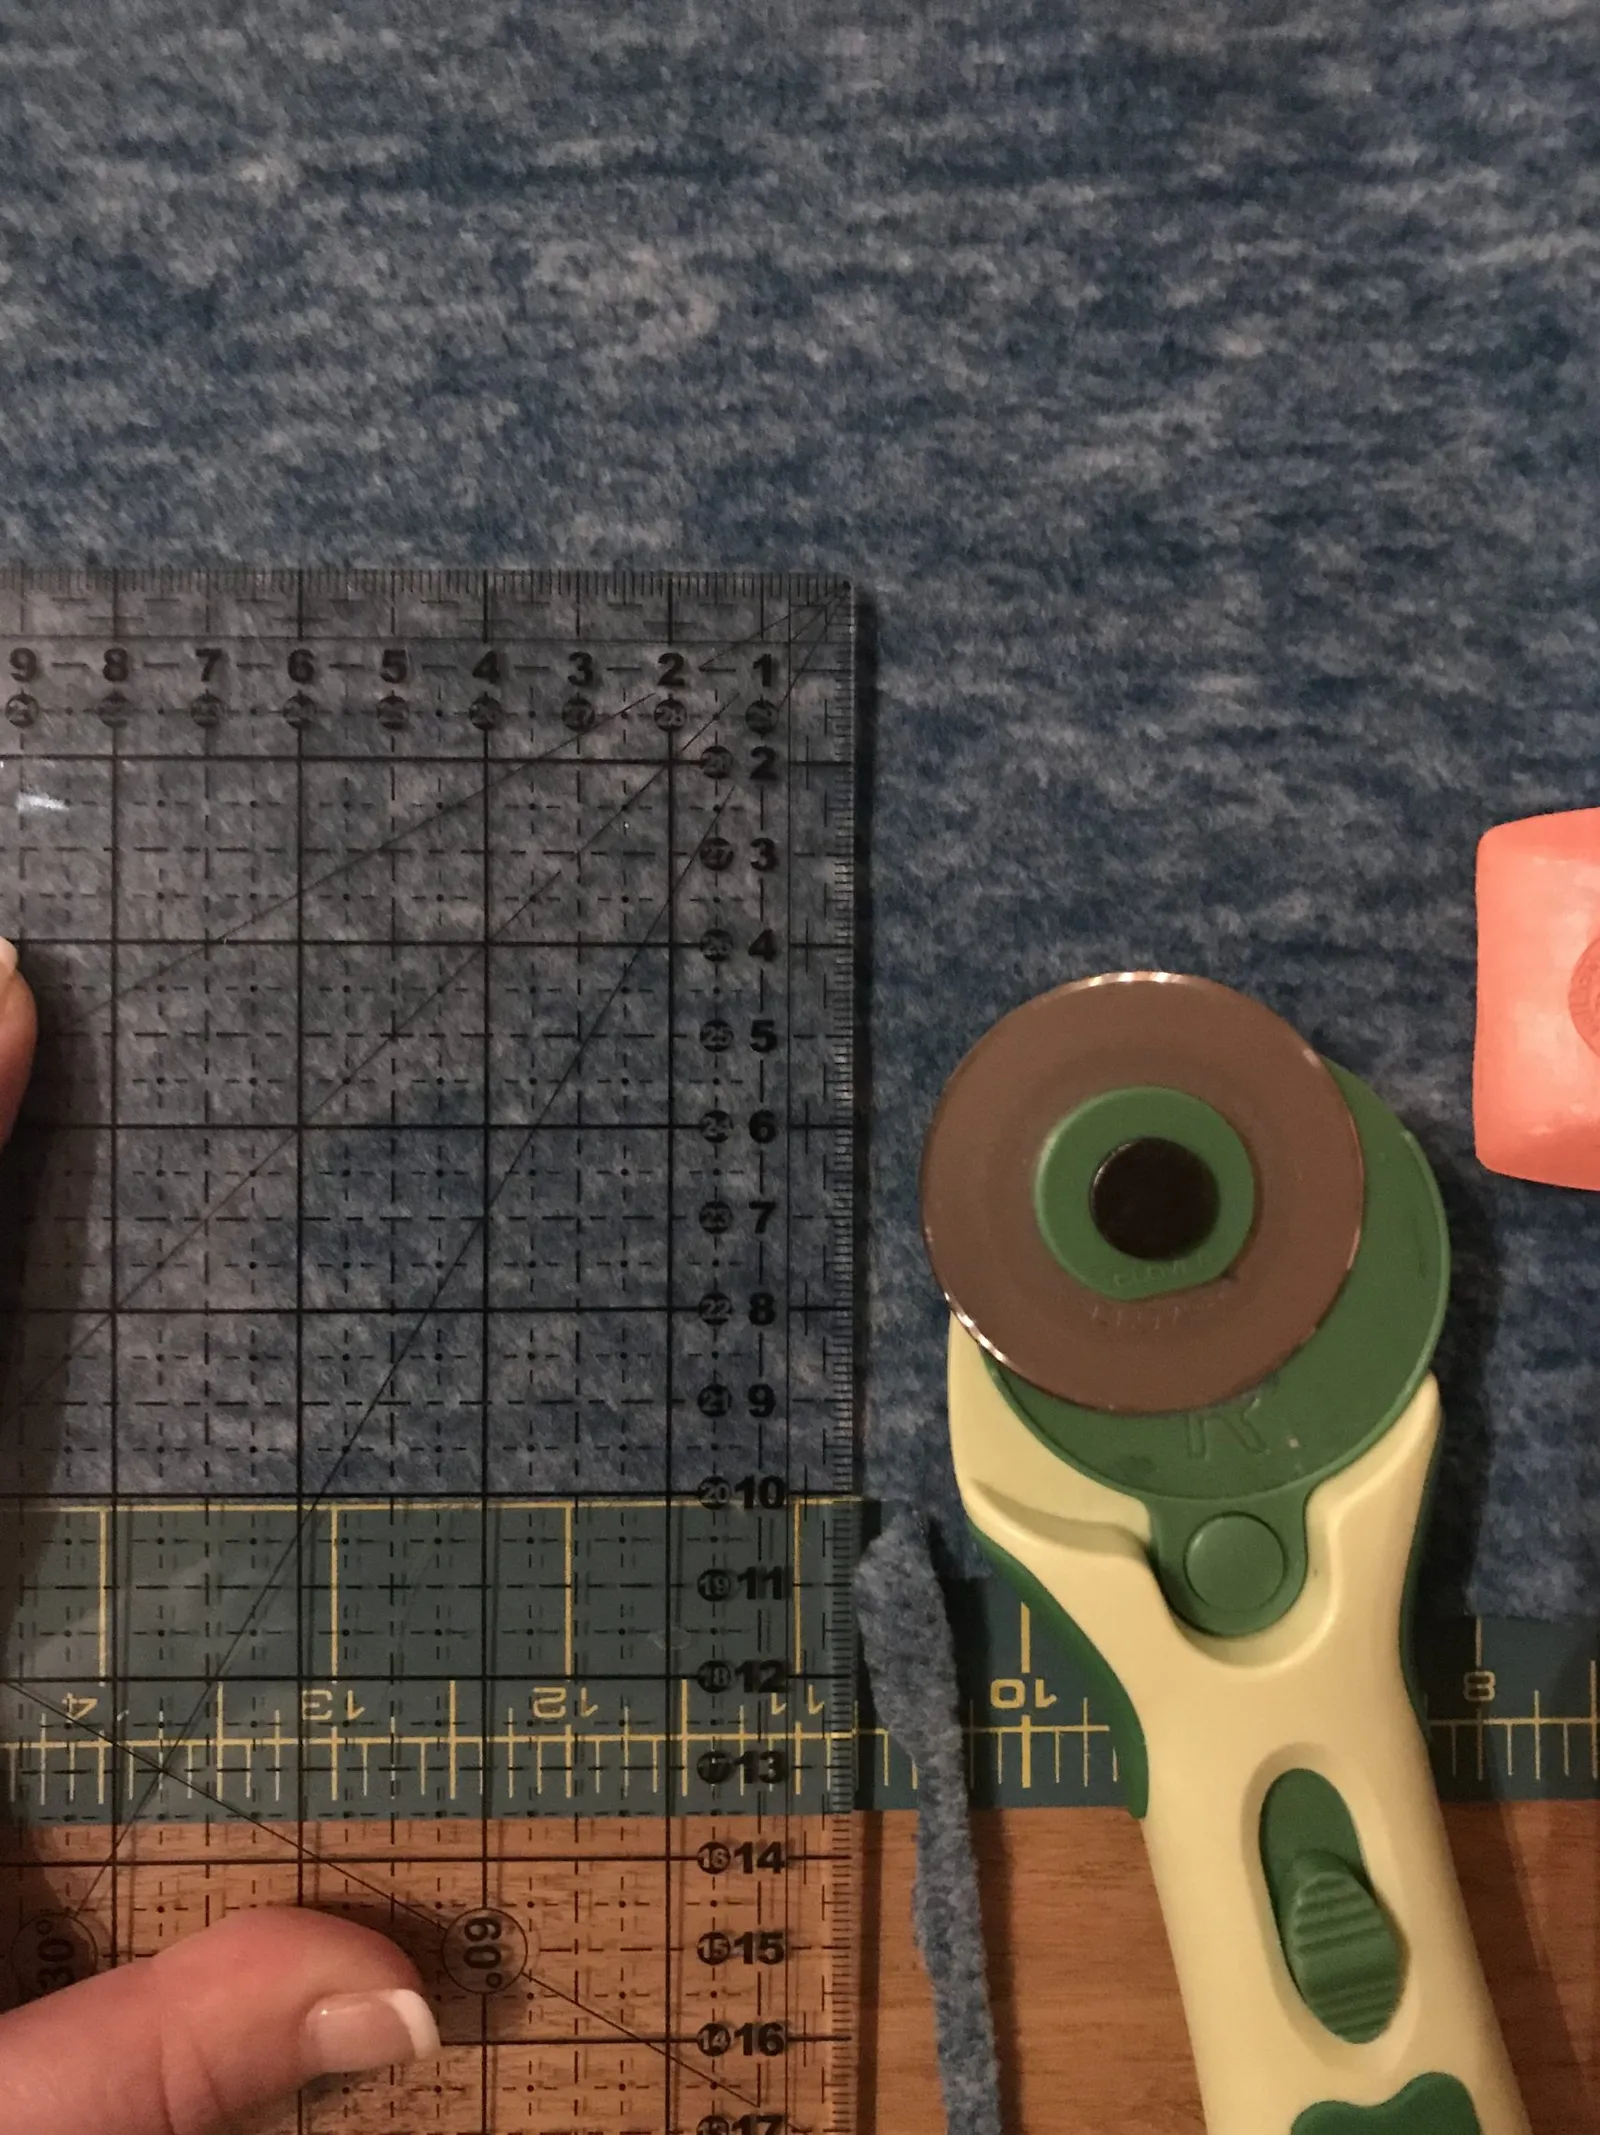
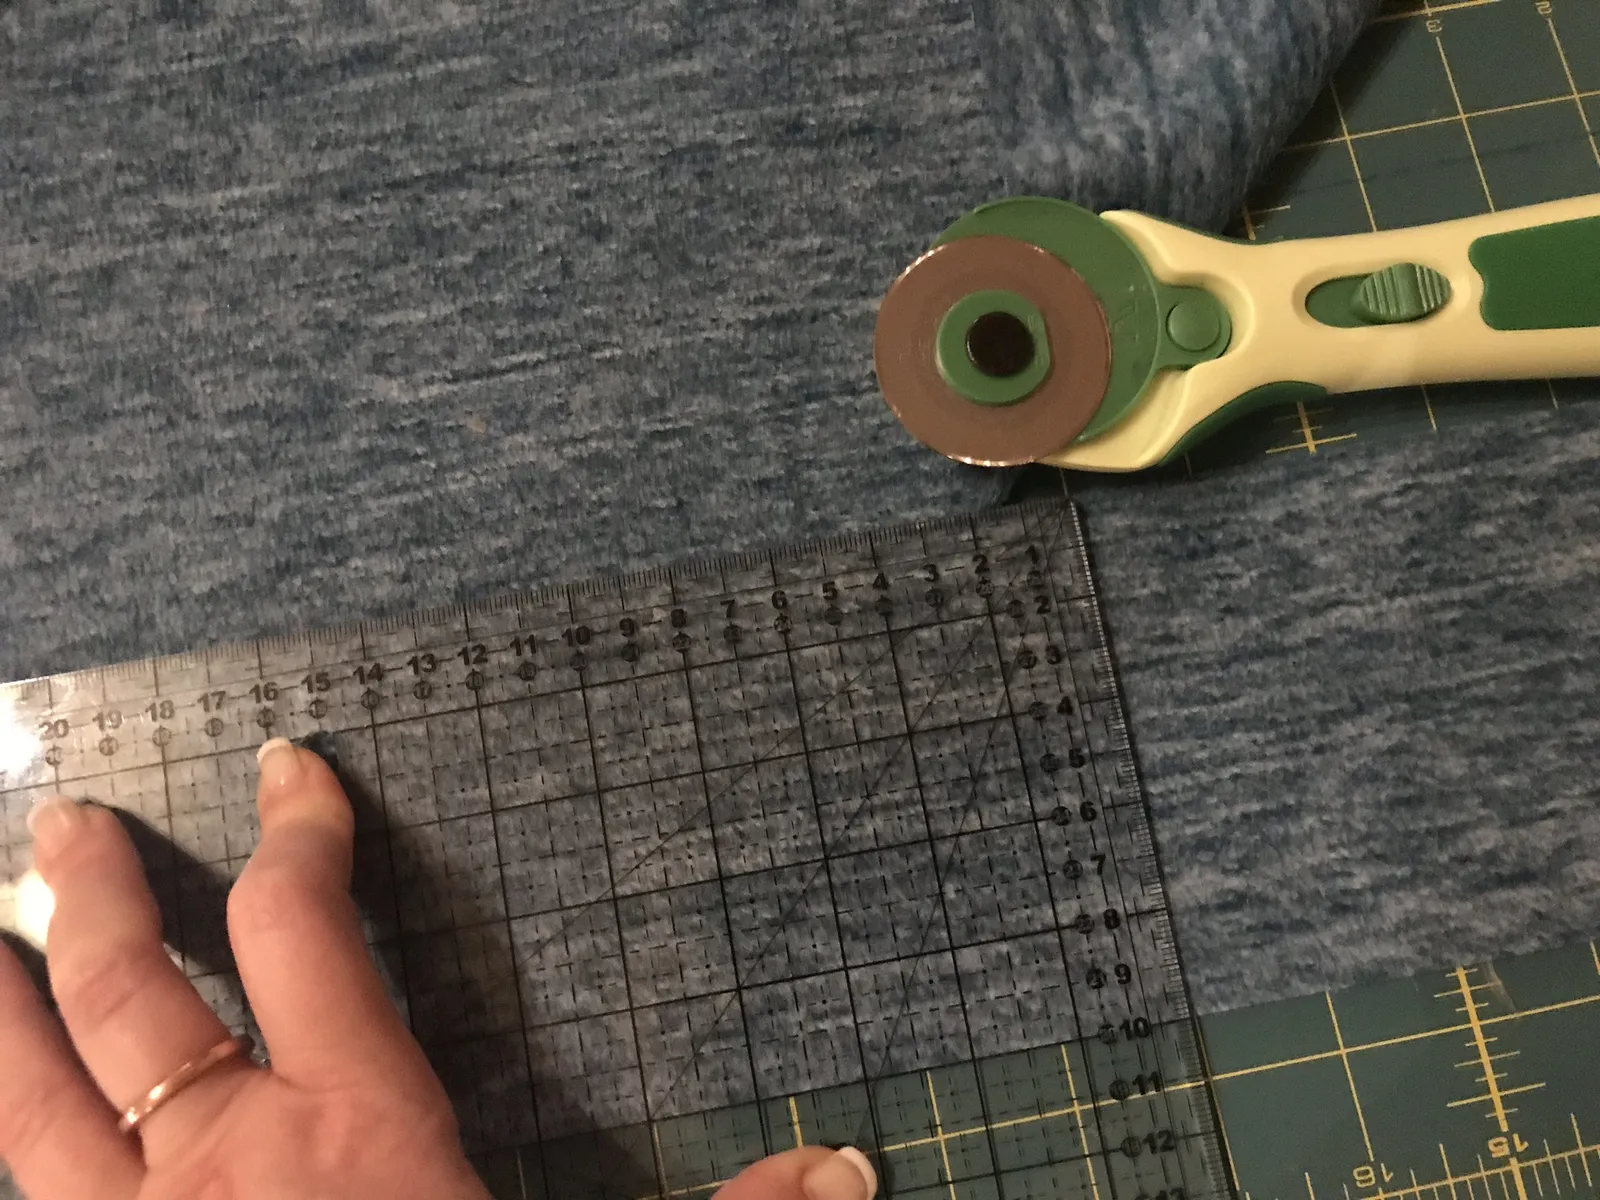
- Scissors or rotary cutter
- Set square or ruler (the latter, but with a good eye)
- Fabric
- Measuring tape
- the dog in question
Fabric Selection
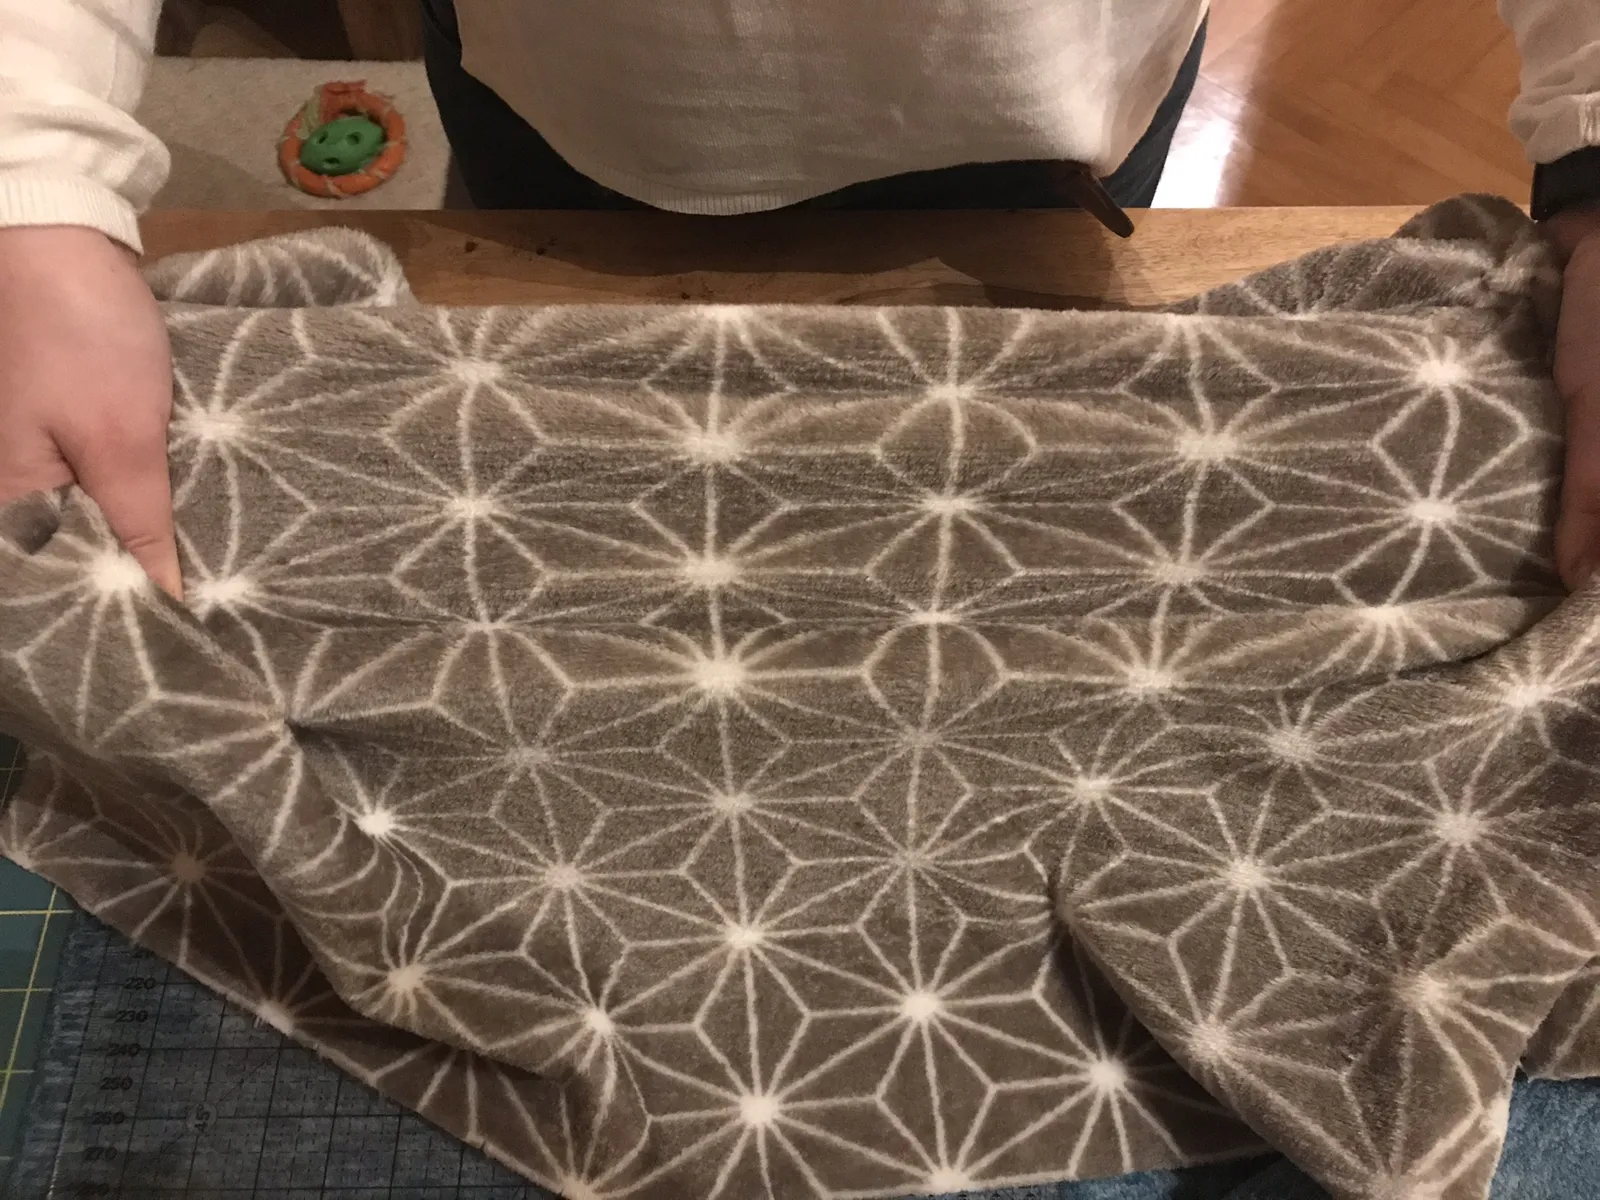
You can sew either a pure fluffy scarf from fleece or another cosy fabric, or a lighter loop scarf. For the lighter version I'd recommend jersey fabric, so it has a little give when you pull it over your dog's head. Of course, you can also combine materials.
How Do You Start?
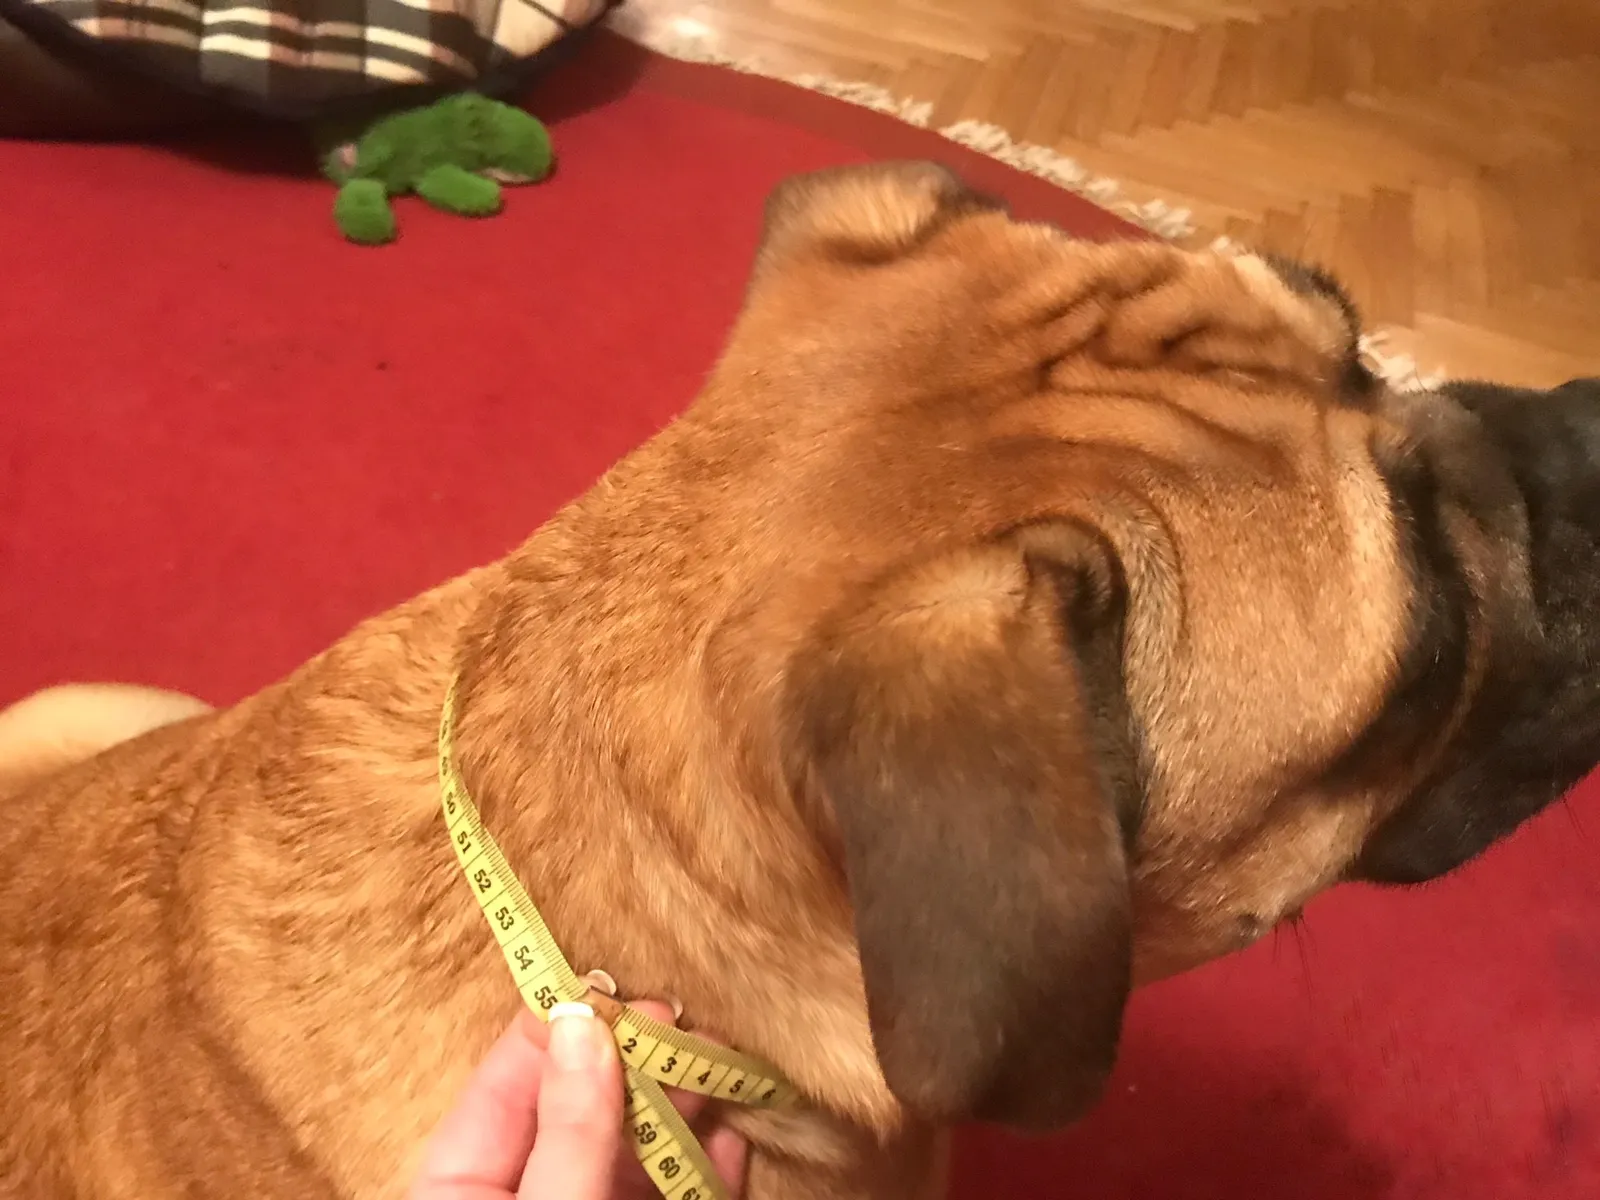
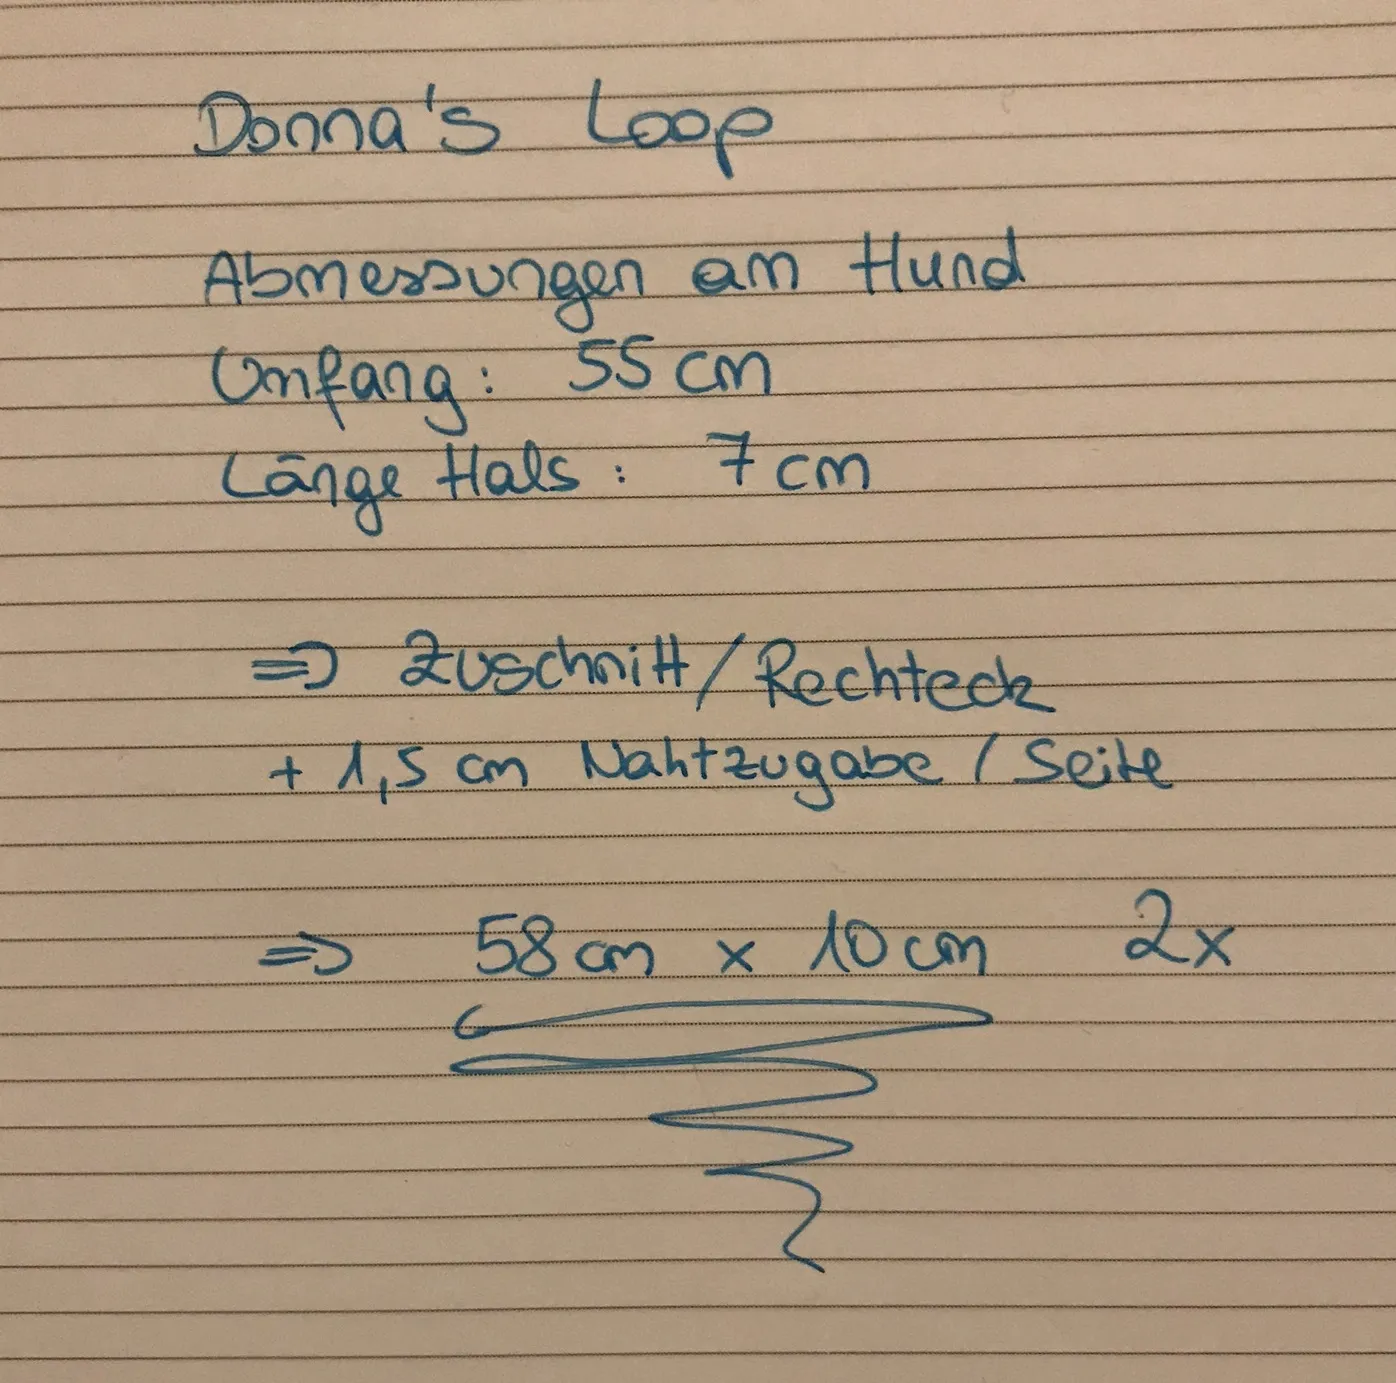
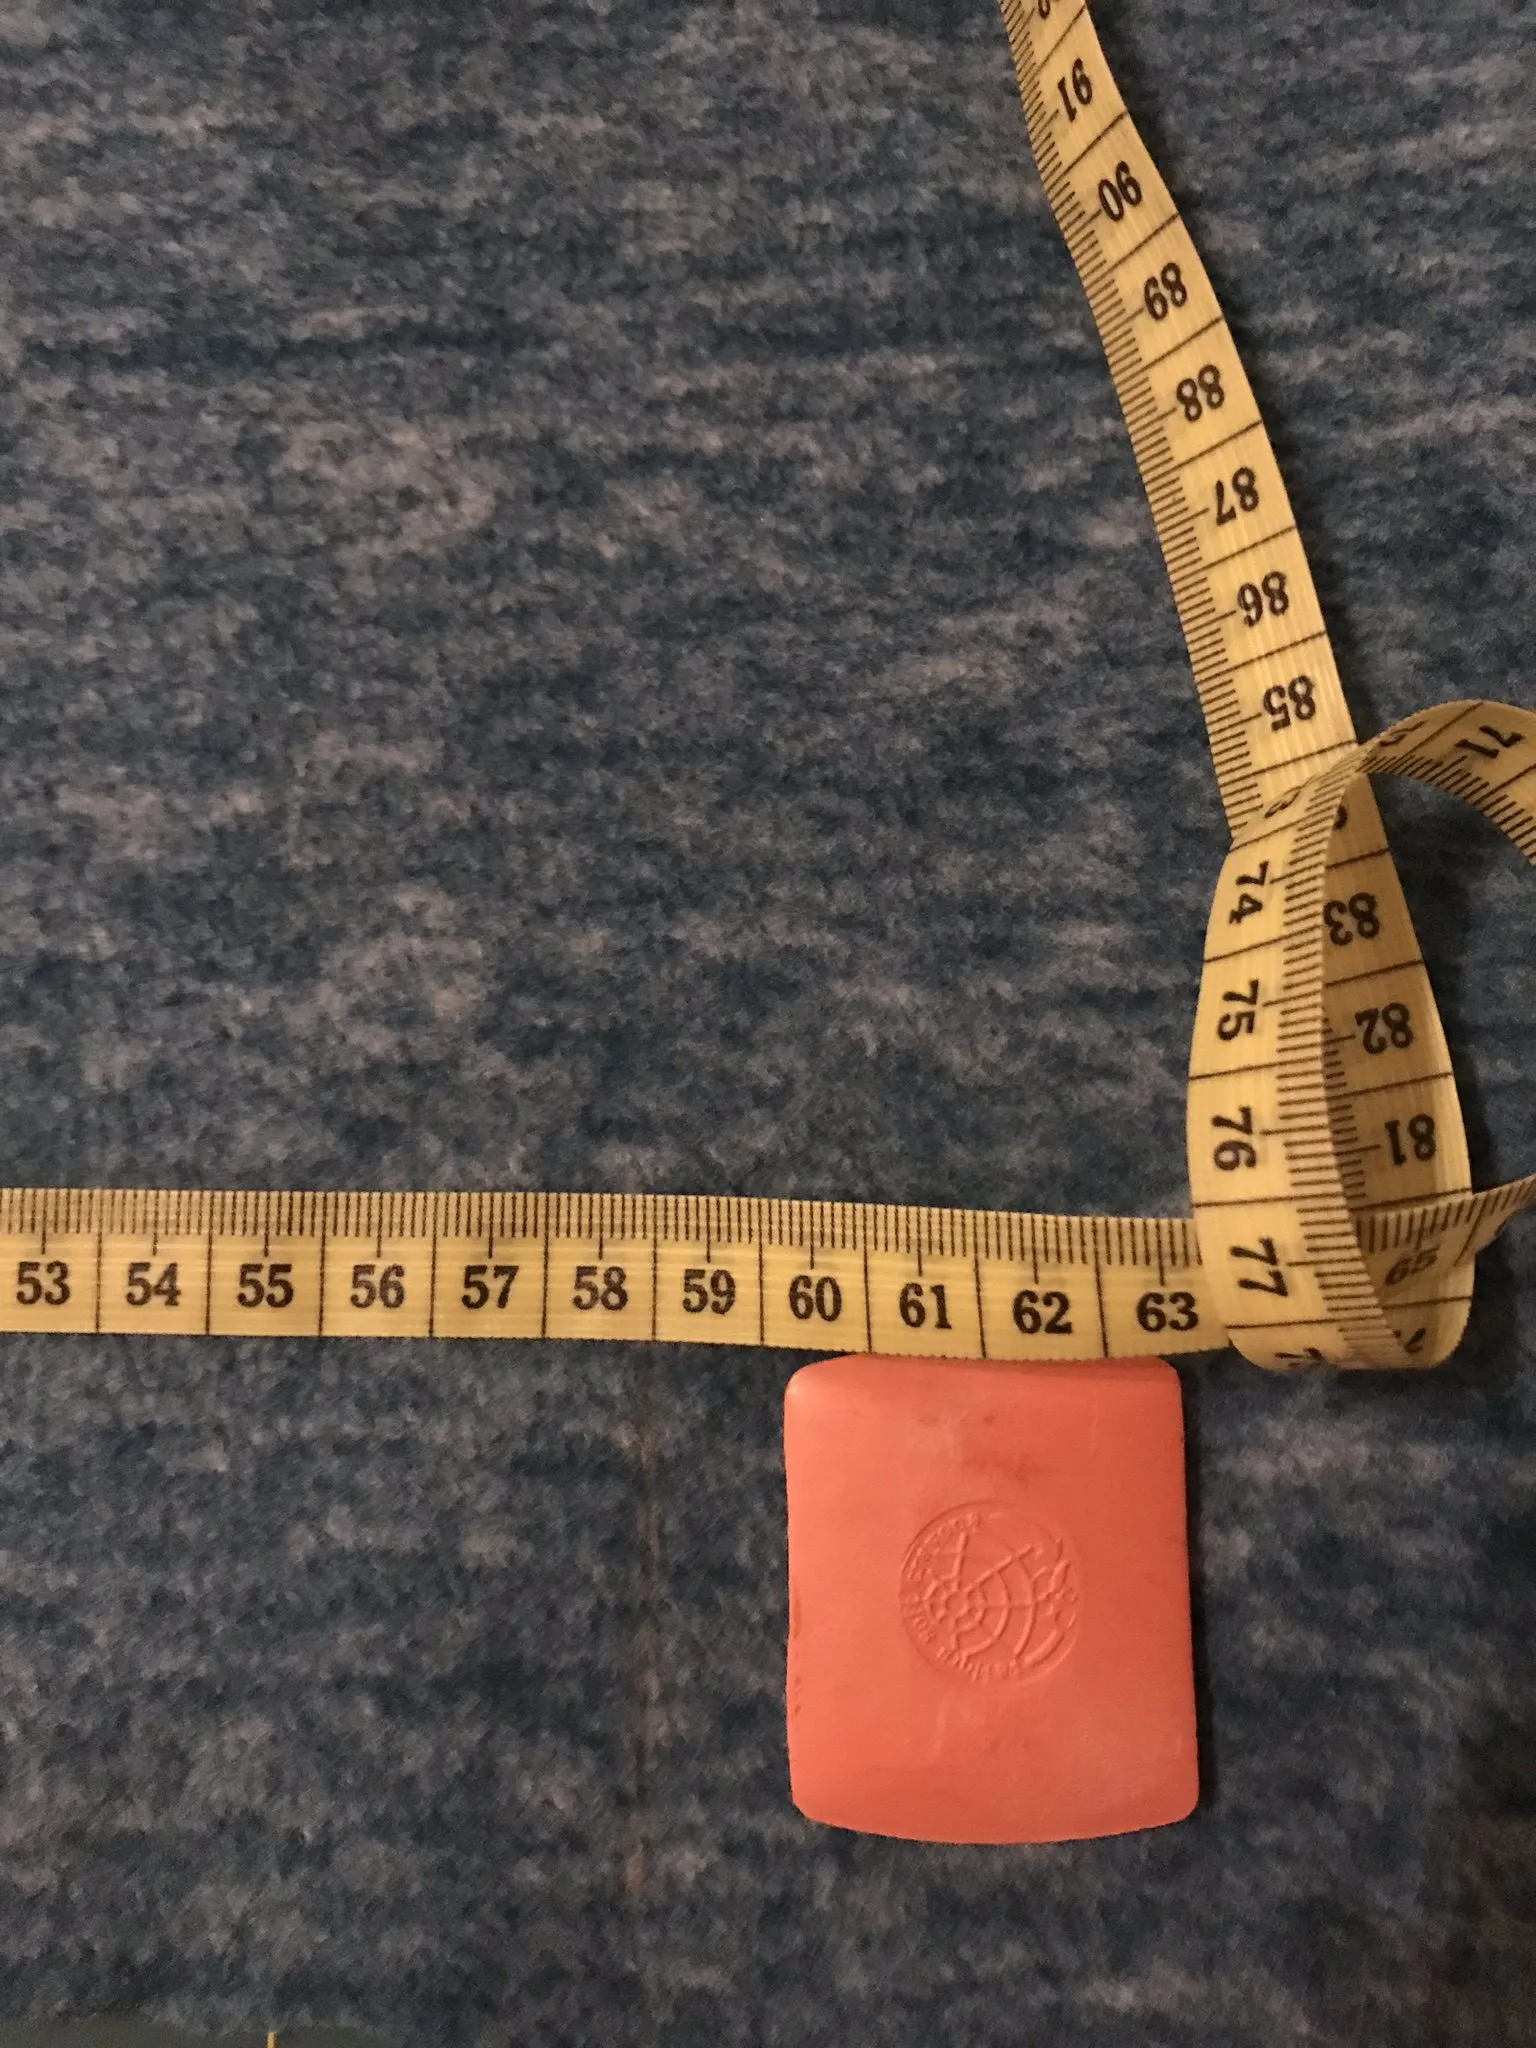
To begin, measure your dog at the widest point of their head (which will most likely be around their ears) and at the widest point of their neck. Whichever measurement is larger, note it down as the length of the rectangle.
Then measure the length of their neck and note that down as the height of the rectangle.
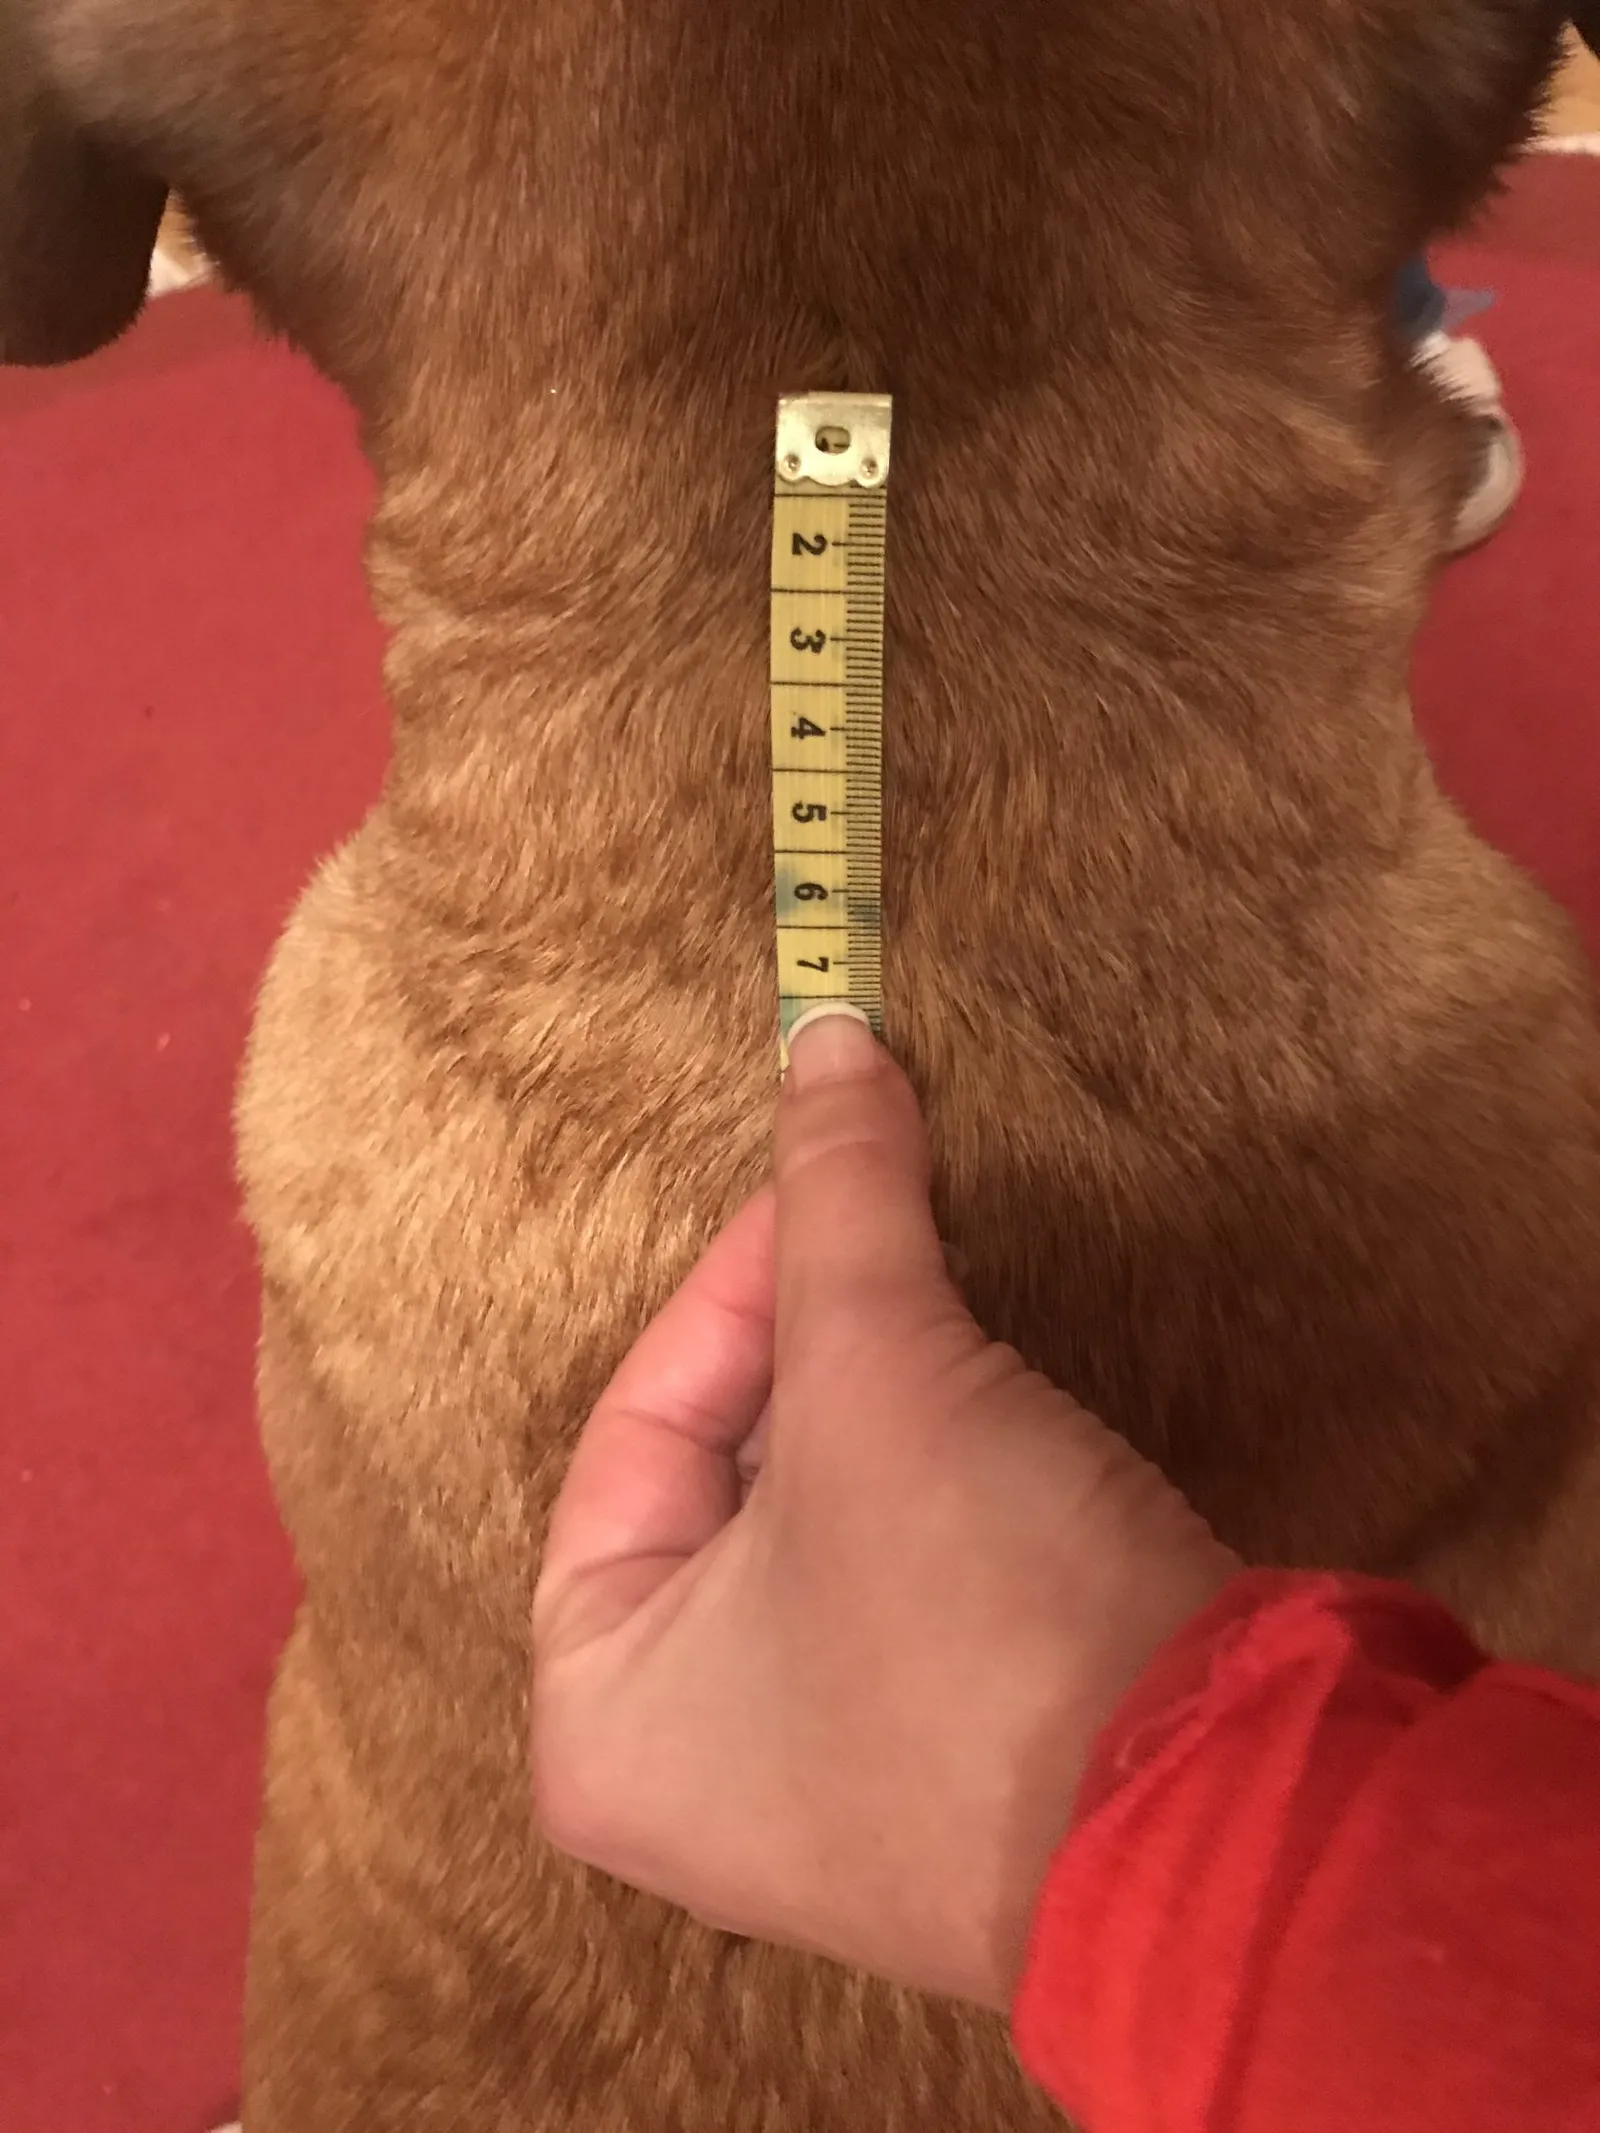
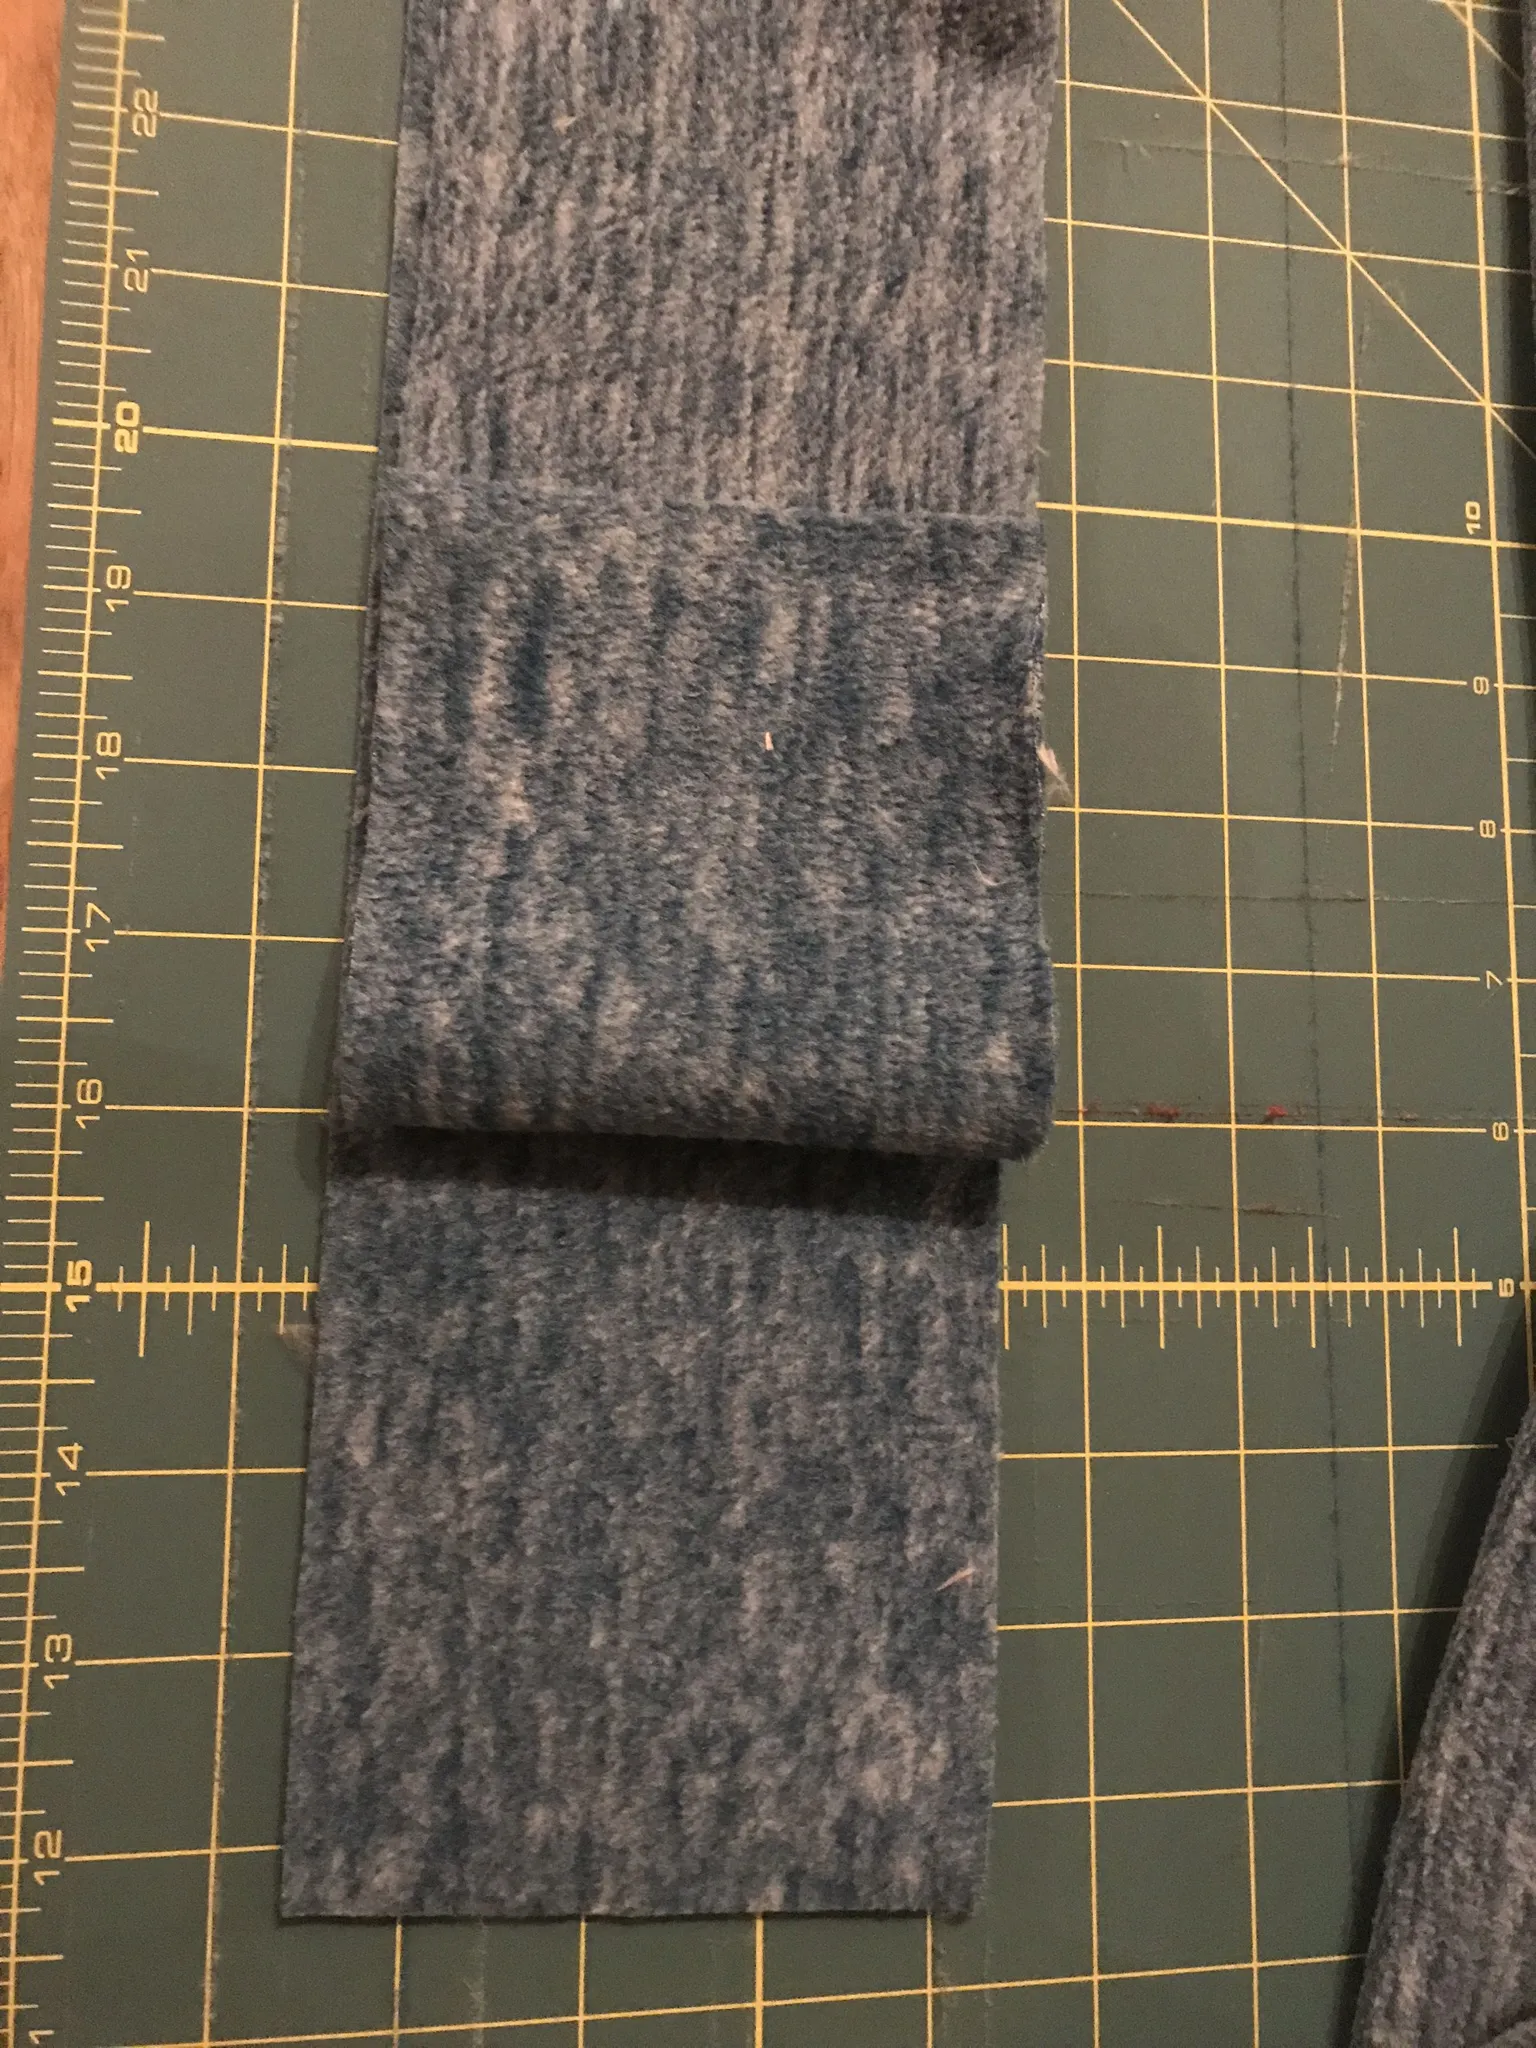
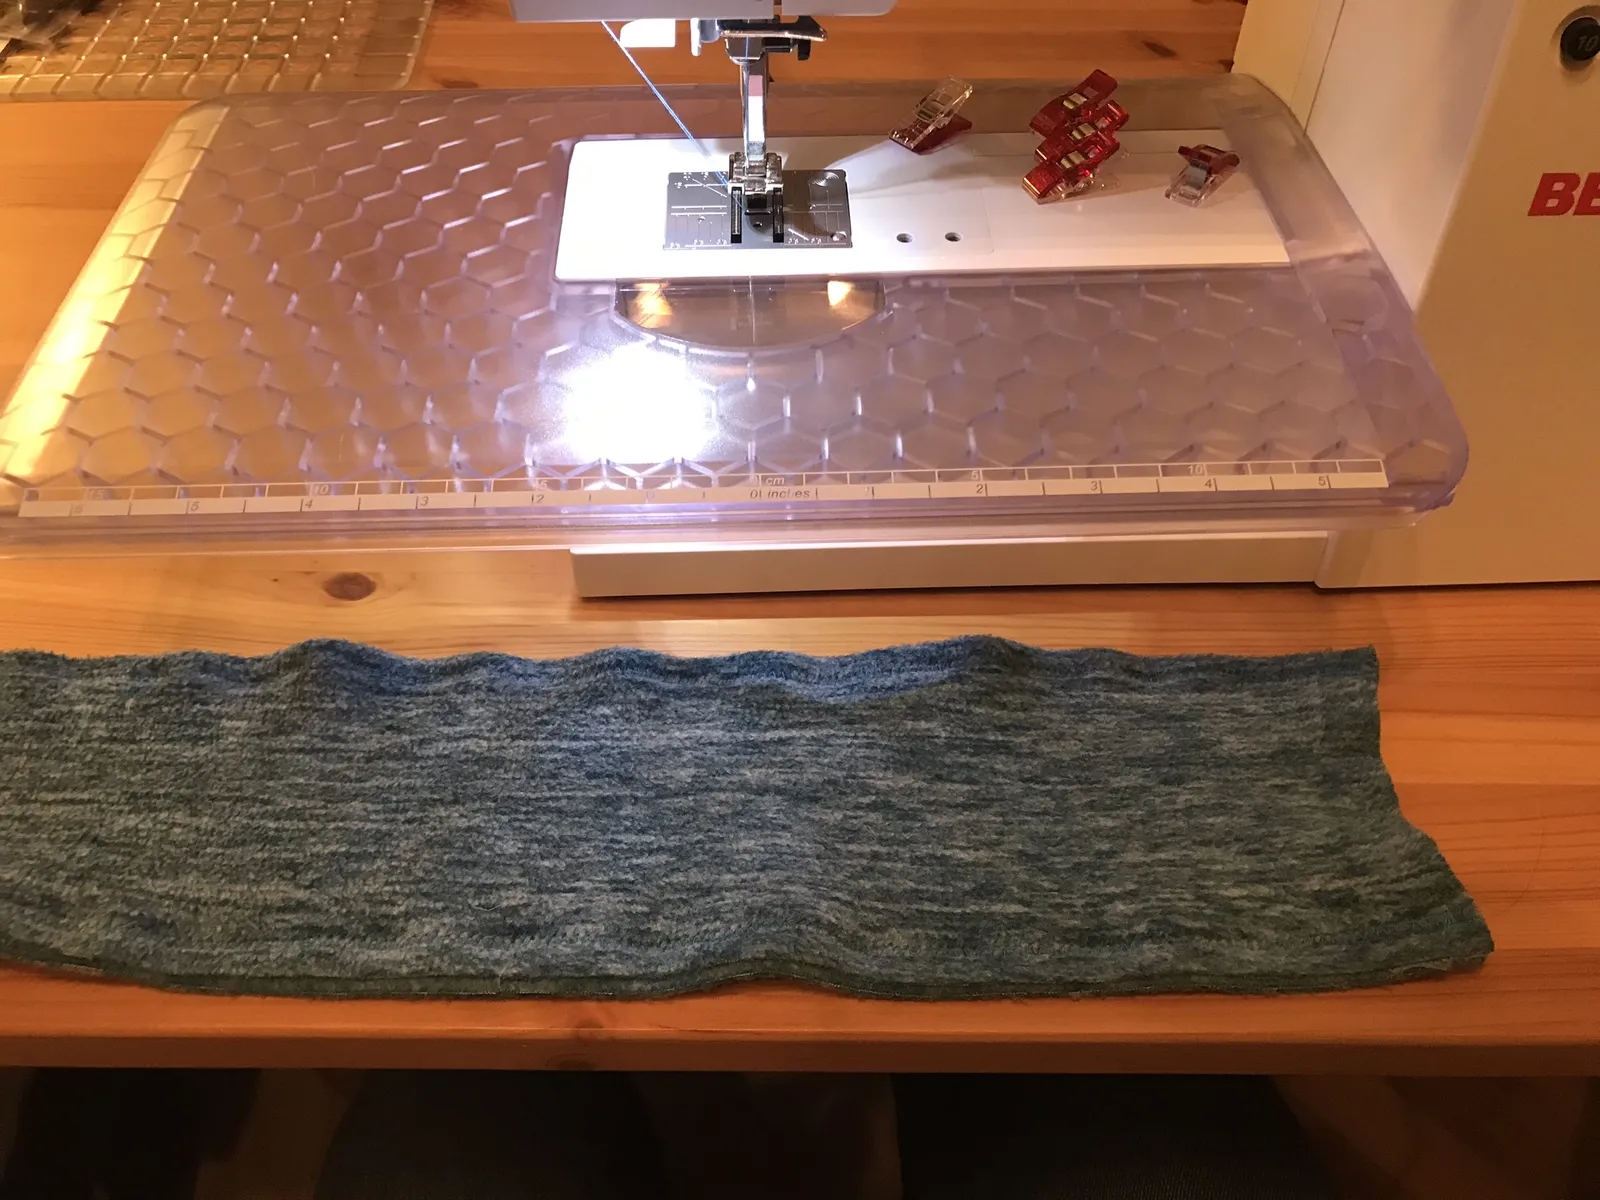
You use these two measurements (plus 1 to 1.5 cm seam allowance on each side, depending on the fabric) to cut two rectangles from the fabric.
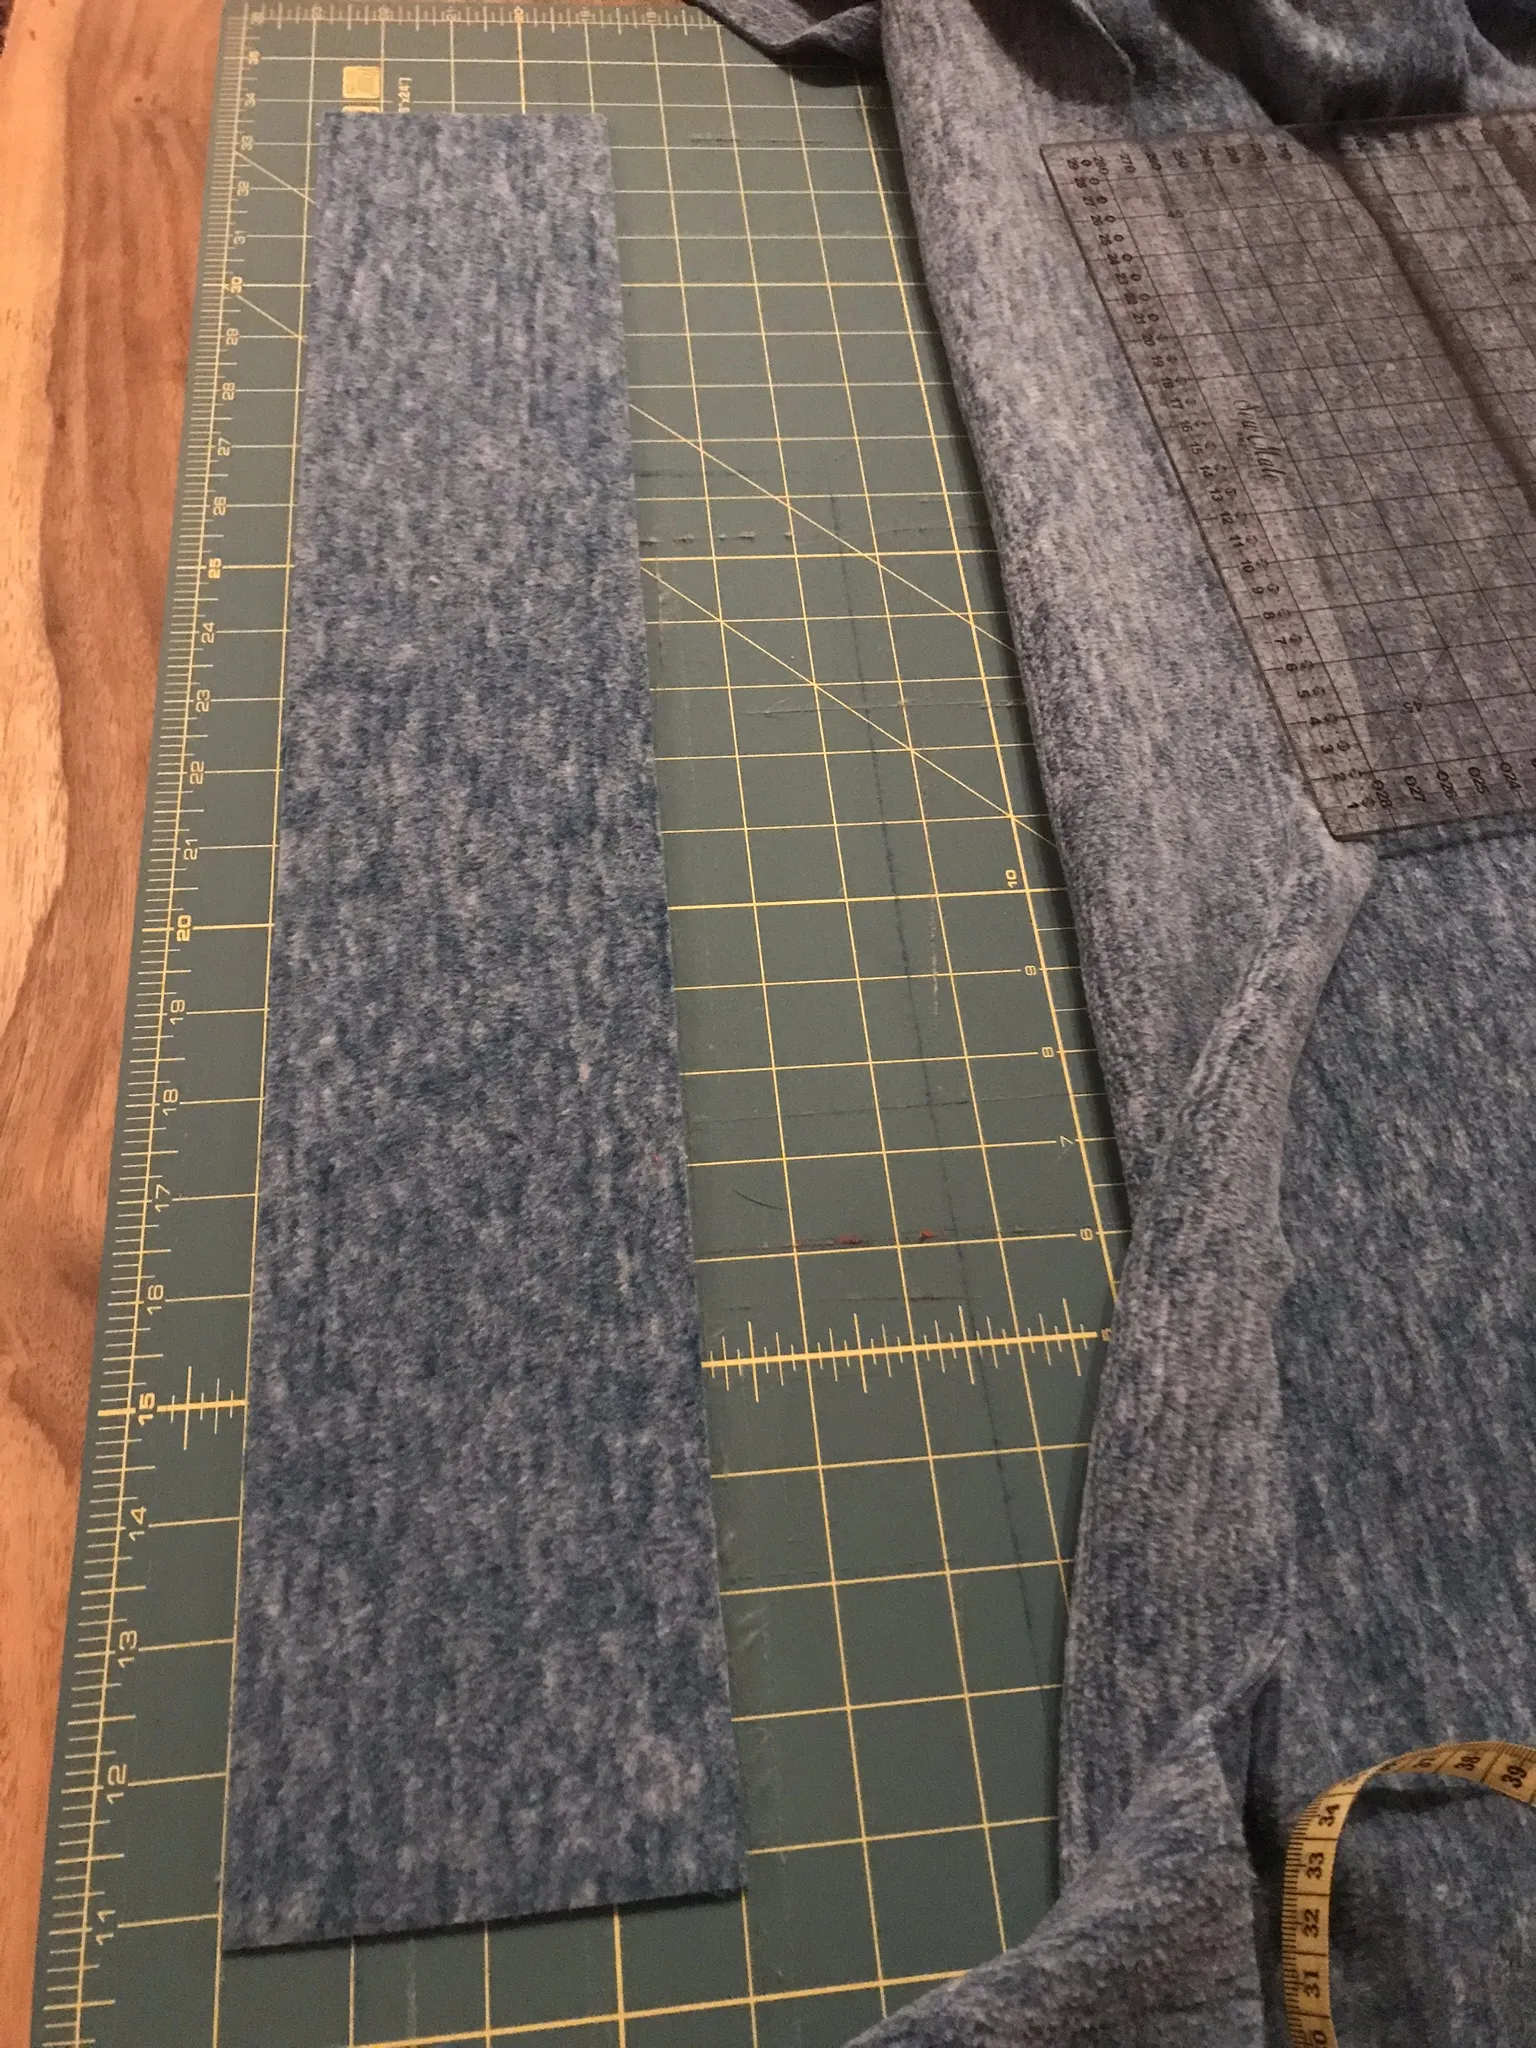
Fabric Grain
When cutting, make sure the fabric stretches along the long side → for the head circumference.
The short side of the rectangle doesn't need to be stretchy → that's the height of the scarf.
The Sewing Process
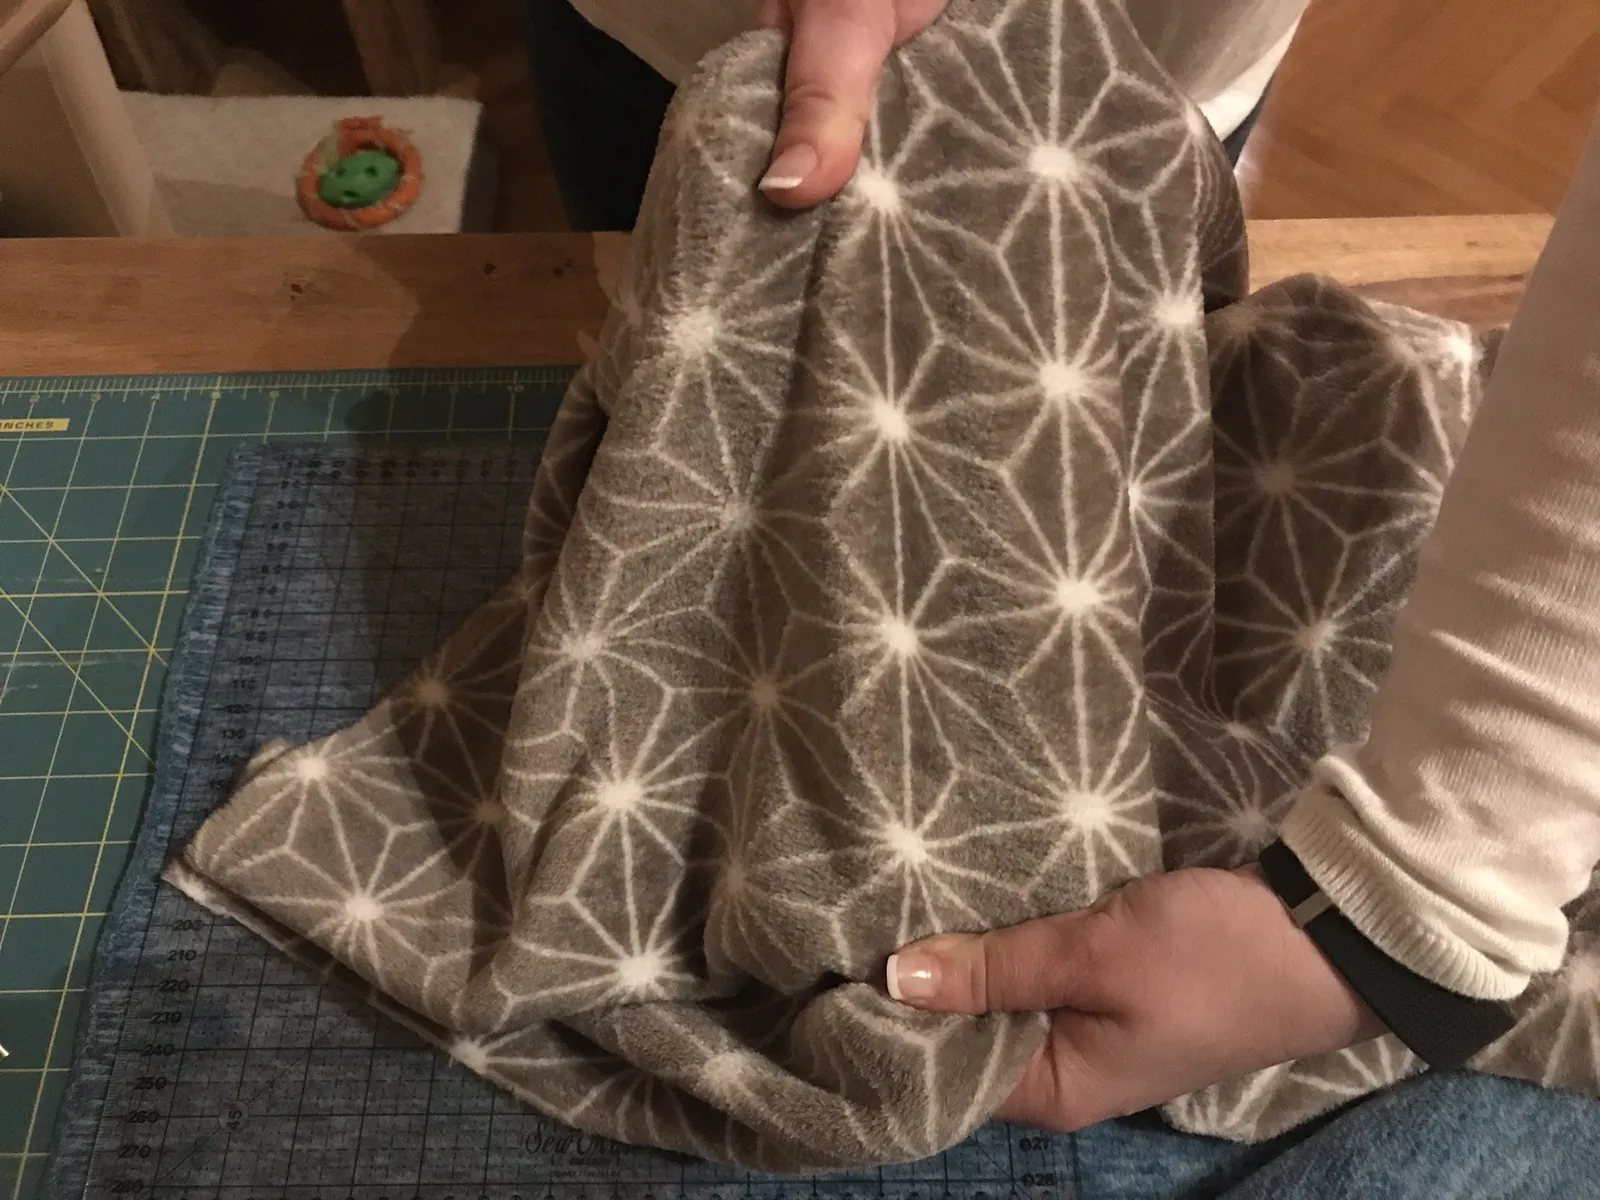
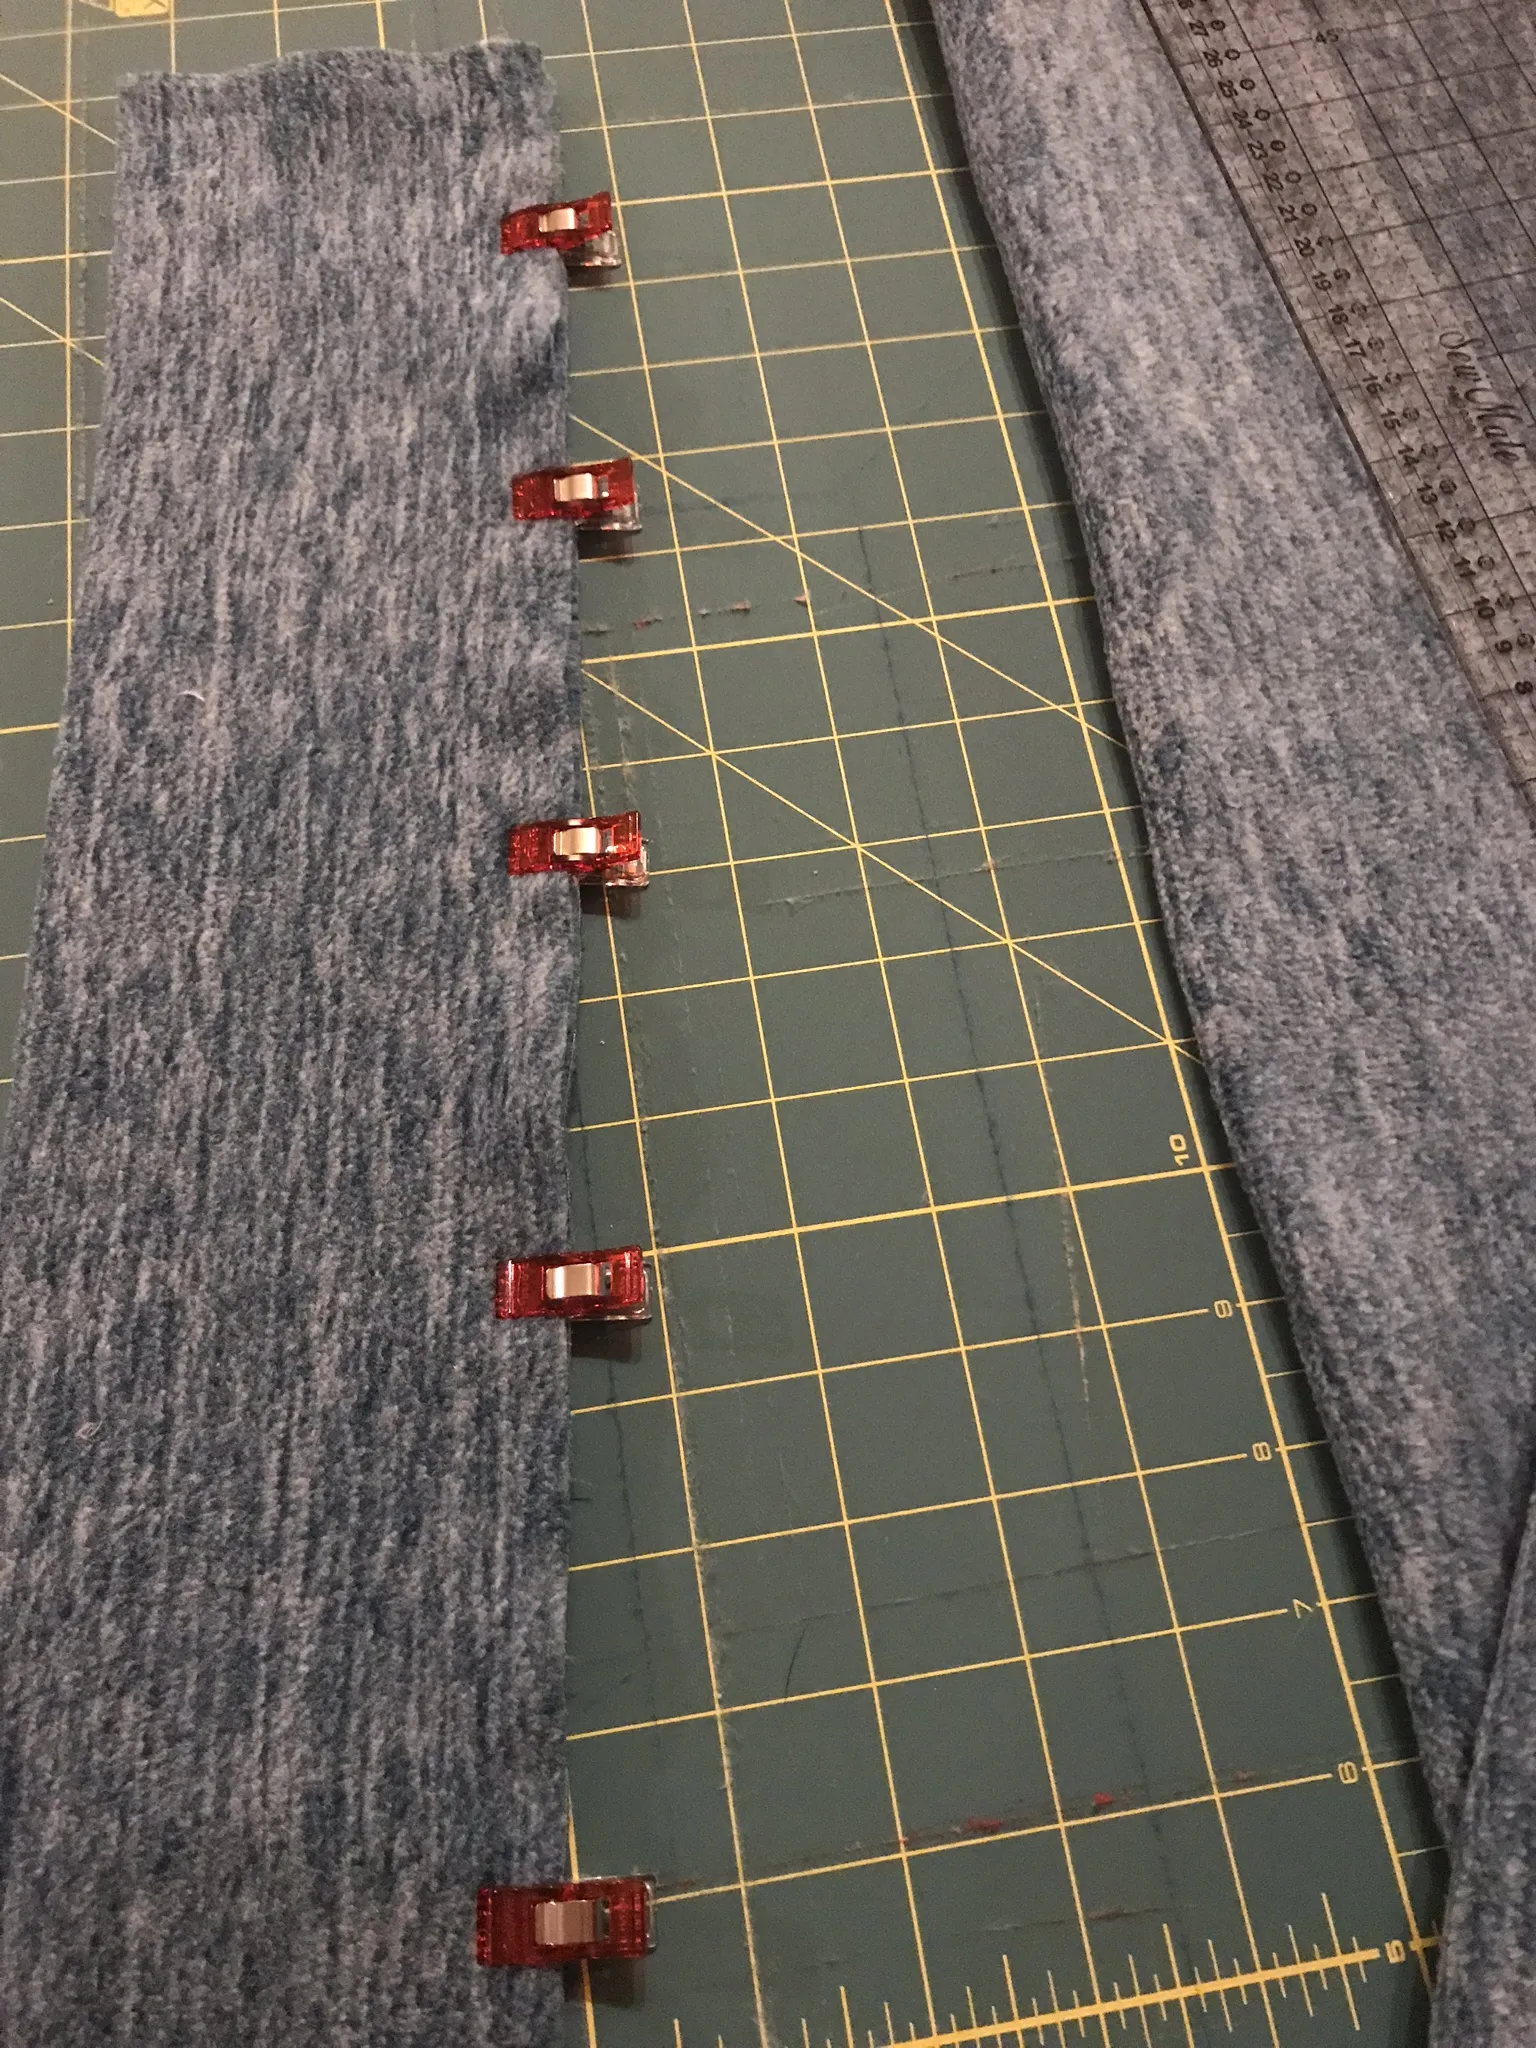
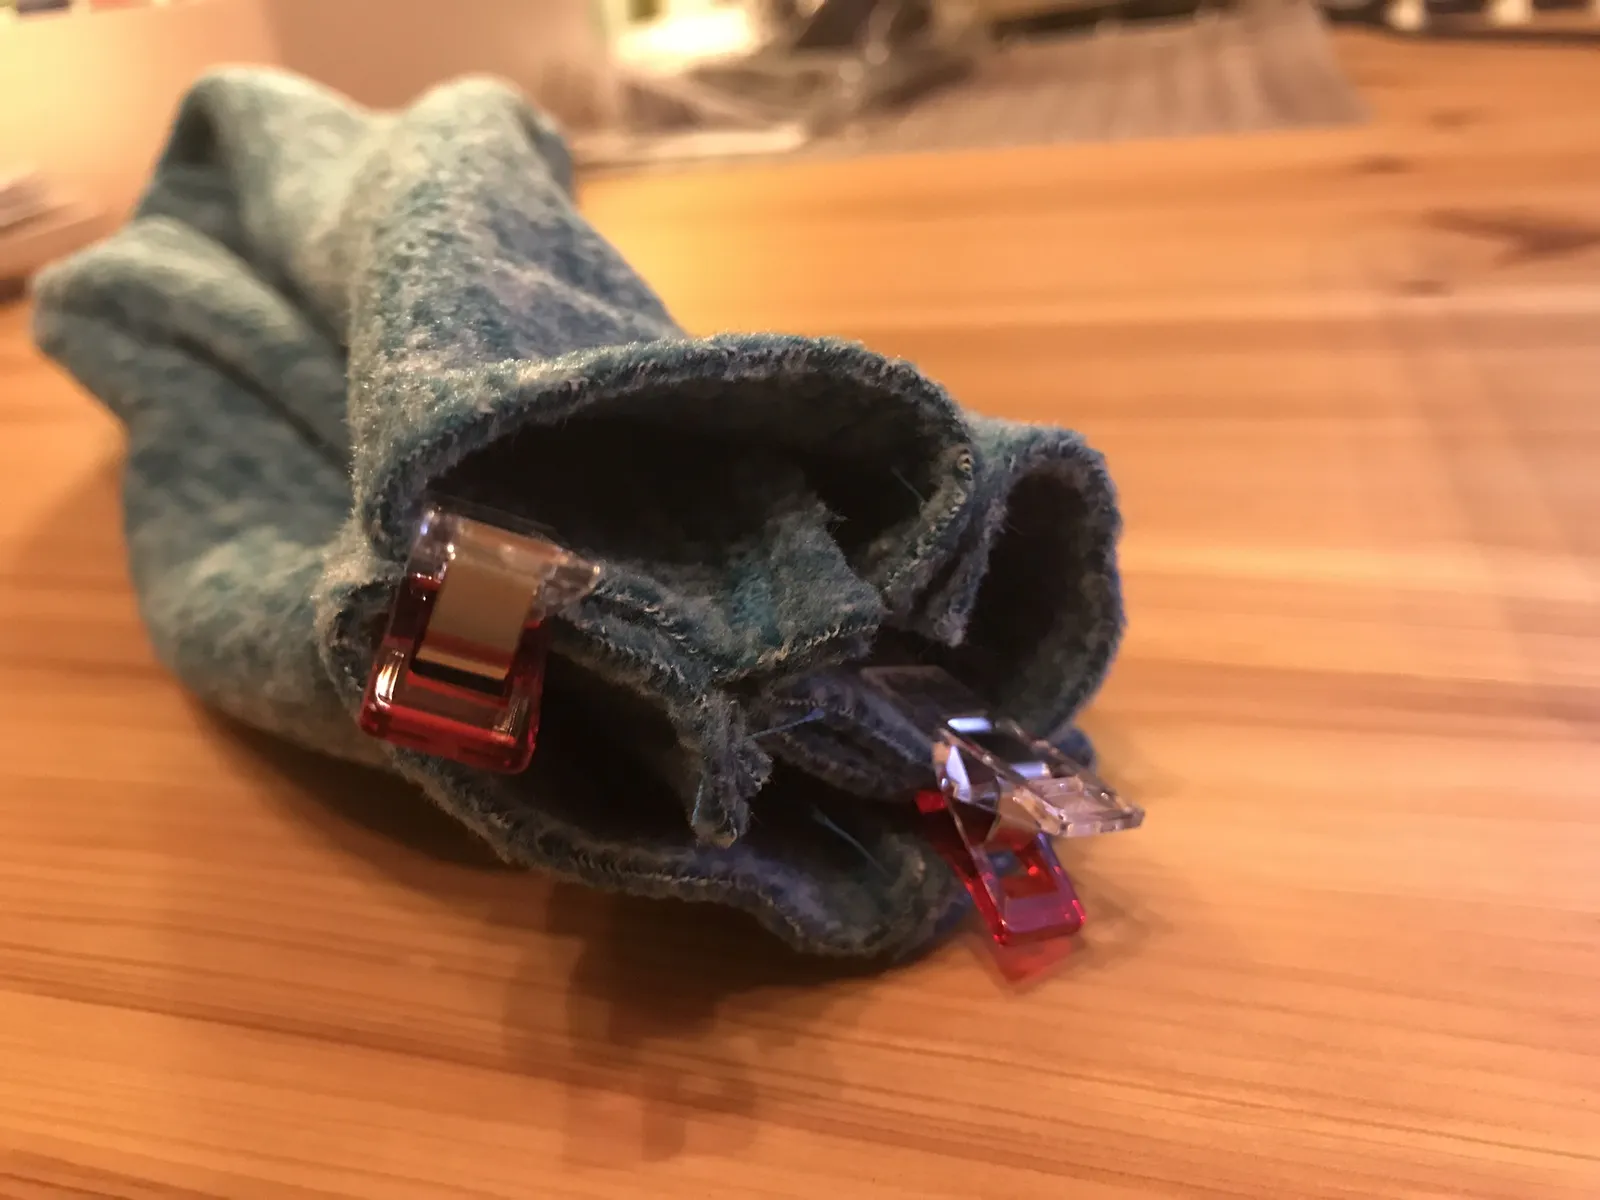
Then it's time to head to the sewing machine. Thread the matching thread and place the two fabric rectangles right sides together. To prevent them from shifting, pin or clip every few centimetres (depending on how confident you are when sewing) along the length of the rectangle.
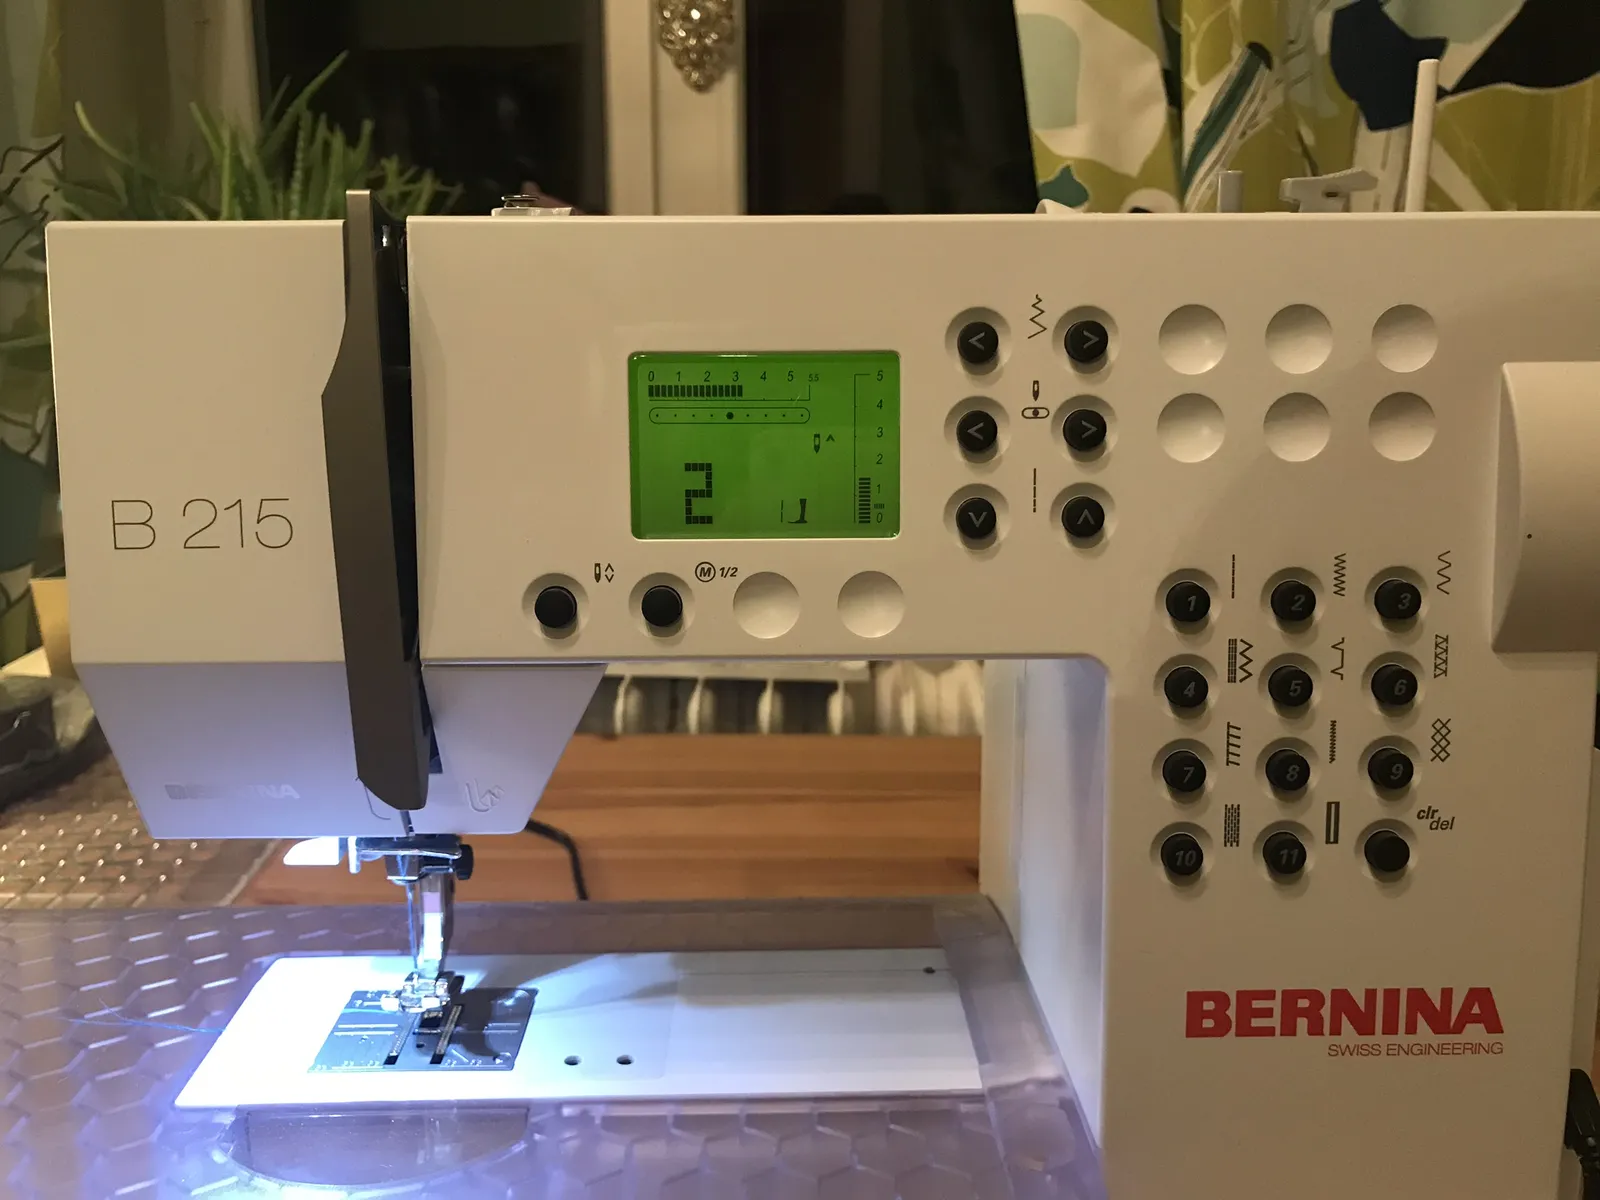
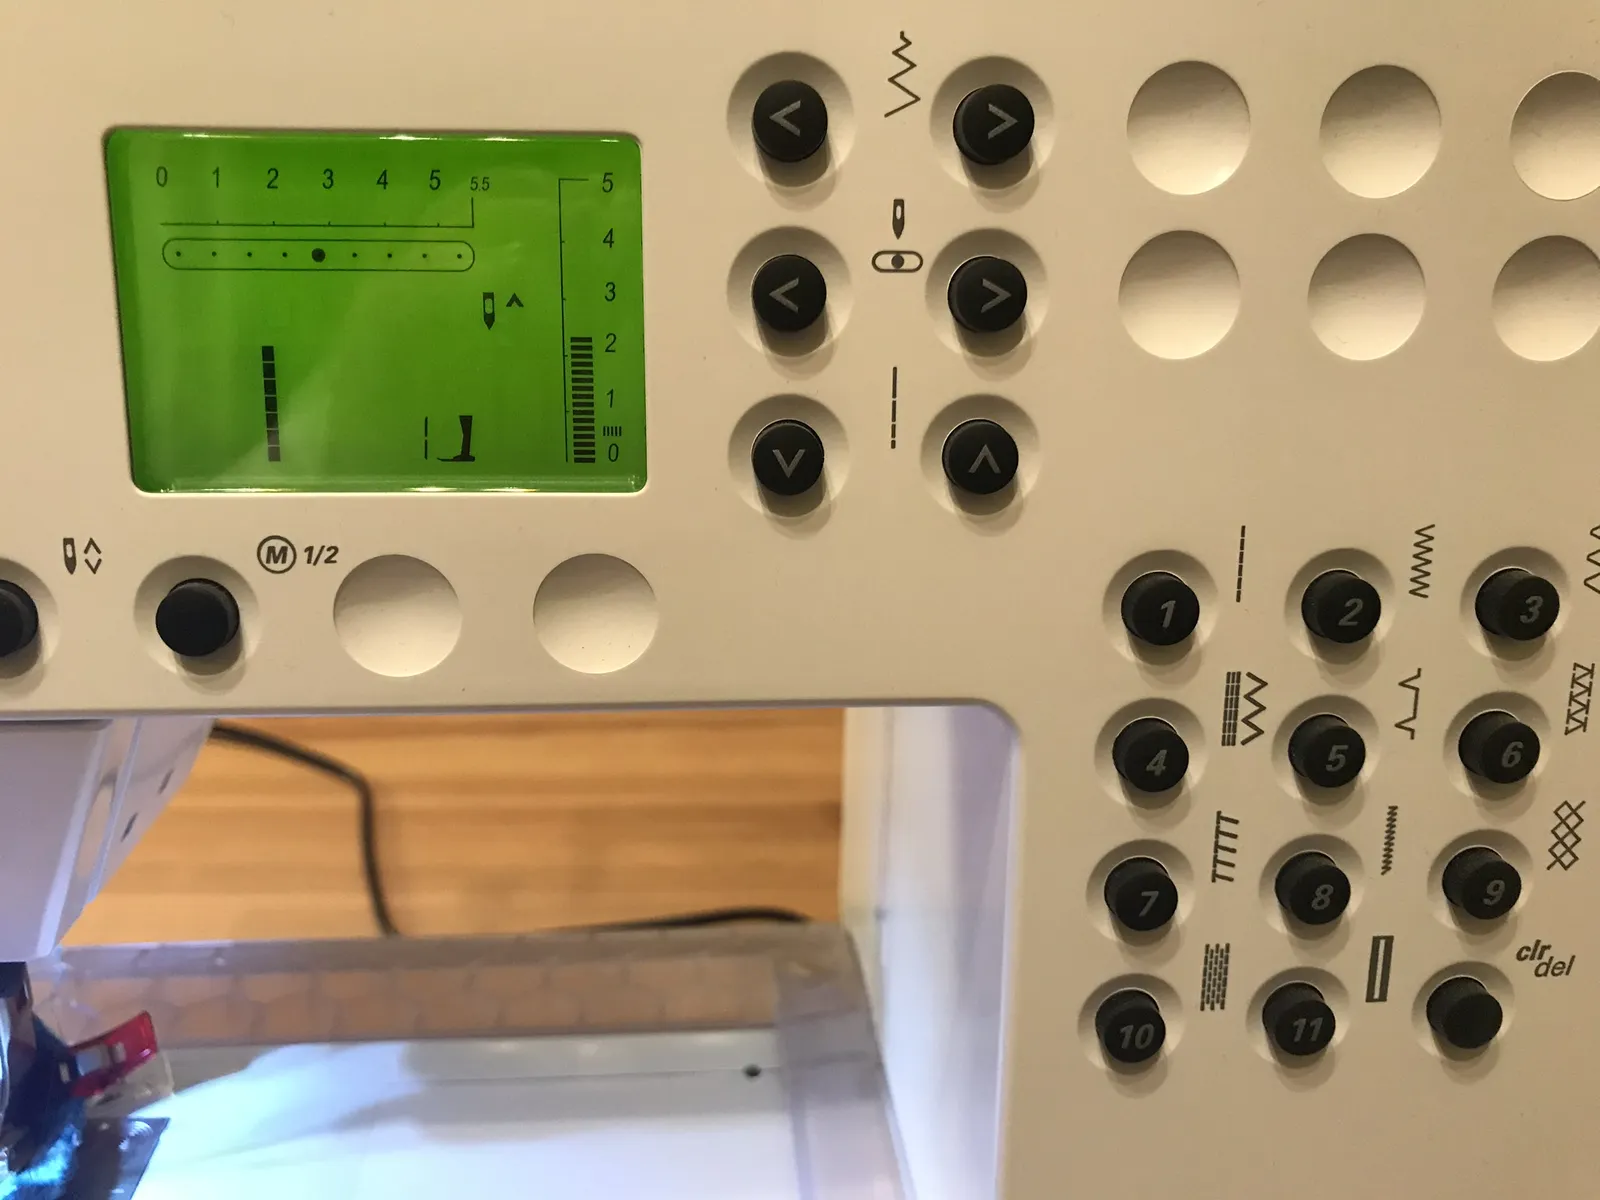
For stretchy fabric I recommend a zigzag stitch so the seam doesn't tear later when it's pulled over a wider spot.
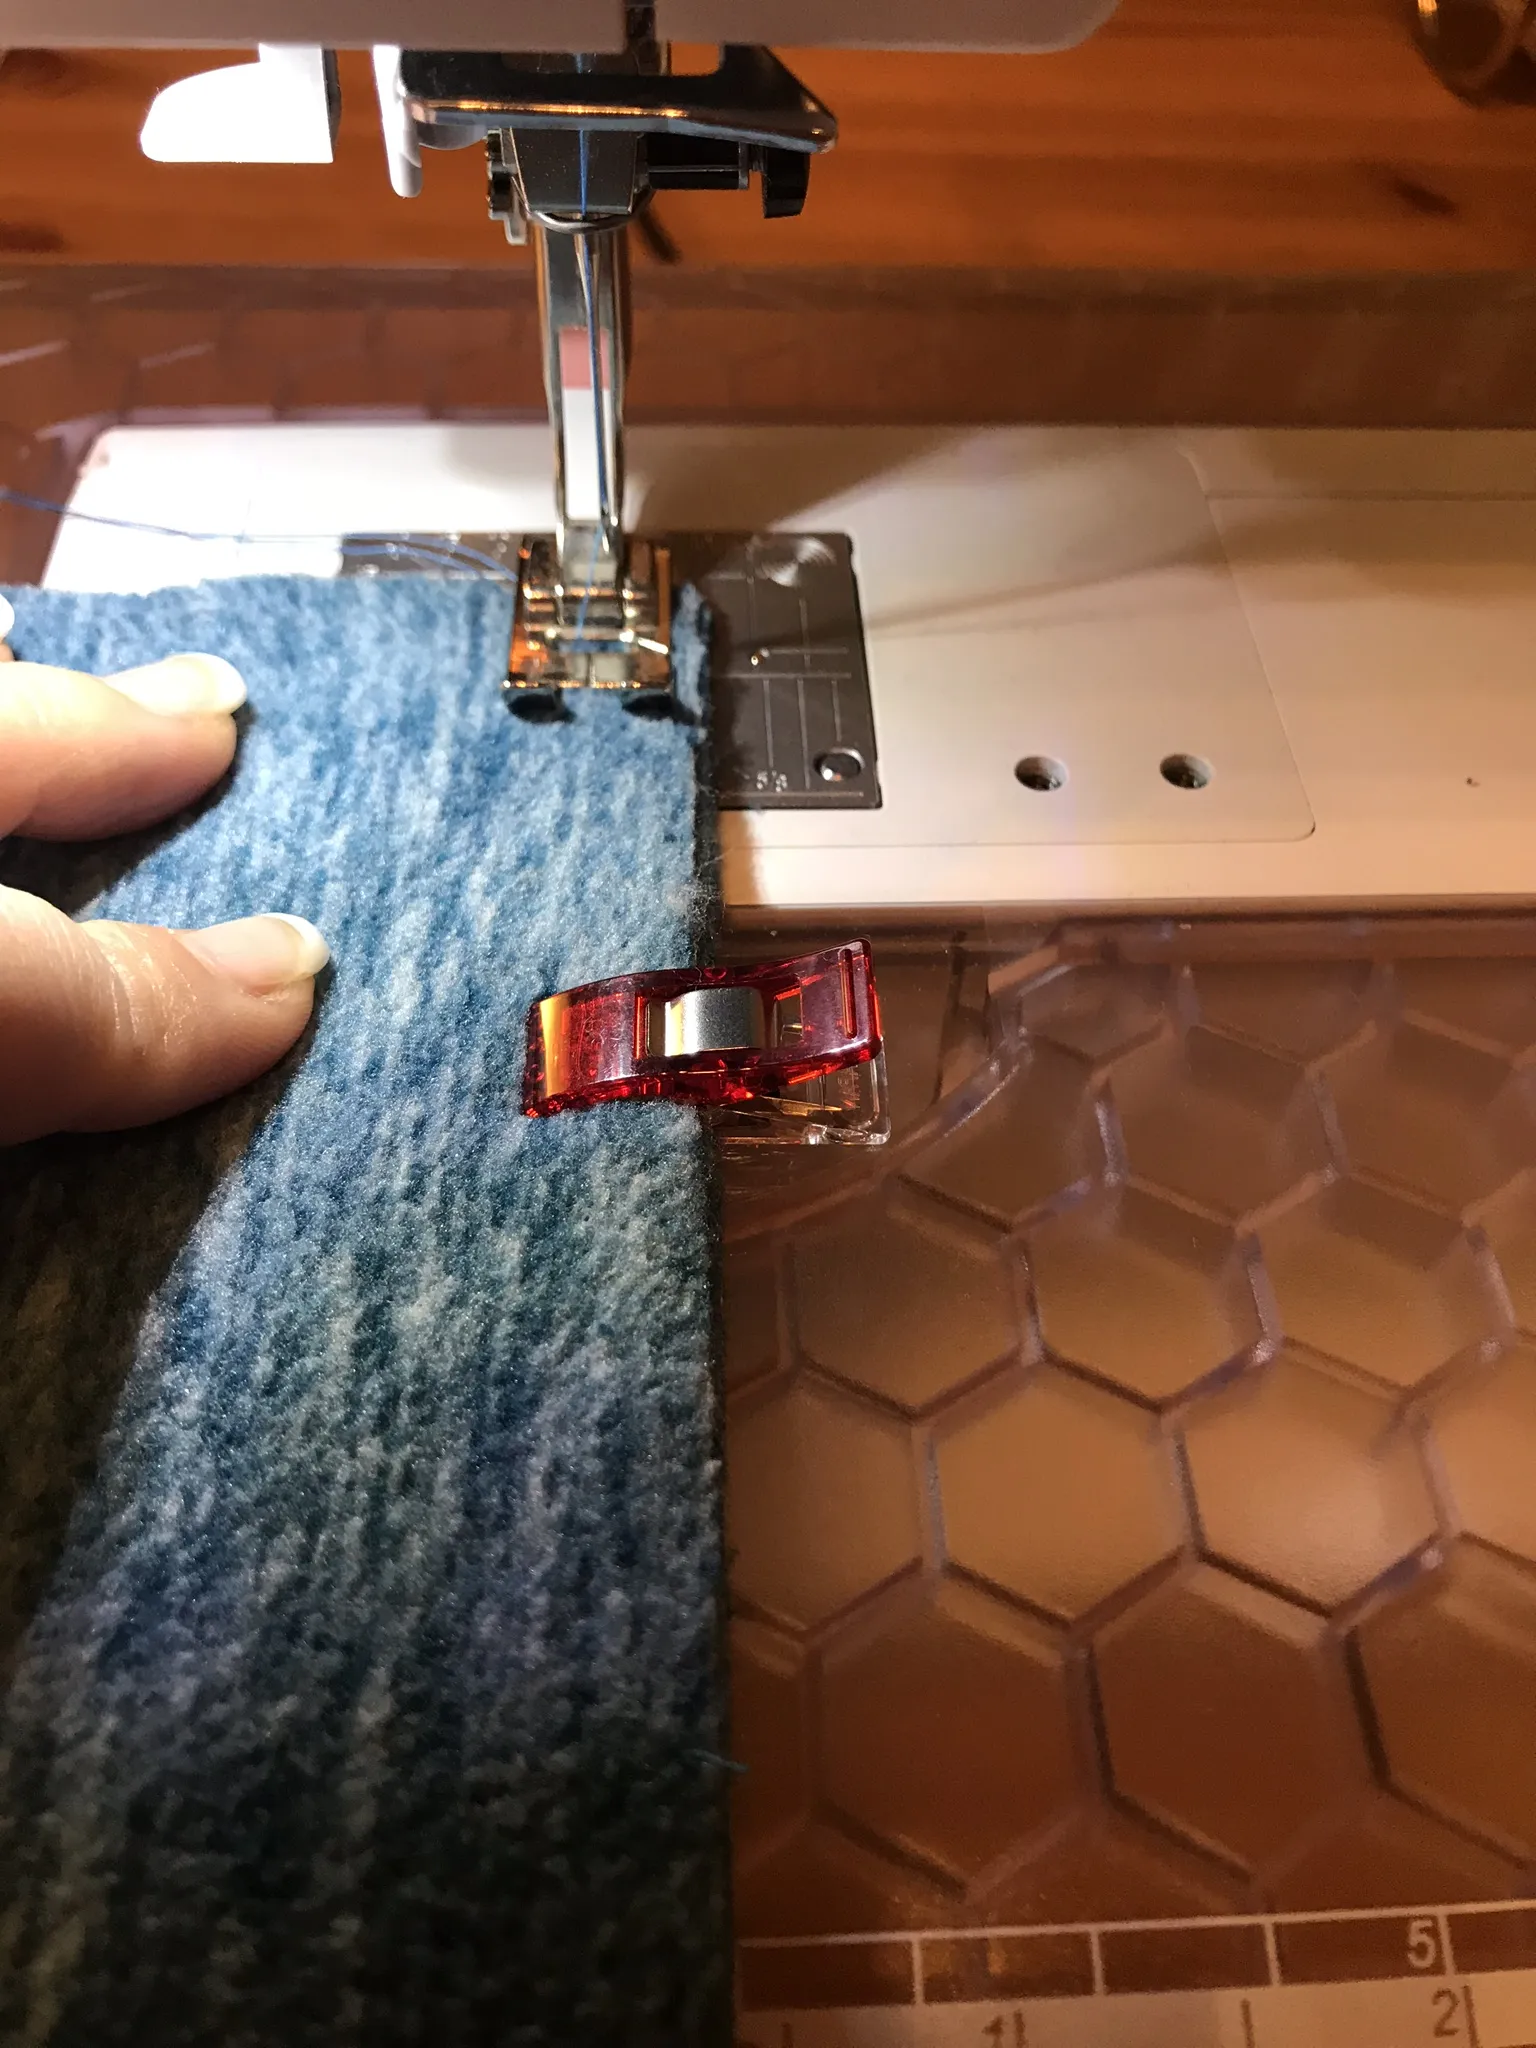
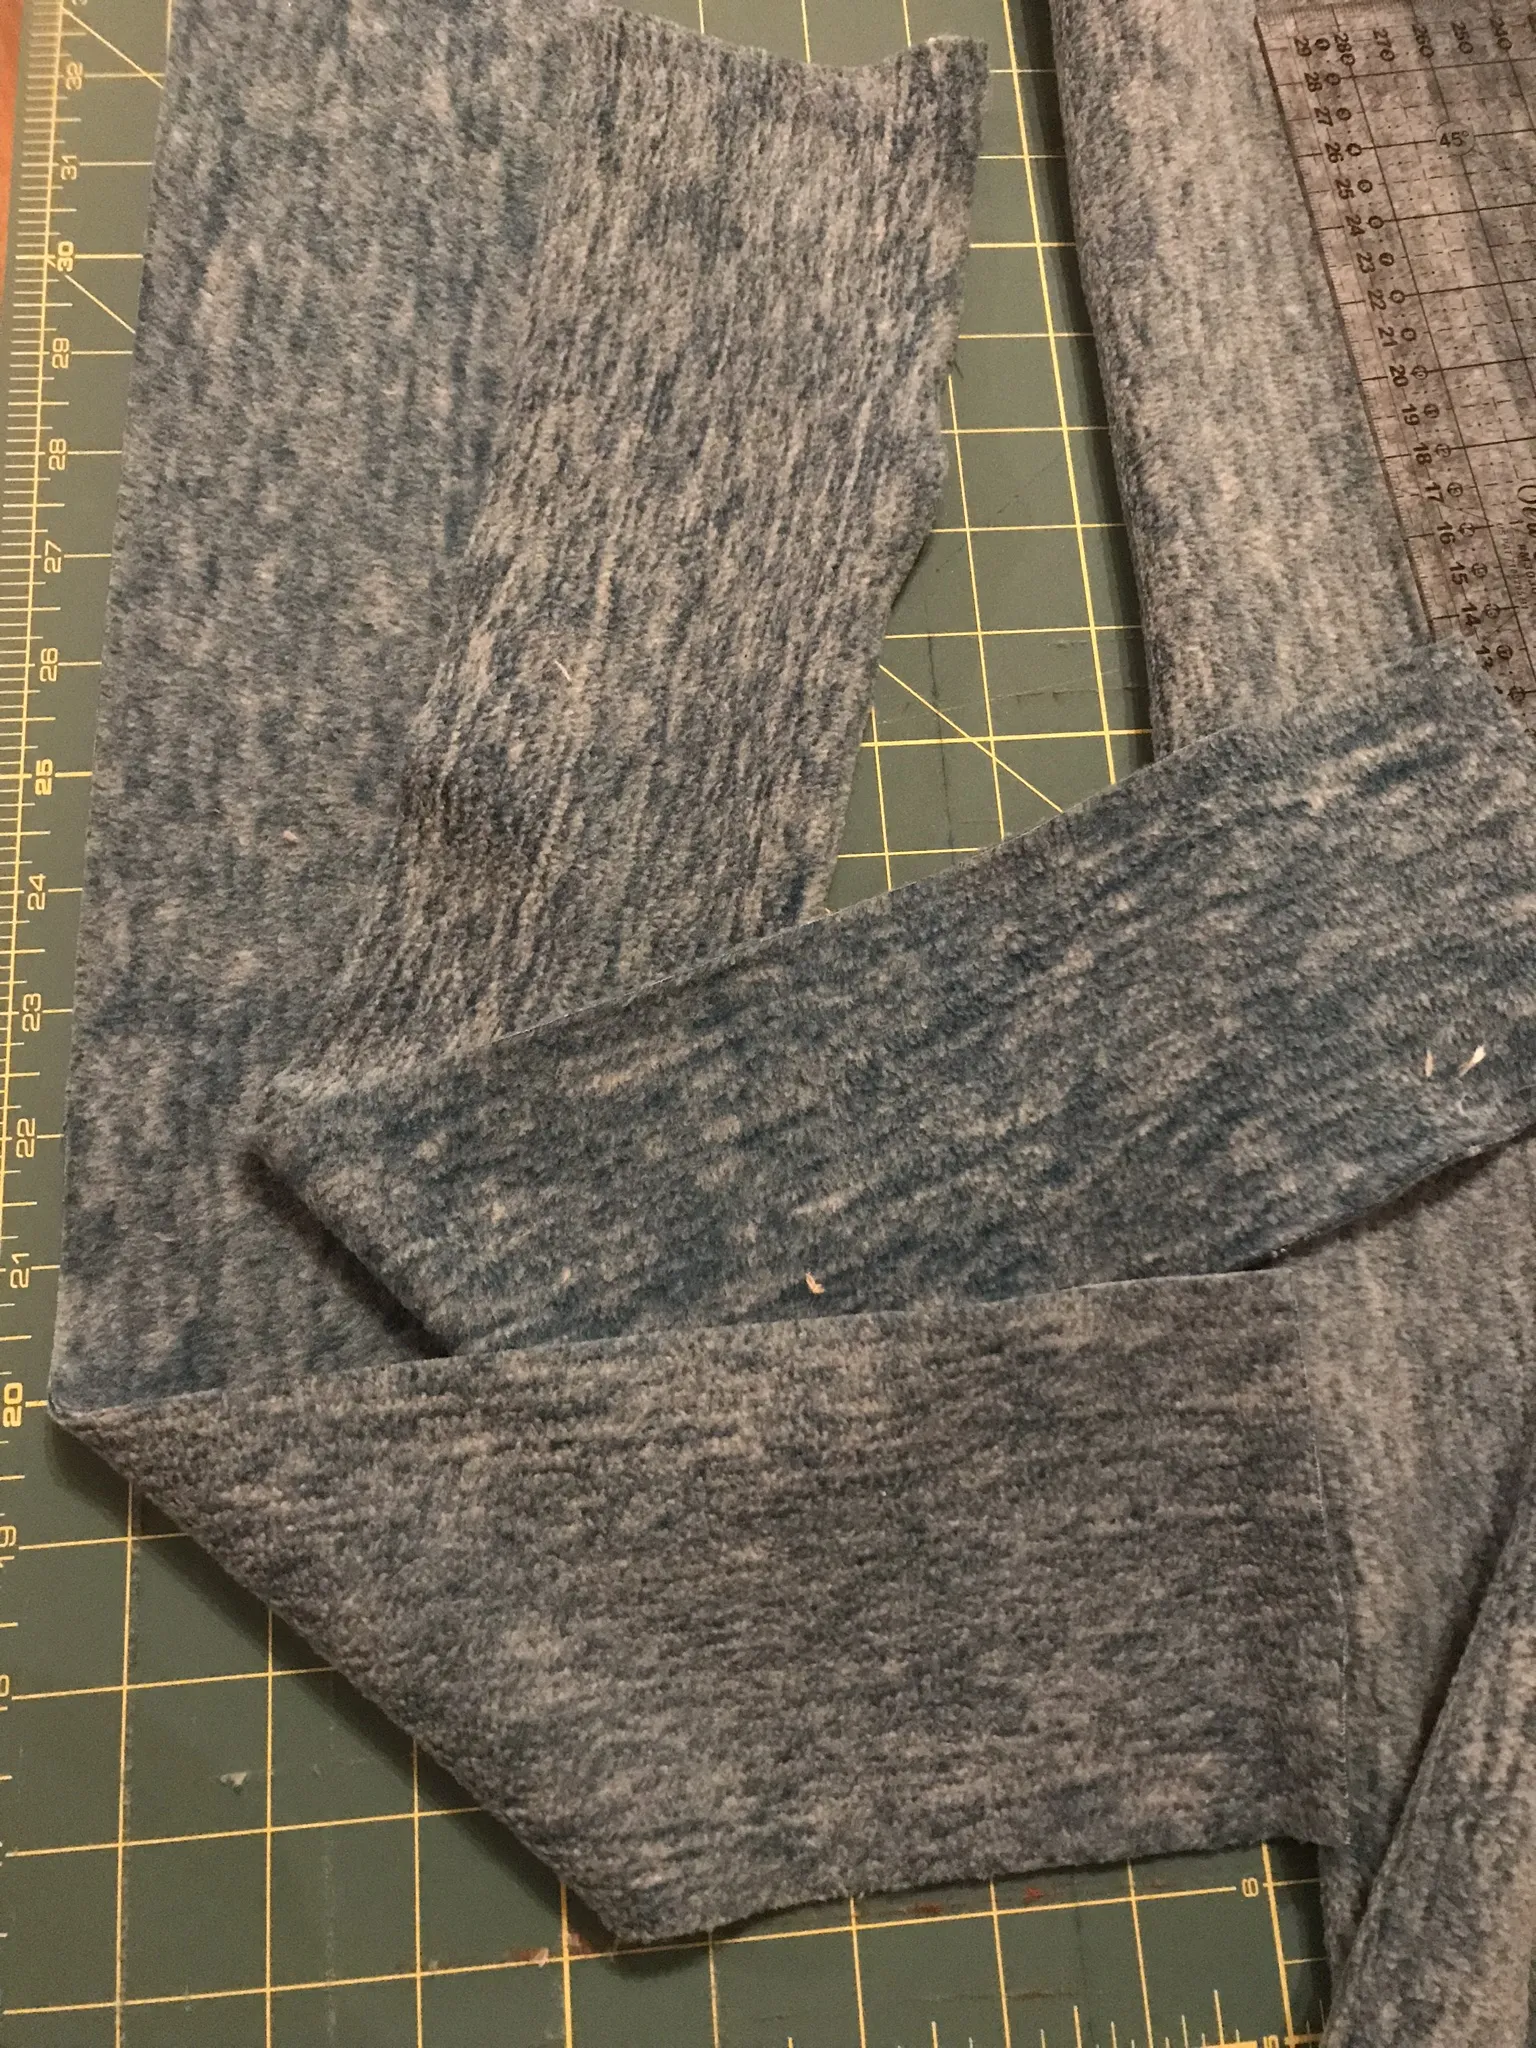
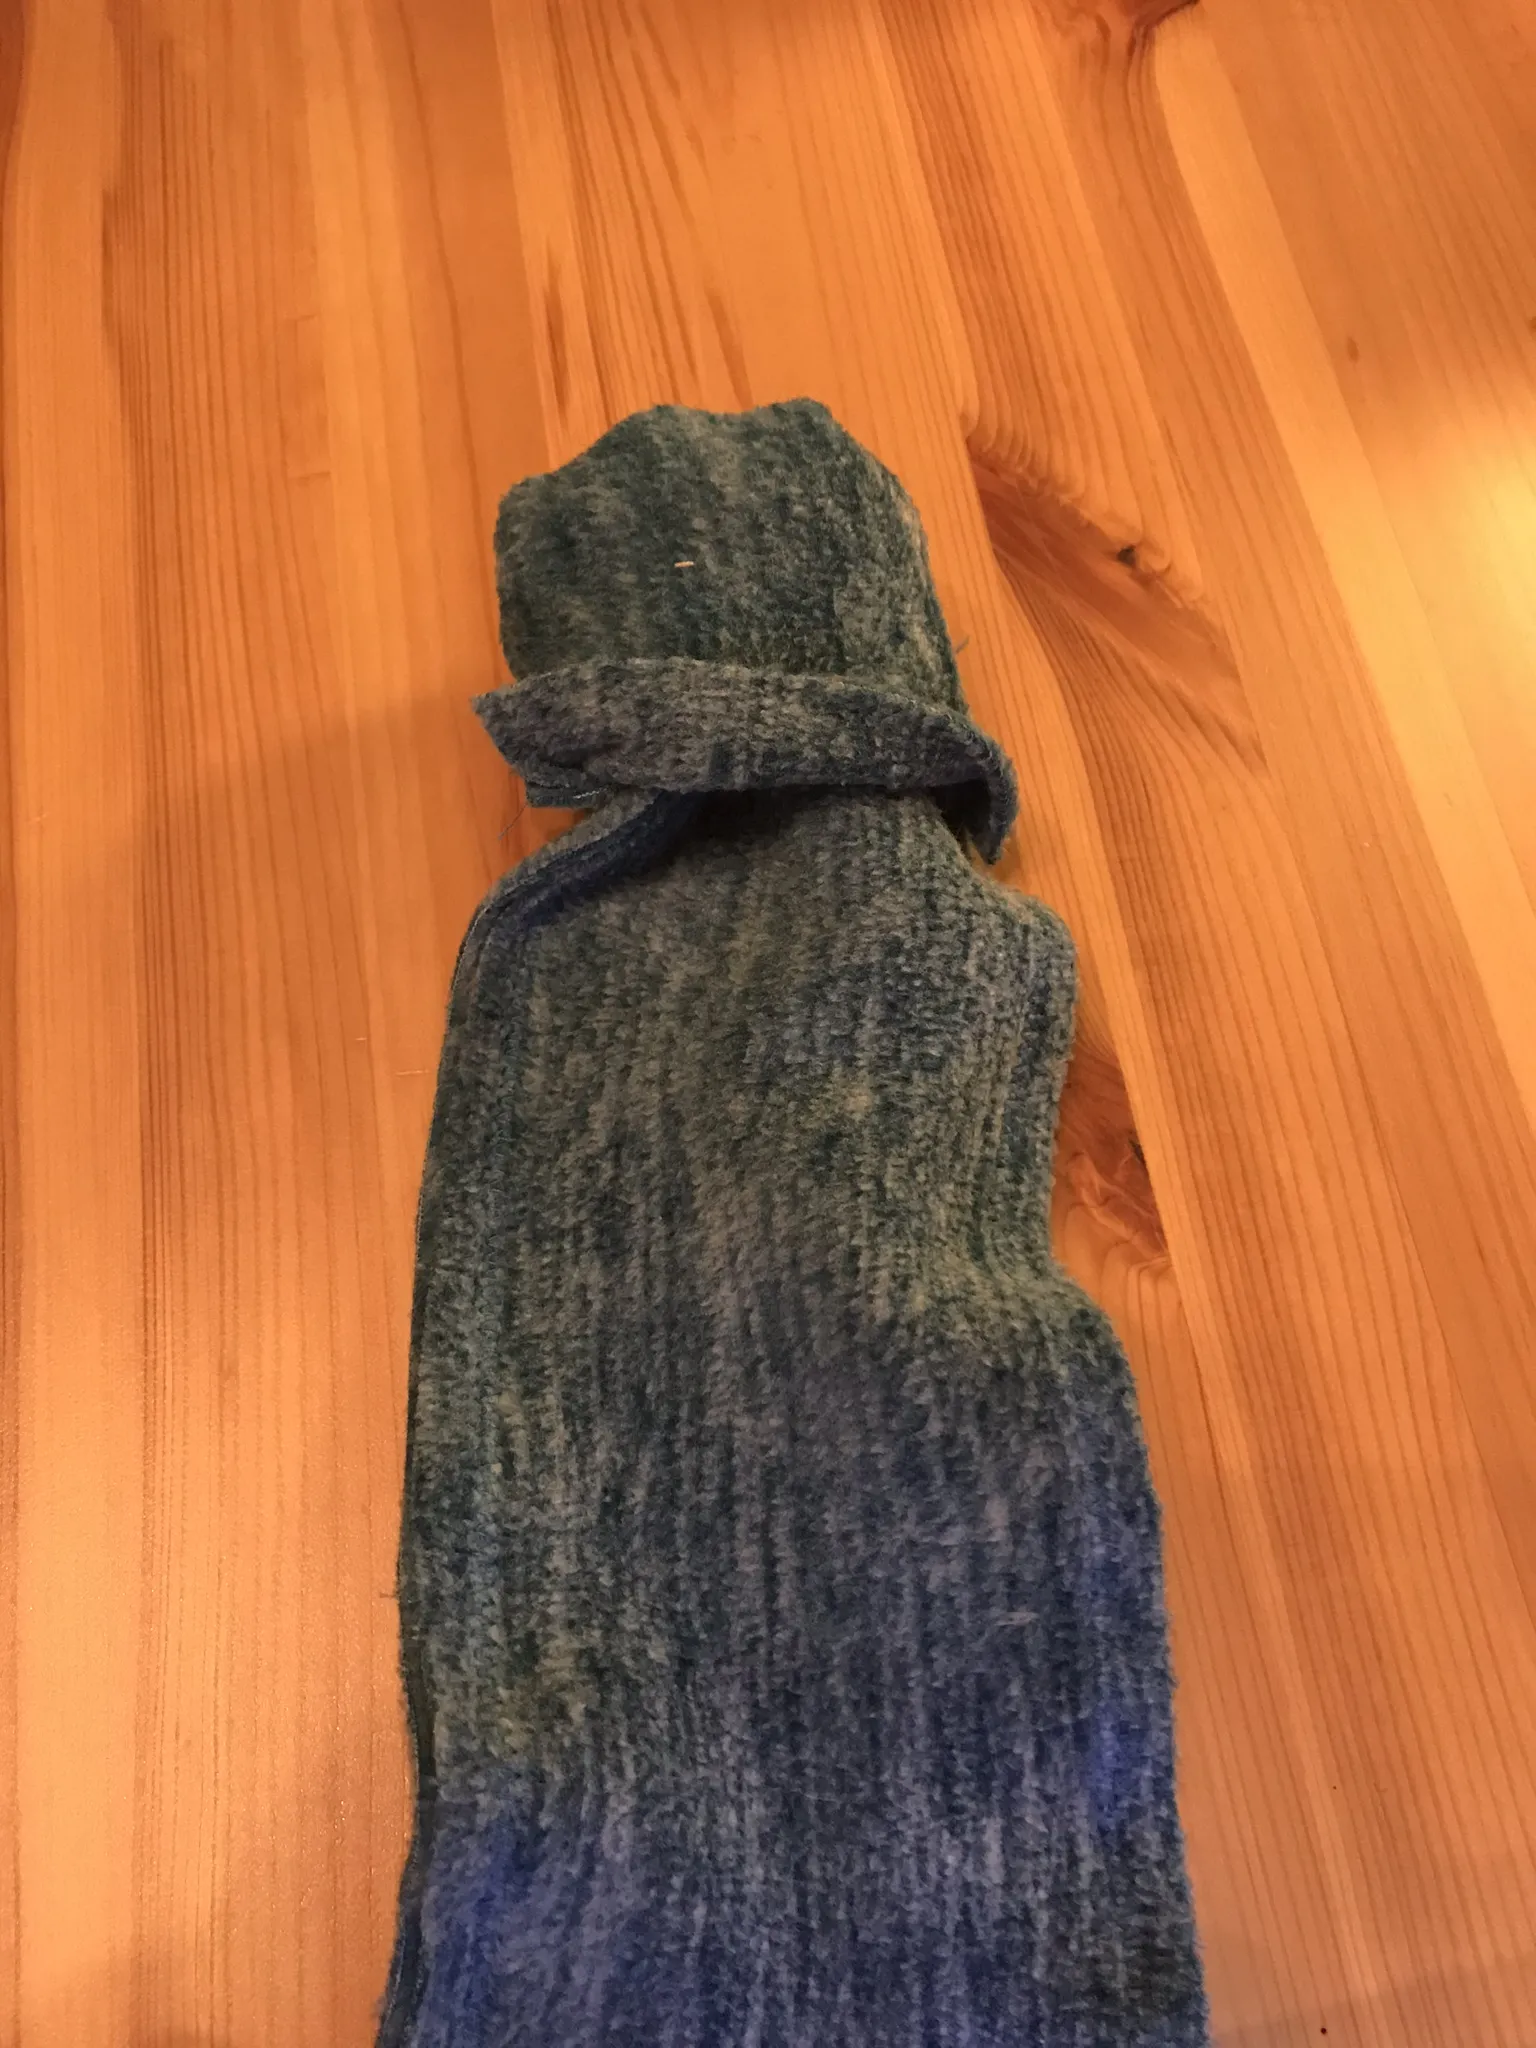
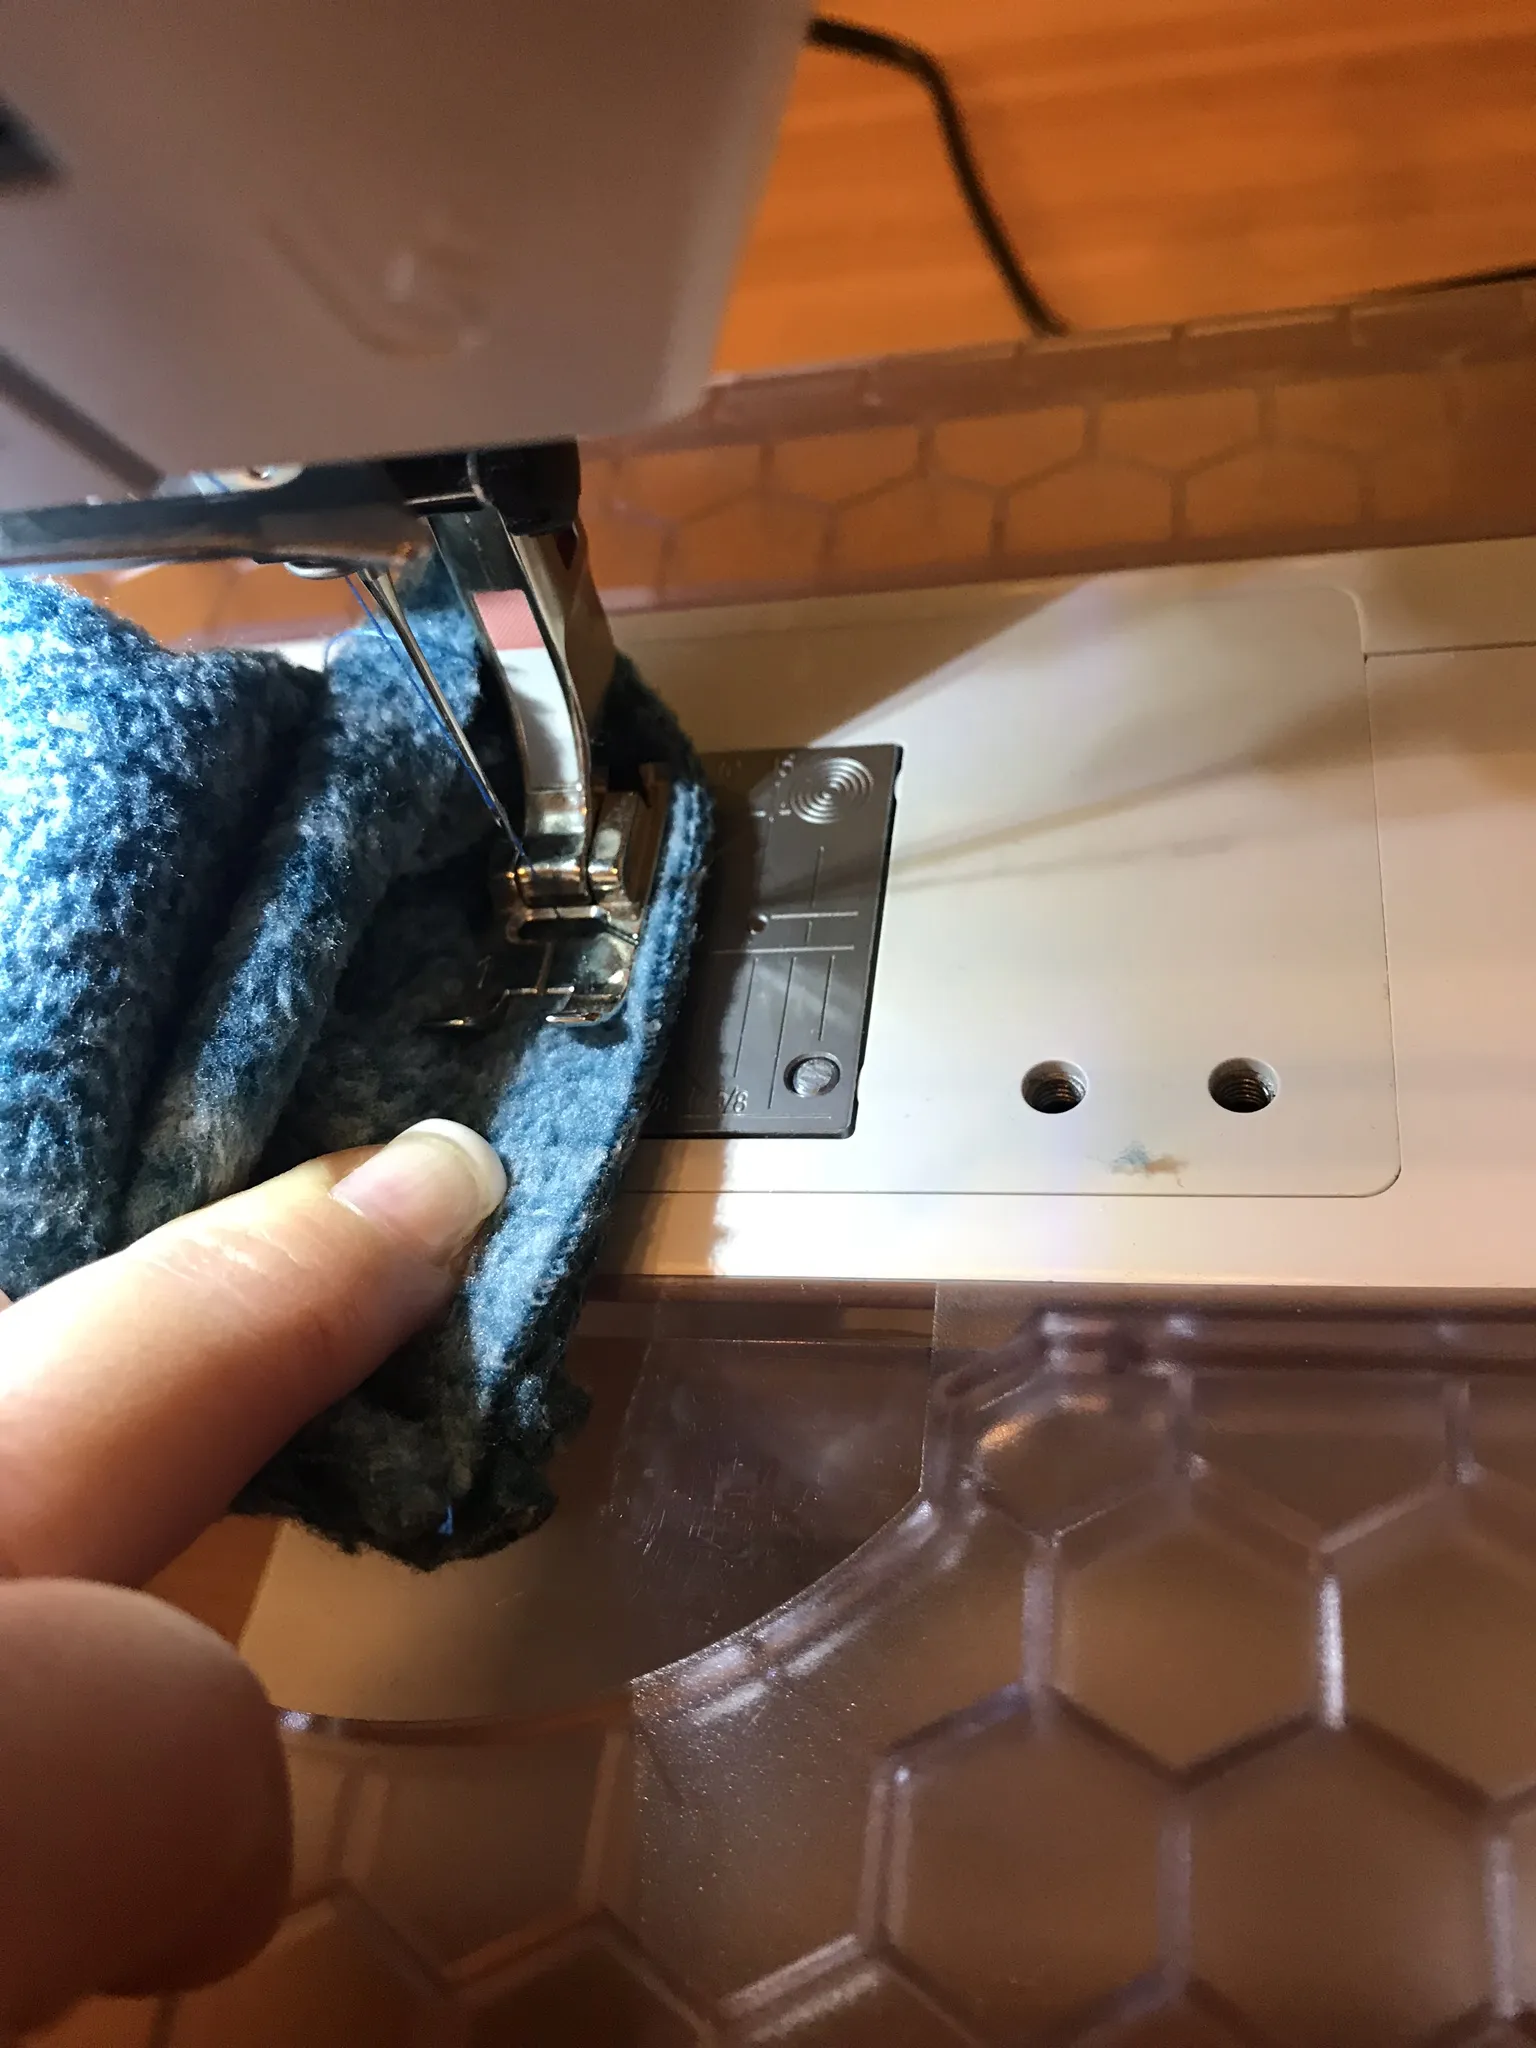
Both long sides of the rectangle are sewn together this way (don't forget a back stitch to secure the seam!). The fabric can then be turned right side out.
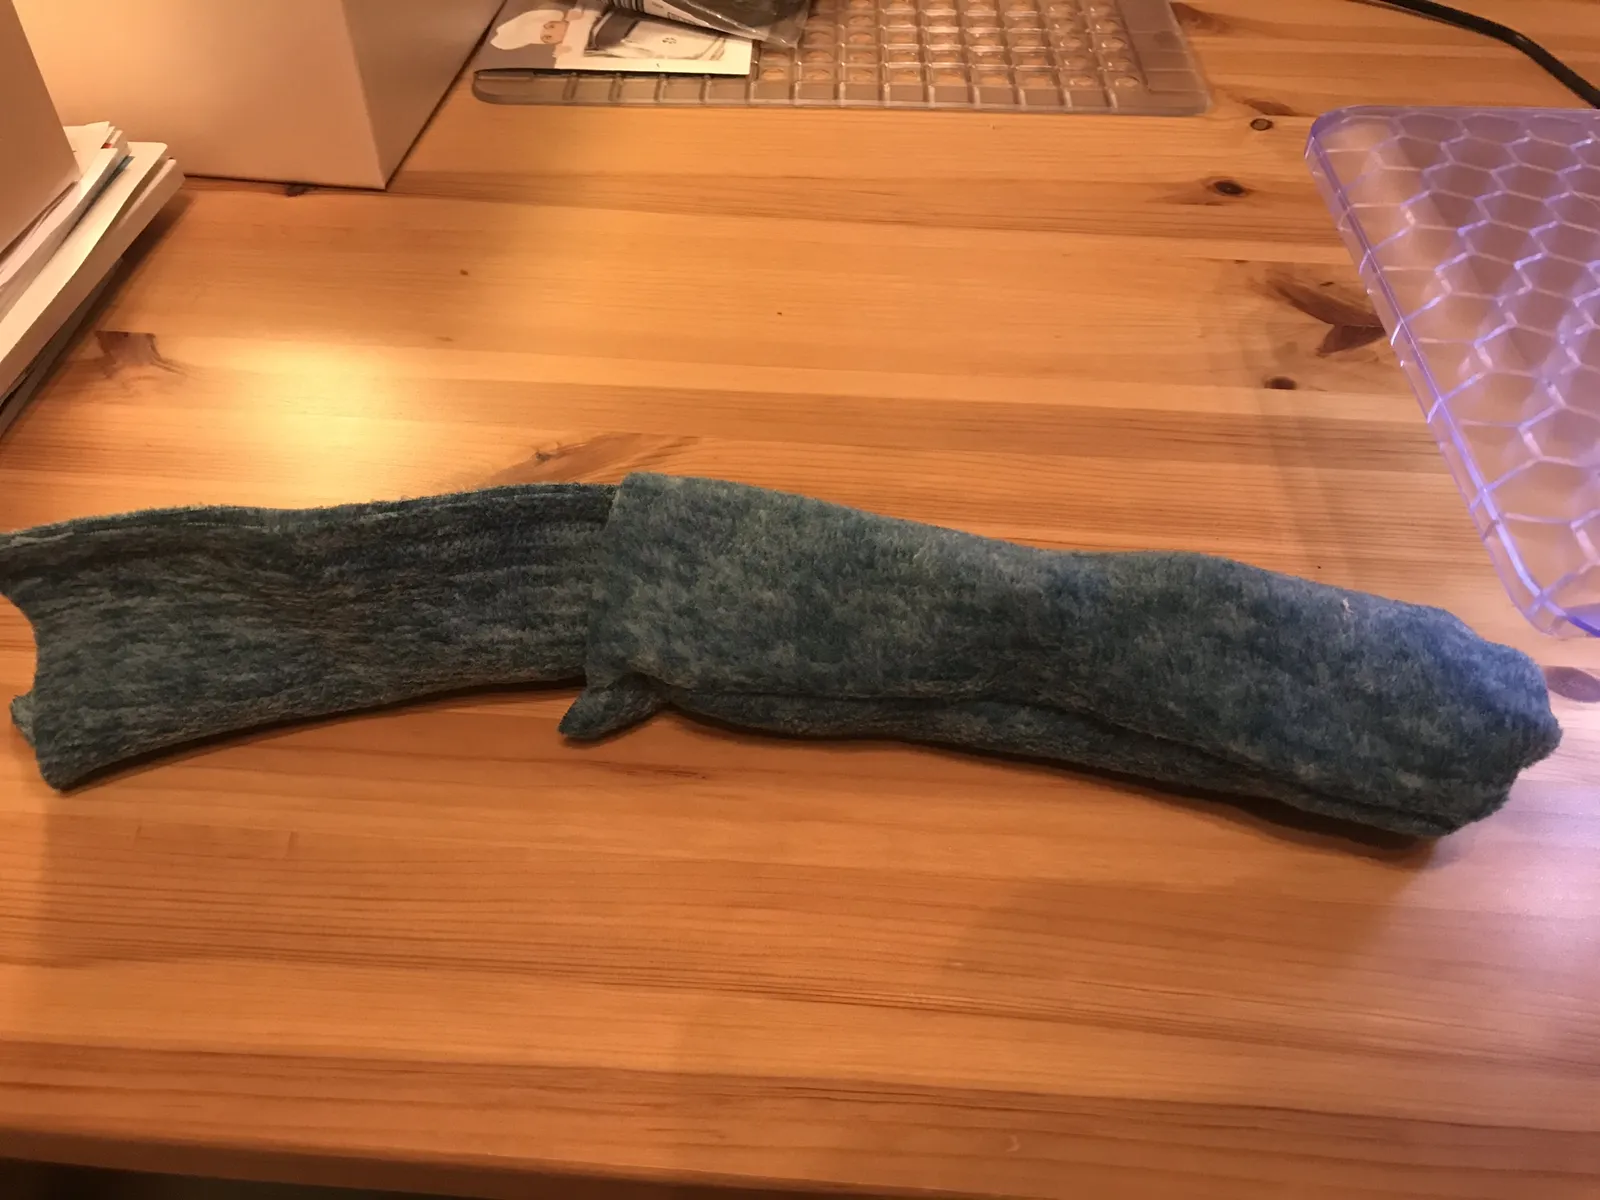
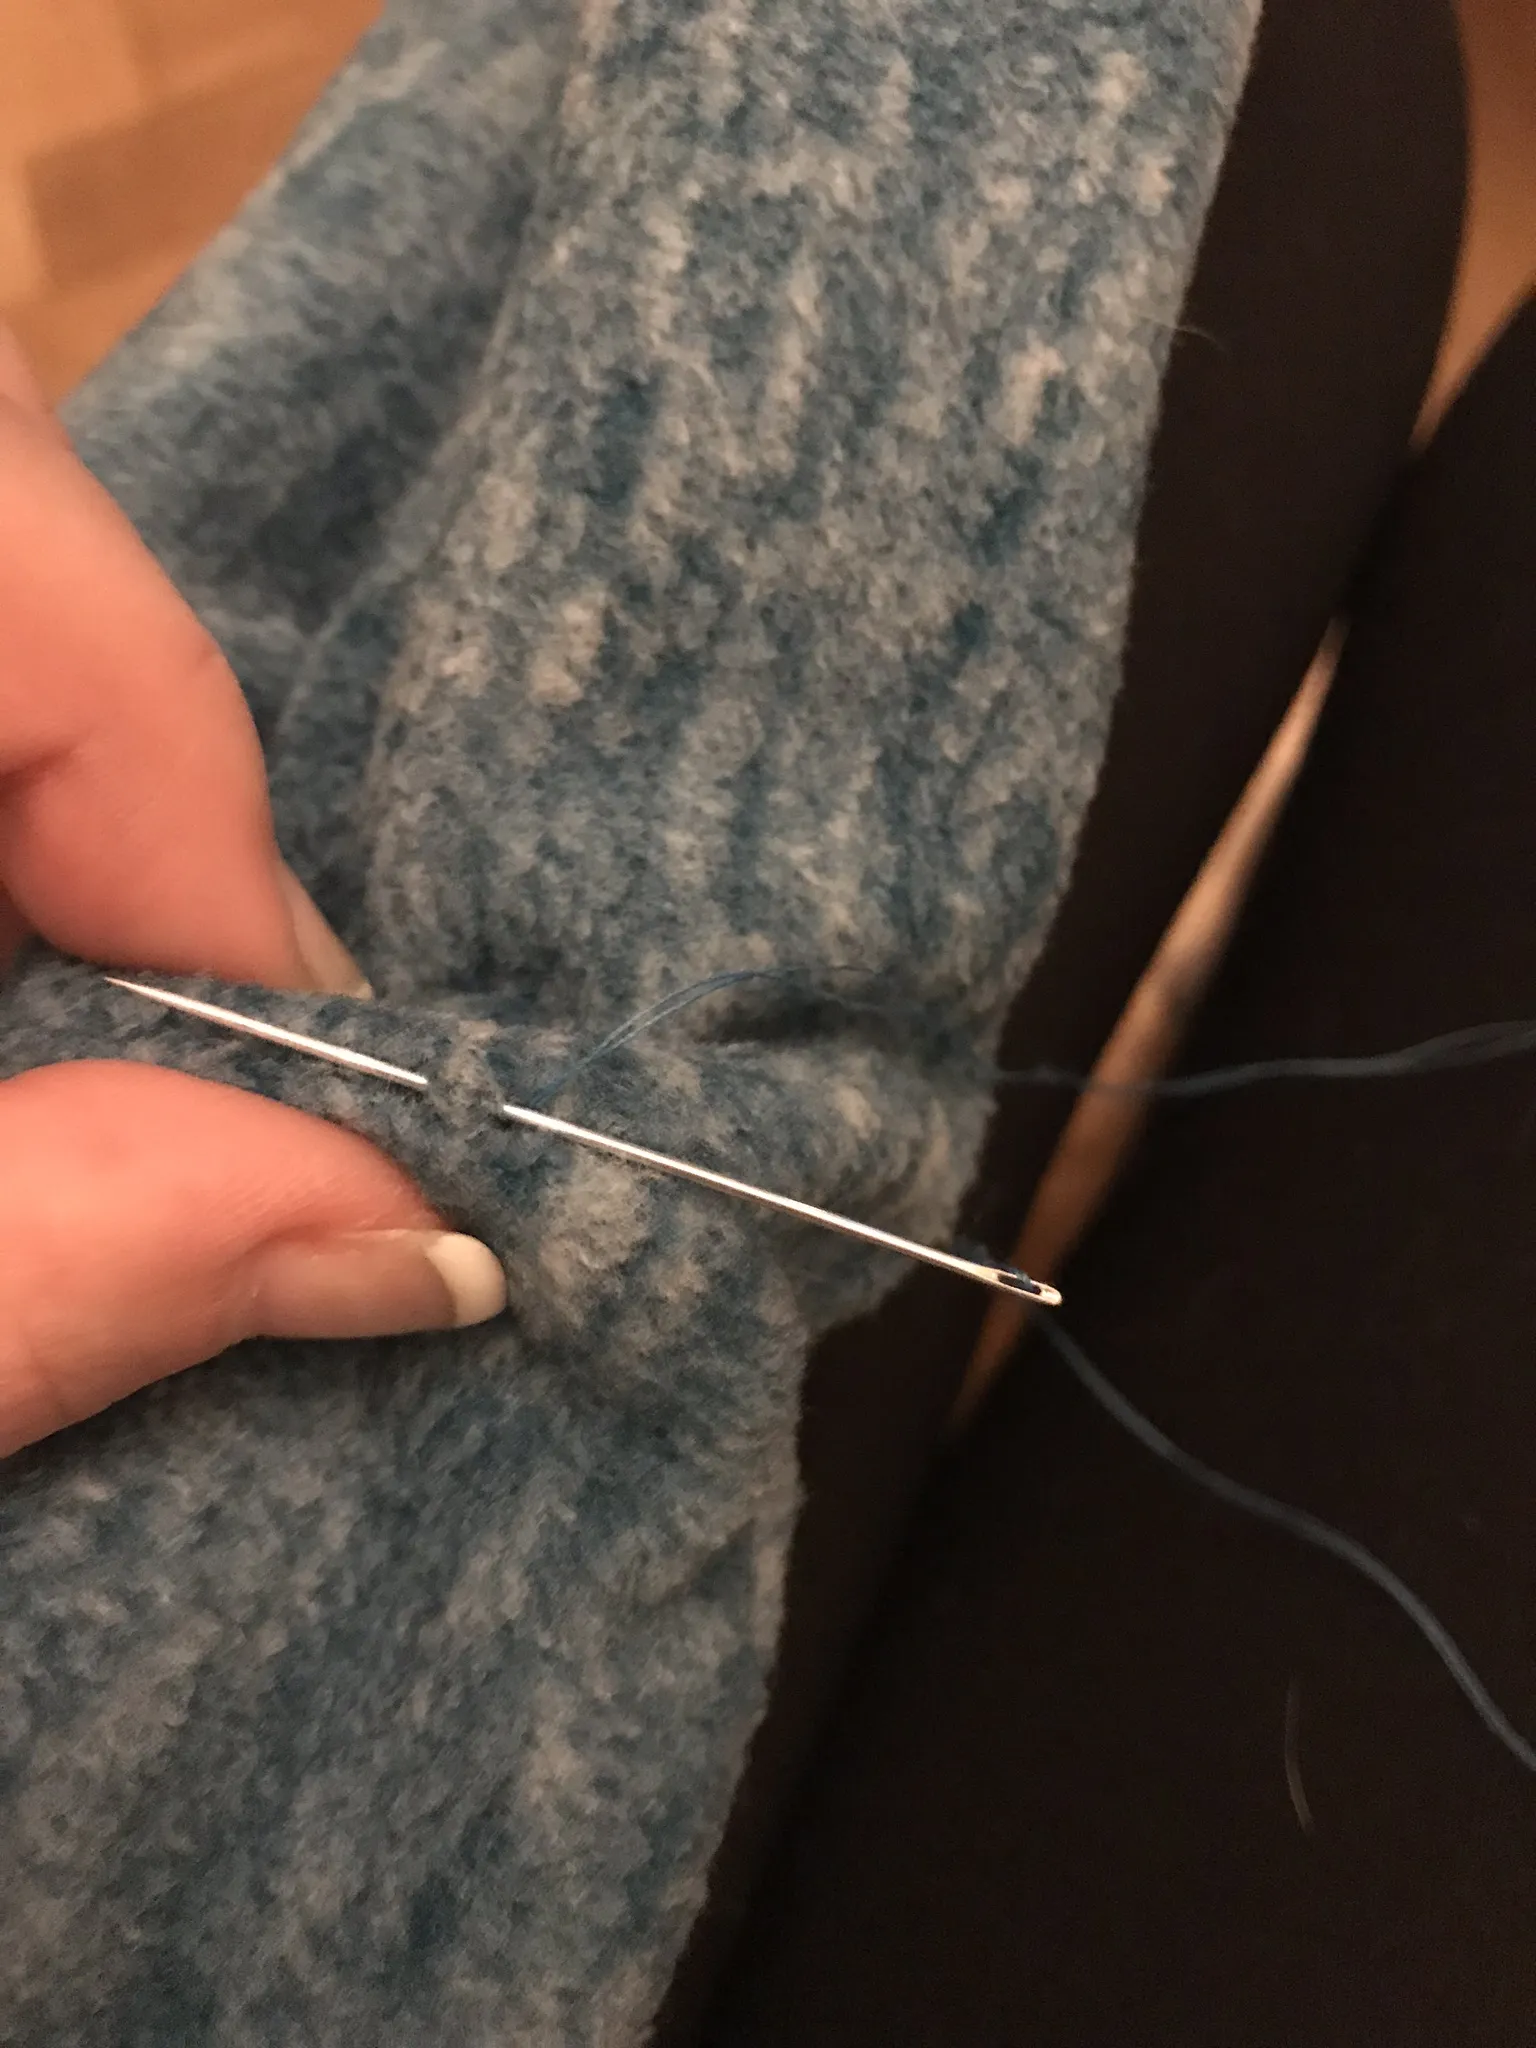
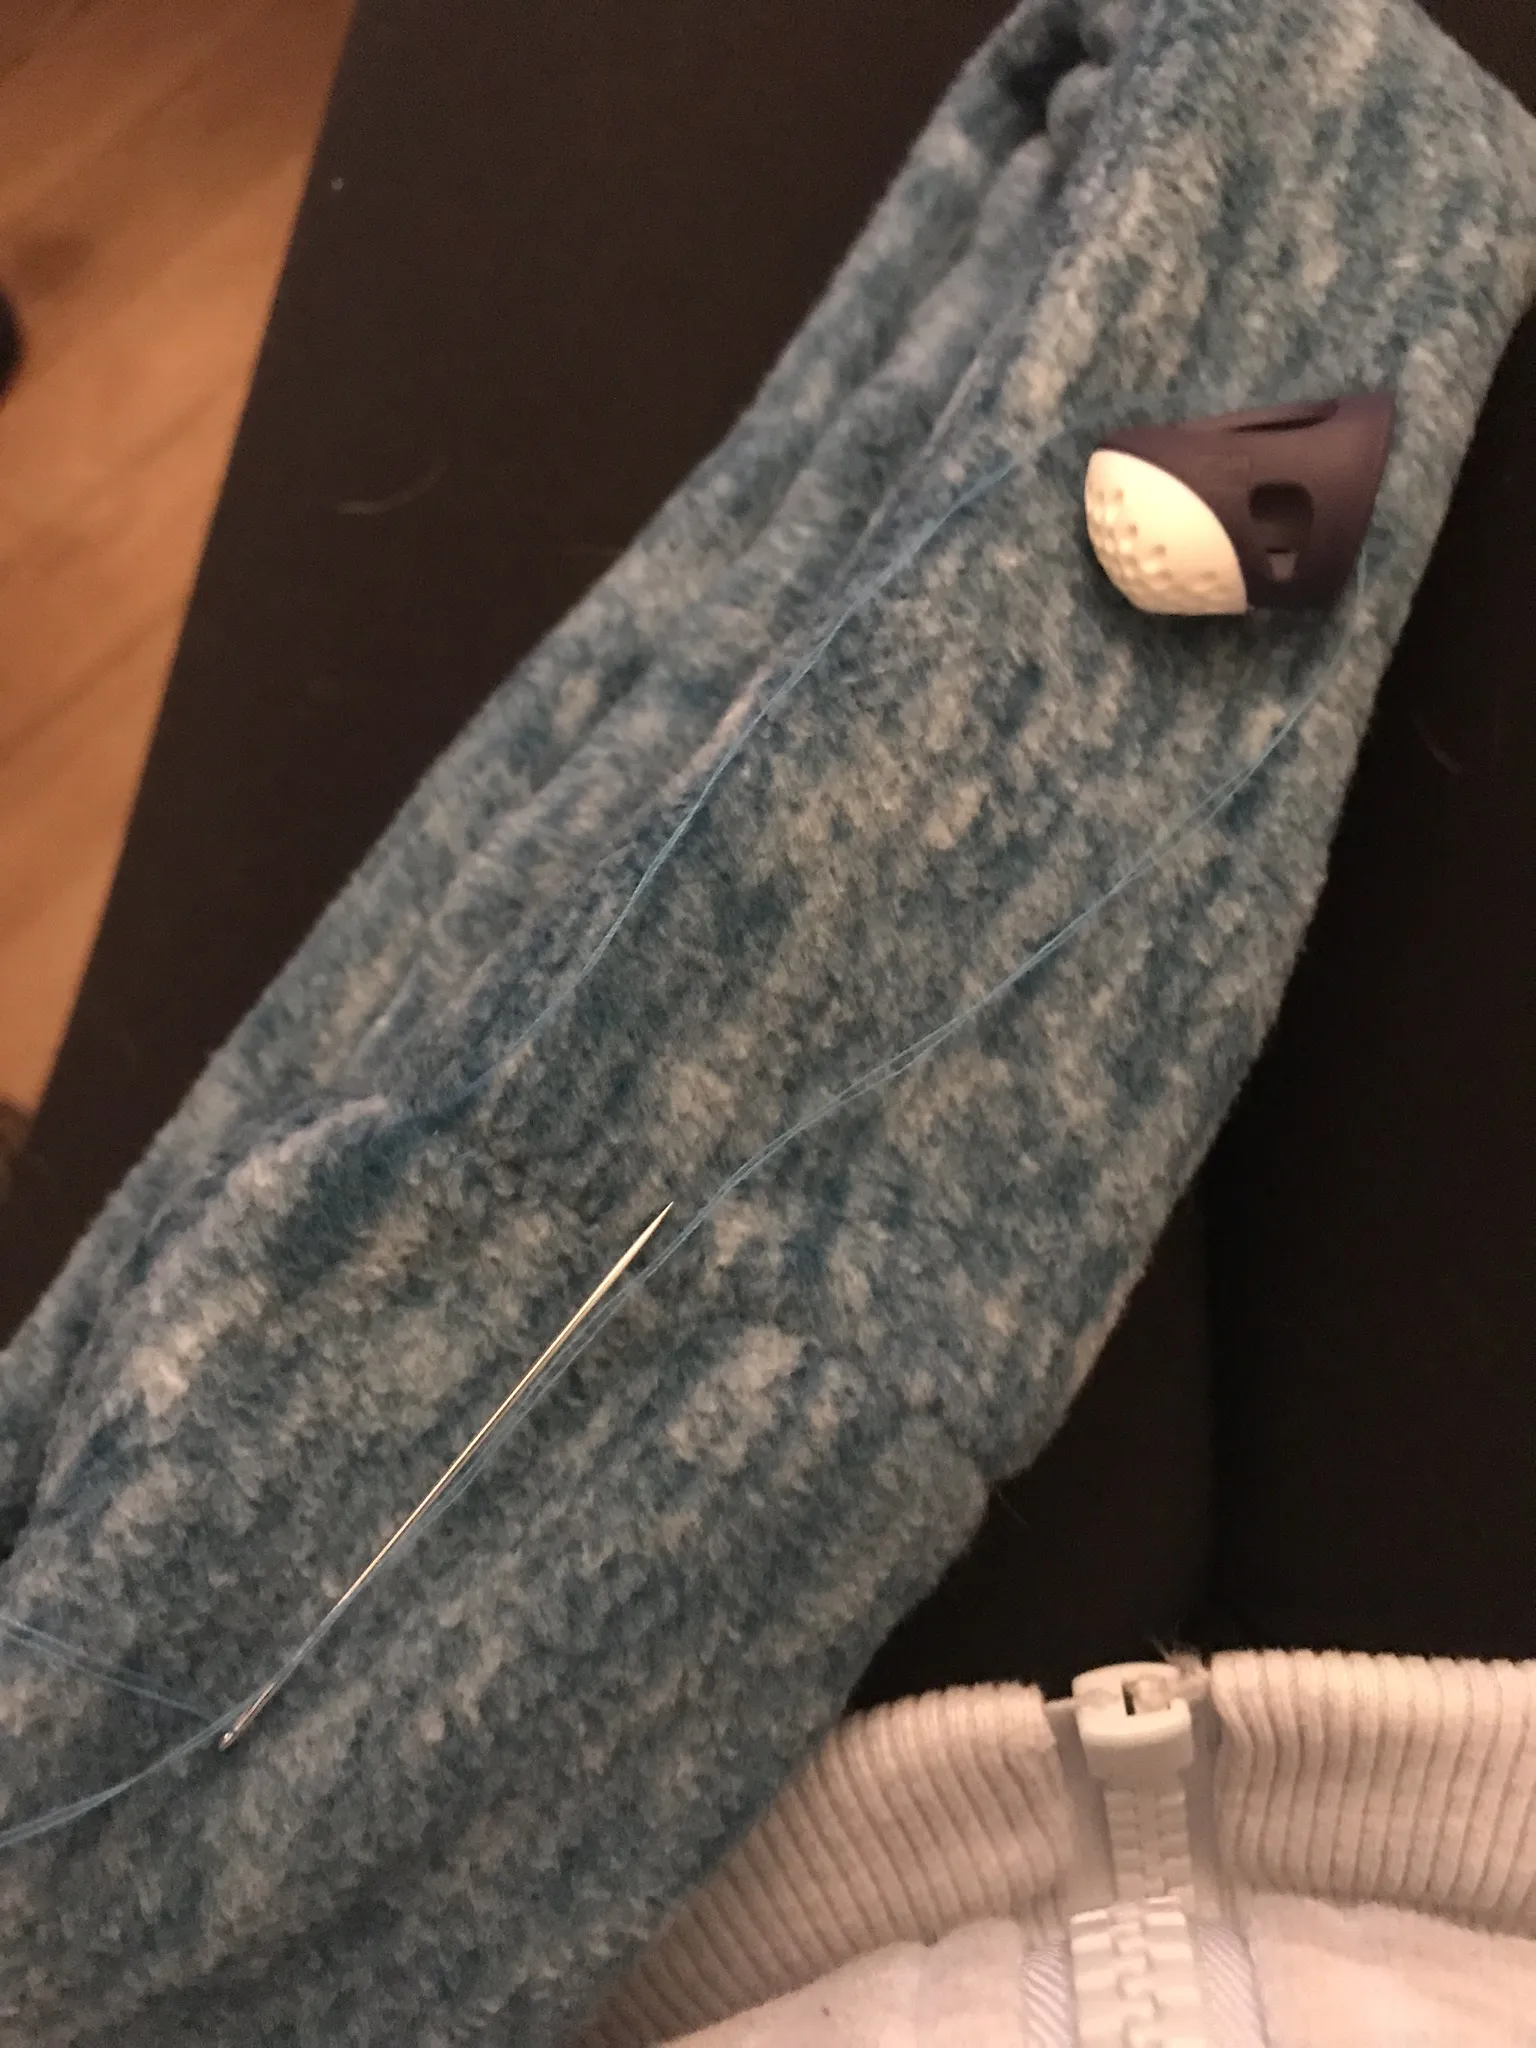
Little bit tricky!
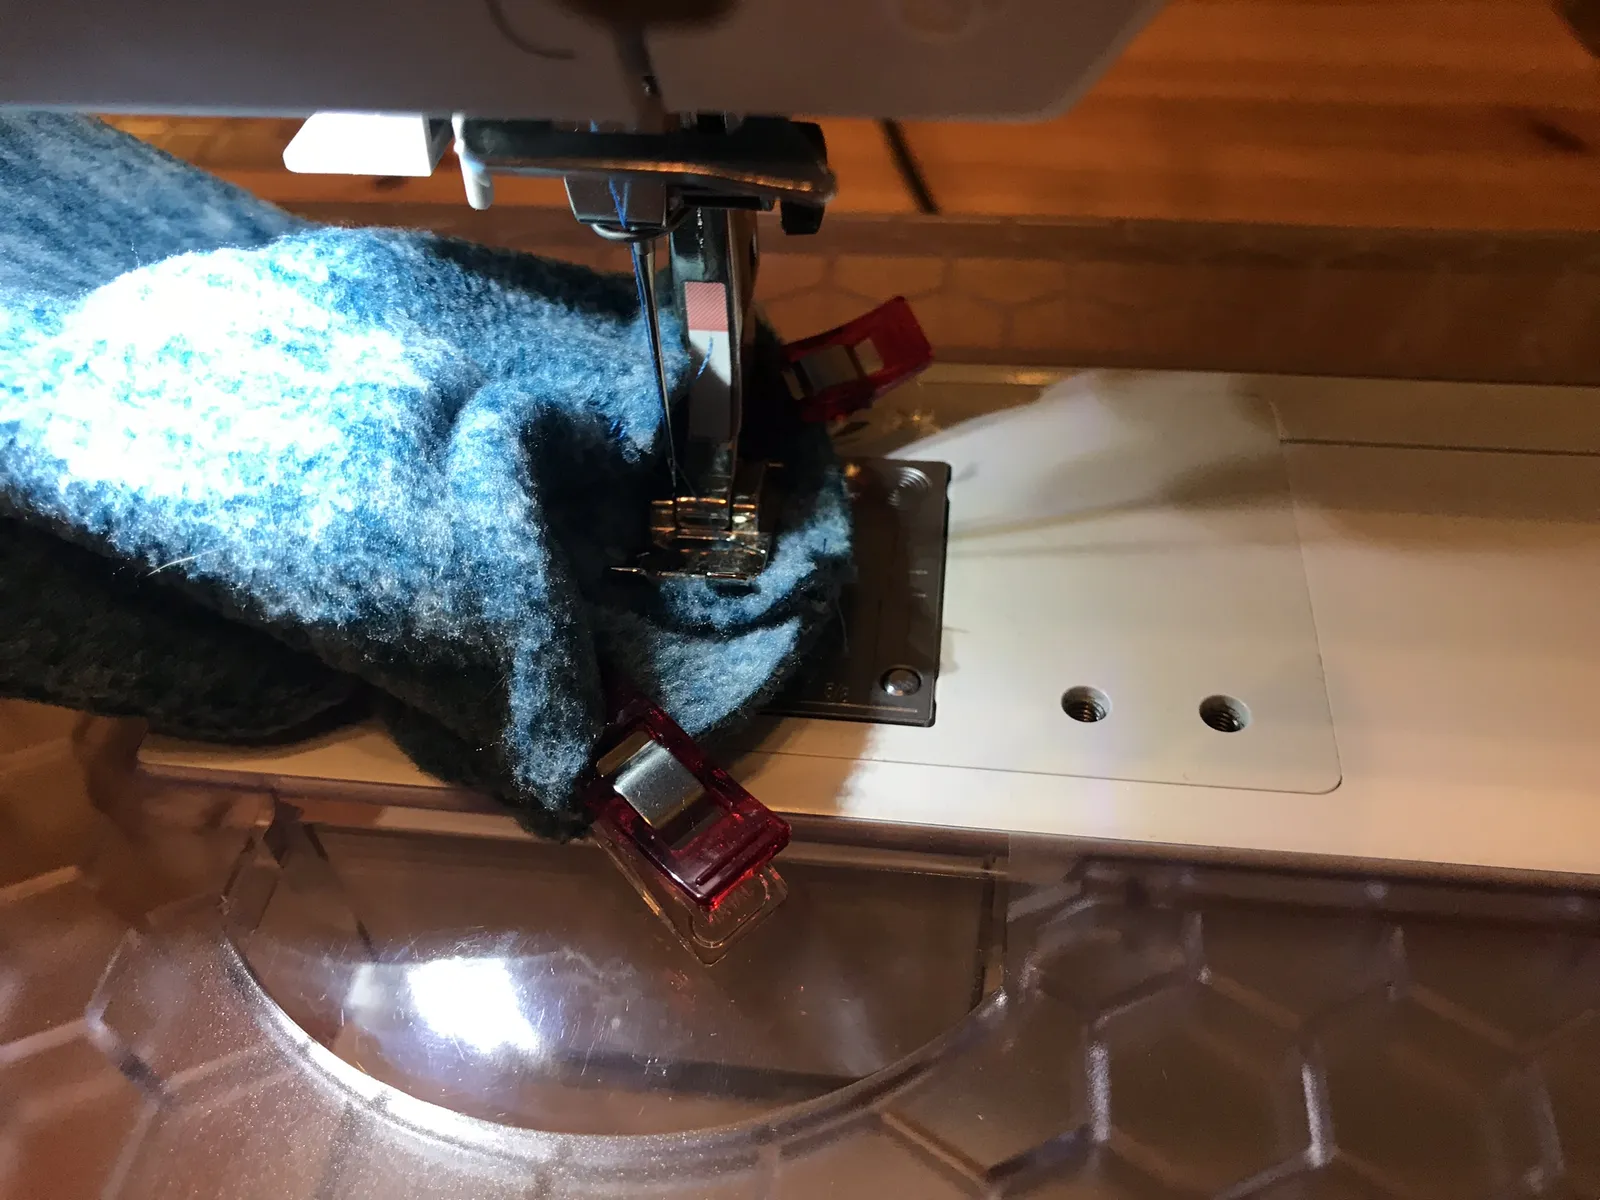
The short sides of the rectangle are sewn together "in a circle". You can use a straight stitch here, because there's no tension on the thread on this side. Sew in a circle as far as you can — leave the last little section open and sew it closed by hand.
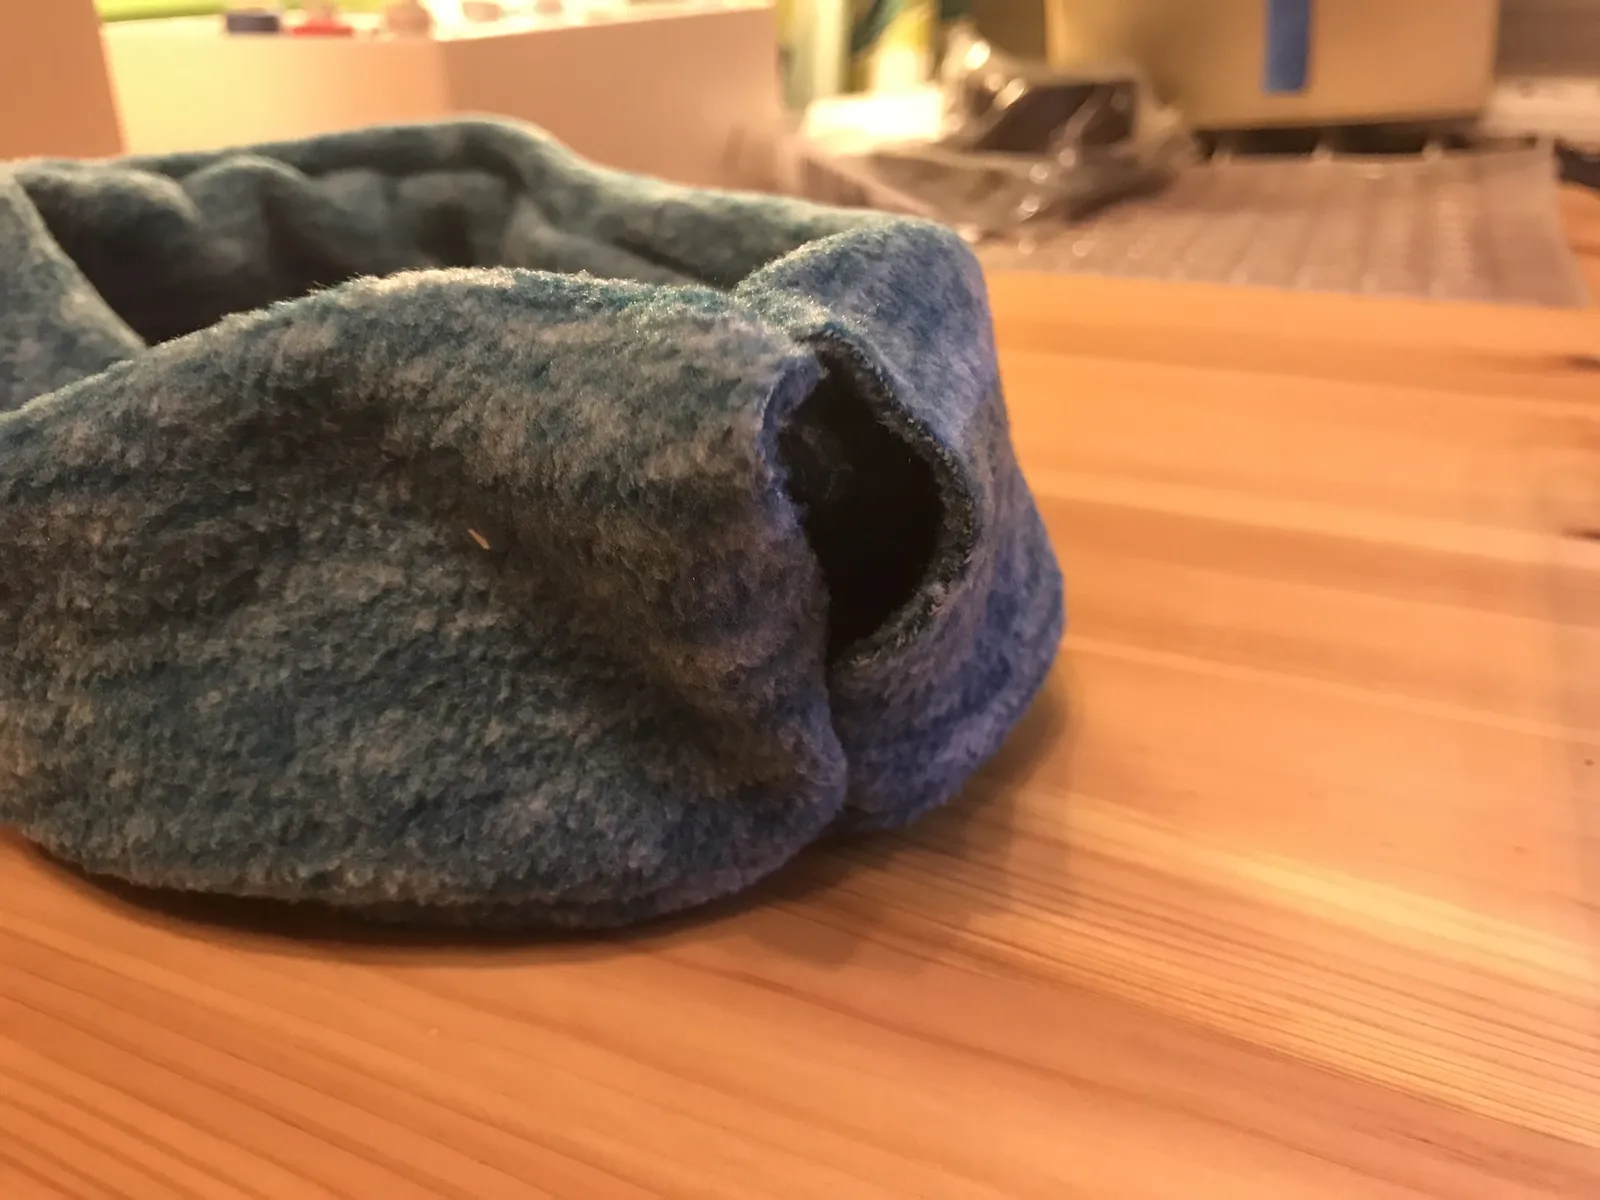
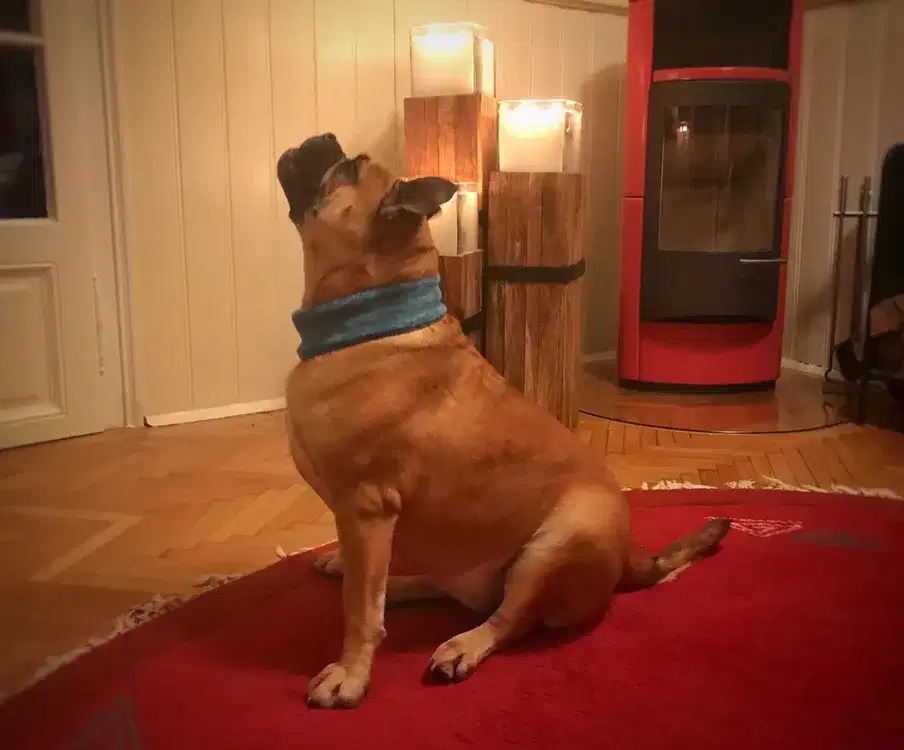
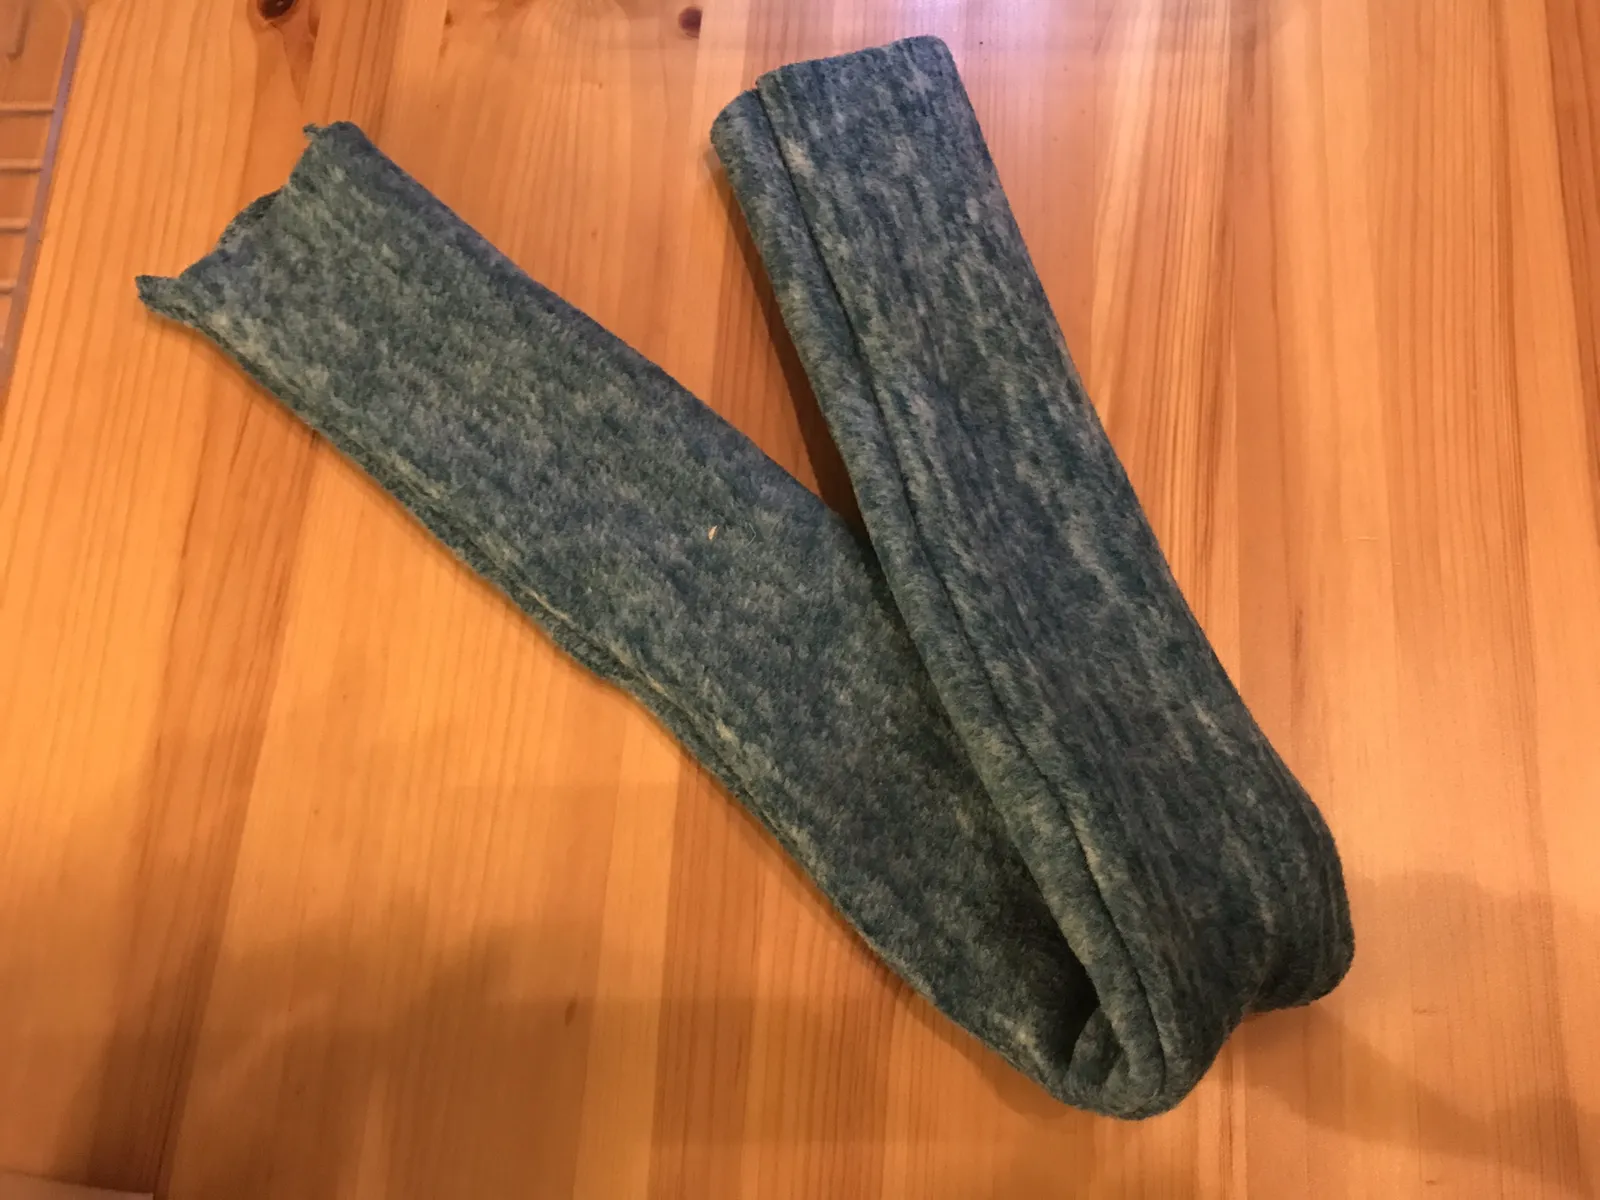
The Christmas Loop Scarf Is Done!
Warm wishes and Merry Christmas!!
Your Babsi