The 22nd door of the Dogblogger Adventskalender opens this year with our tutorial for a festive bow tie. So that our beloved Christmas dogs have the perfect outfit on Christmas Eve, I'll show you how to easily make a stylish bow tie yourself.
Since not everyone has a sewing machine at home, I wanted to offer you a DIY that works completely without one. If you want to dress up your furry friend for the holidays and style them smartly, you can still whip something up at the last minute.
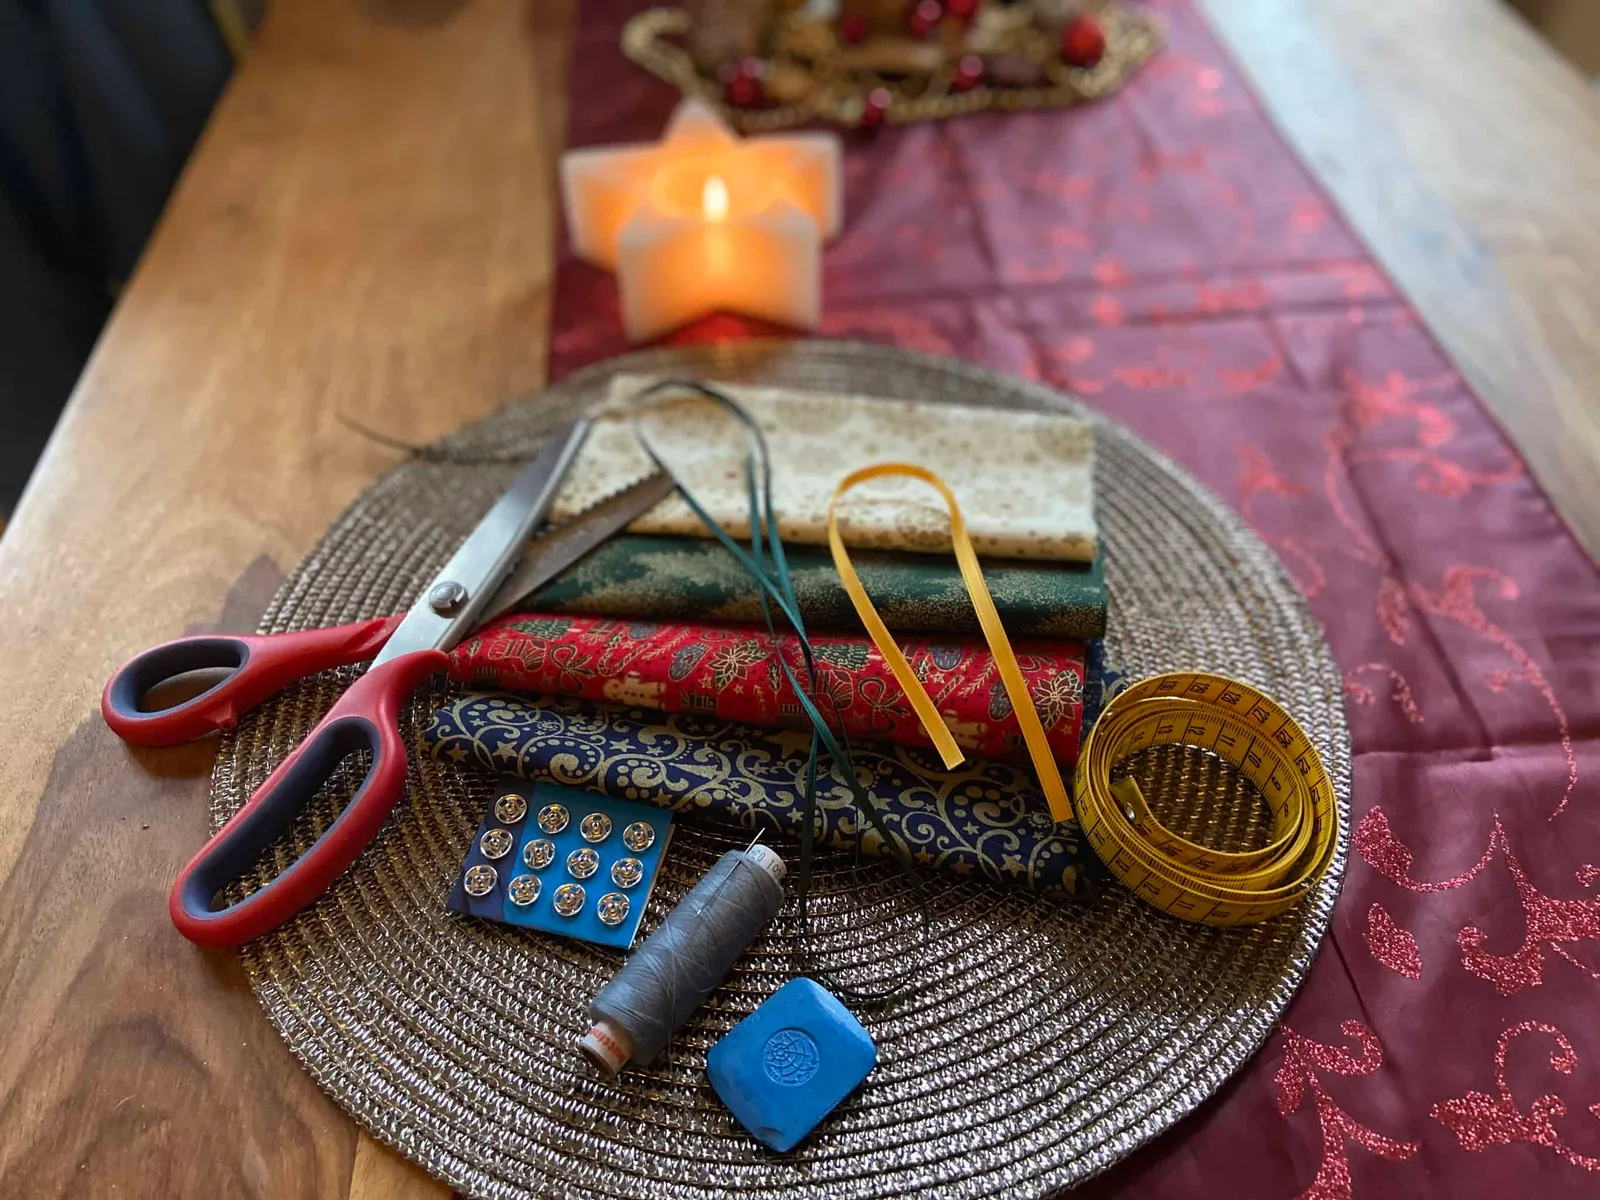
What do you need for the festive bow tie?
Overview
- Fabric with a Christmas pattern or in a festive colour
- Satin ribbon, thick yarn or sturdy thread
- Press studs or Velcro
- Pinking shears
- Measuring tape
- Needle and thread
- Tailor's chalk or a pen for marking
- Your dog's neck circumference
Details
The fabric should not be stretchy. That means I would recommend a cotton fabric, as thick and firm as possible, so that the folds of the bow tie hold their shape nicely. Approximately 20 cm in length of a fabric width should be enough for everything.
To shape the fabric into a bow tie we need a ribbon. You can use a narrow satin ribbon, approx. 30–40 cm long. Or alternatively some yarn wound several times, or a very sturdy thread.
Since we want to fasten the bow tie around the dog's neck, we need something to close it. I used press studs. But Velcro works just as well.
An ordinary pair of pinking shears is all you need. You use pinking shears because 1. the fabric barely frays and 2. it looks lovely. A measuring tape, a needle, some thread and your dog's neck circumference are the remaining "ingredients" for conjuring up something beautiful.
Let's start cutting!
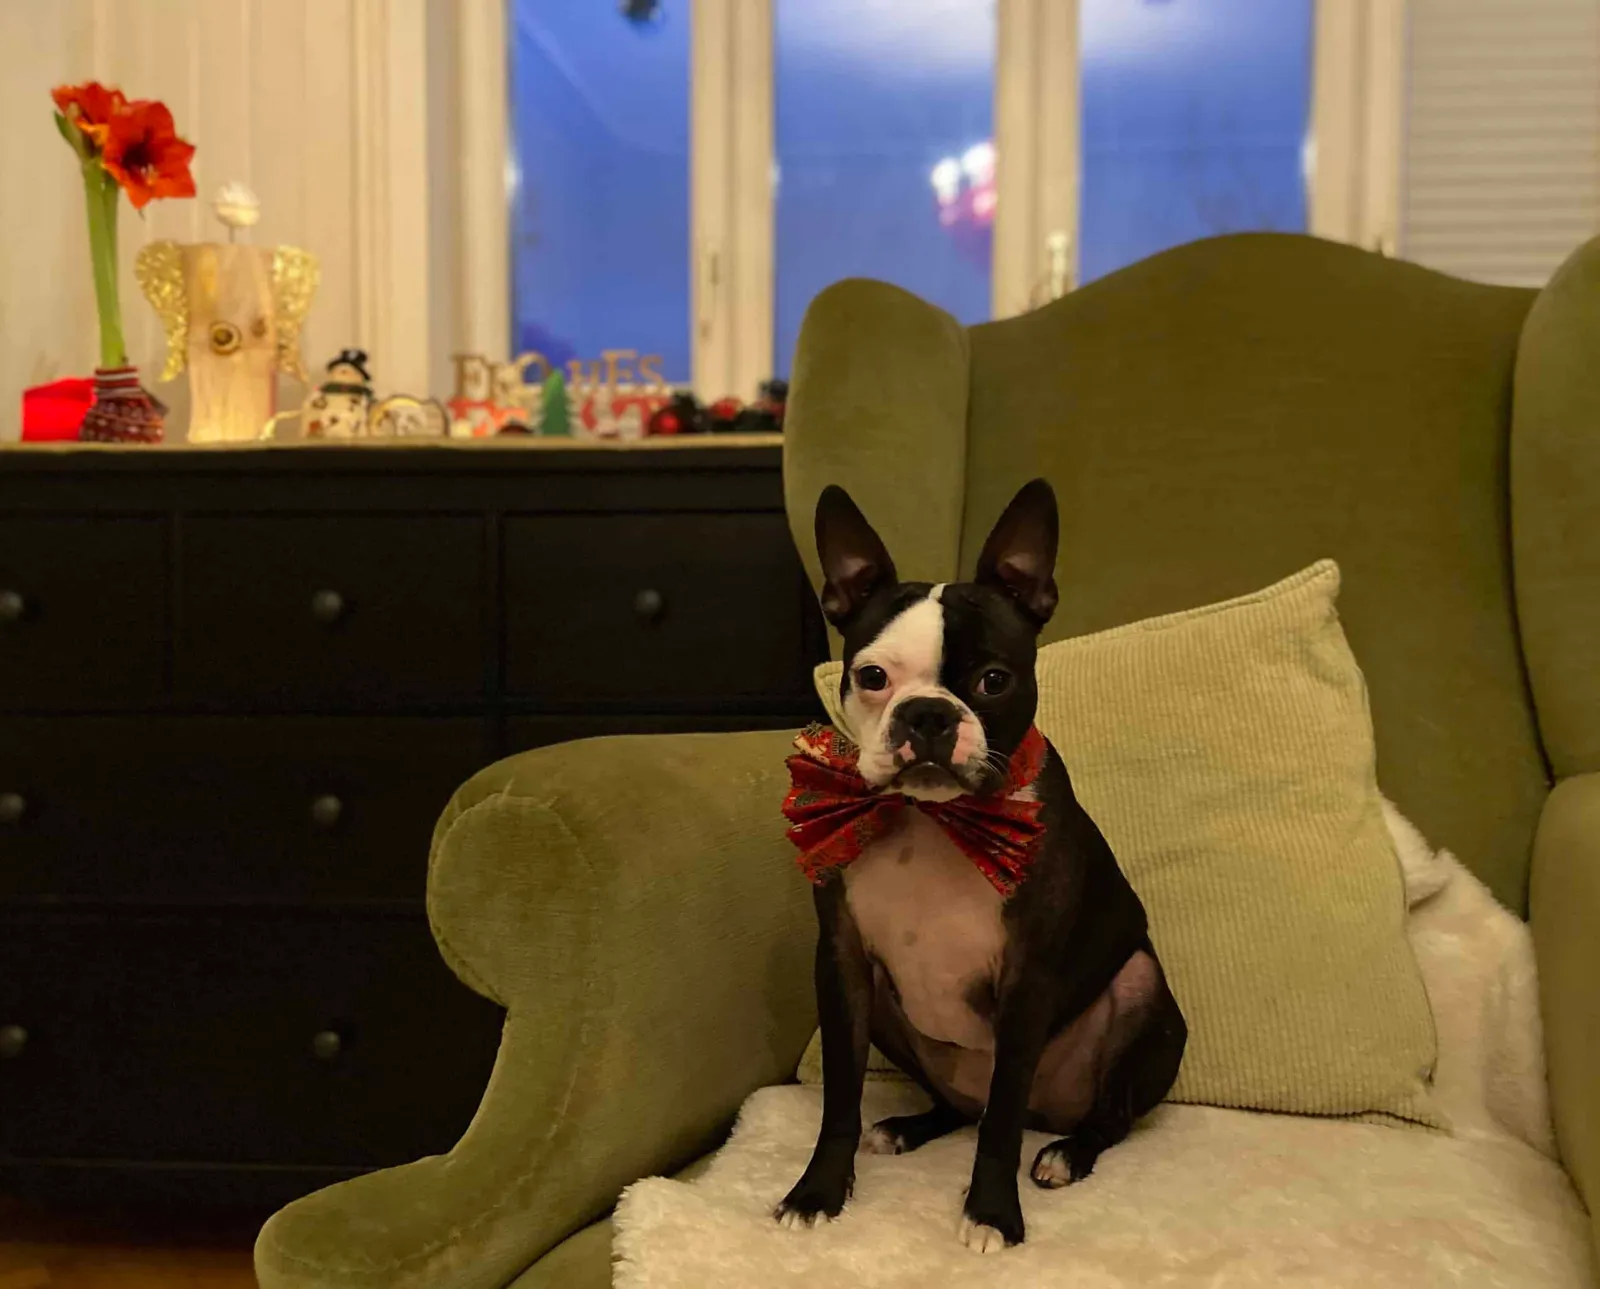
I'll show you how the crafting works using Murphy's dark blue and gold bow tie as an example.
First, measure your dog's neck circumference snugly. Then add 6 cm. That gives you the length of the band to which the bow tie will later be attached. You can choose the width of this band according to your taste and the size of your dog.
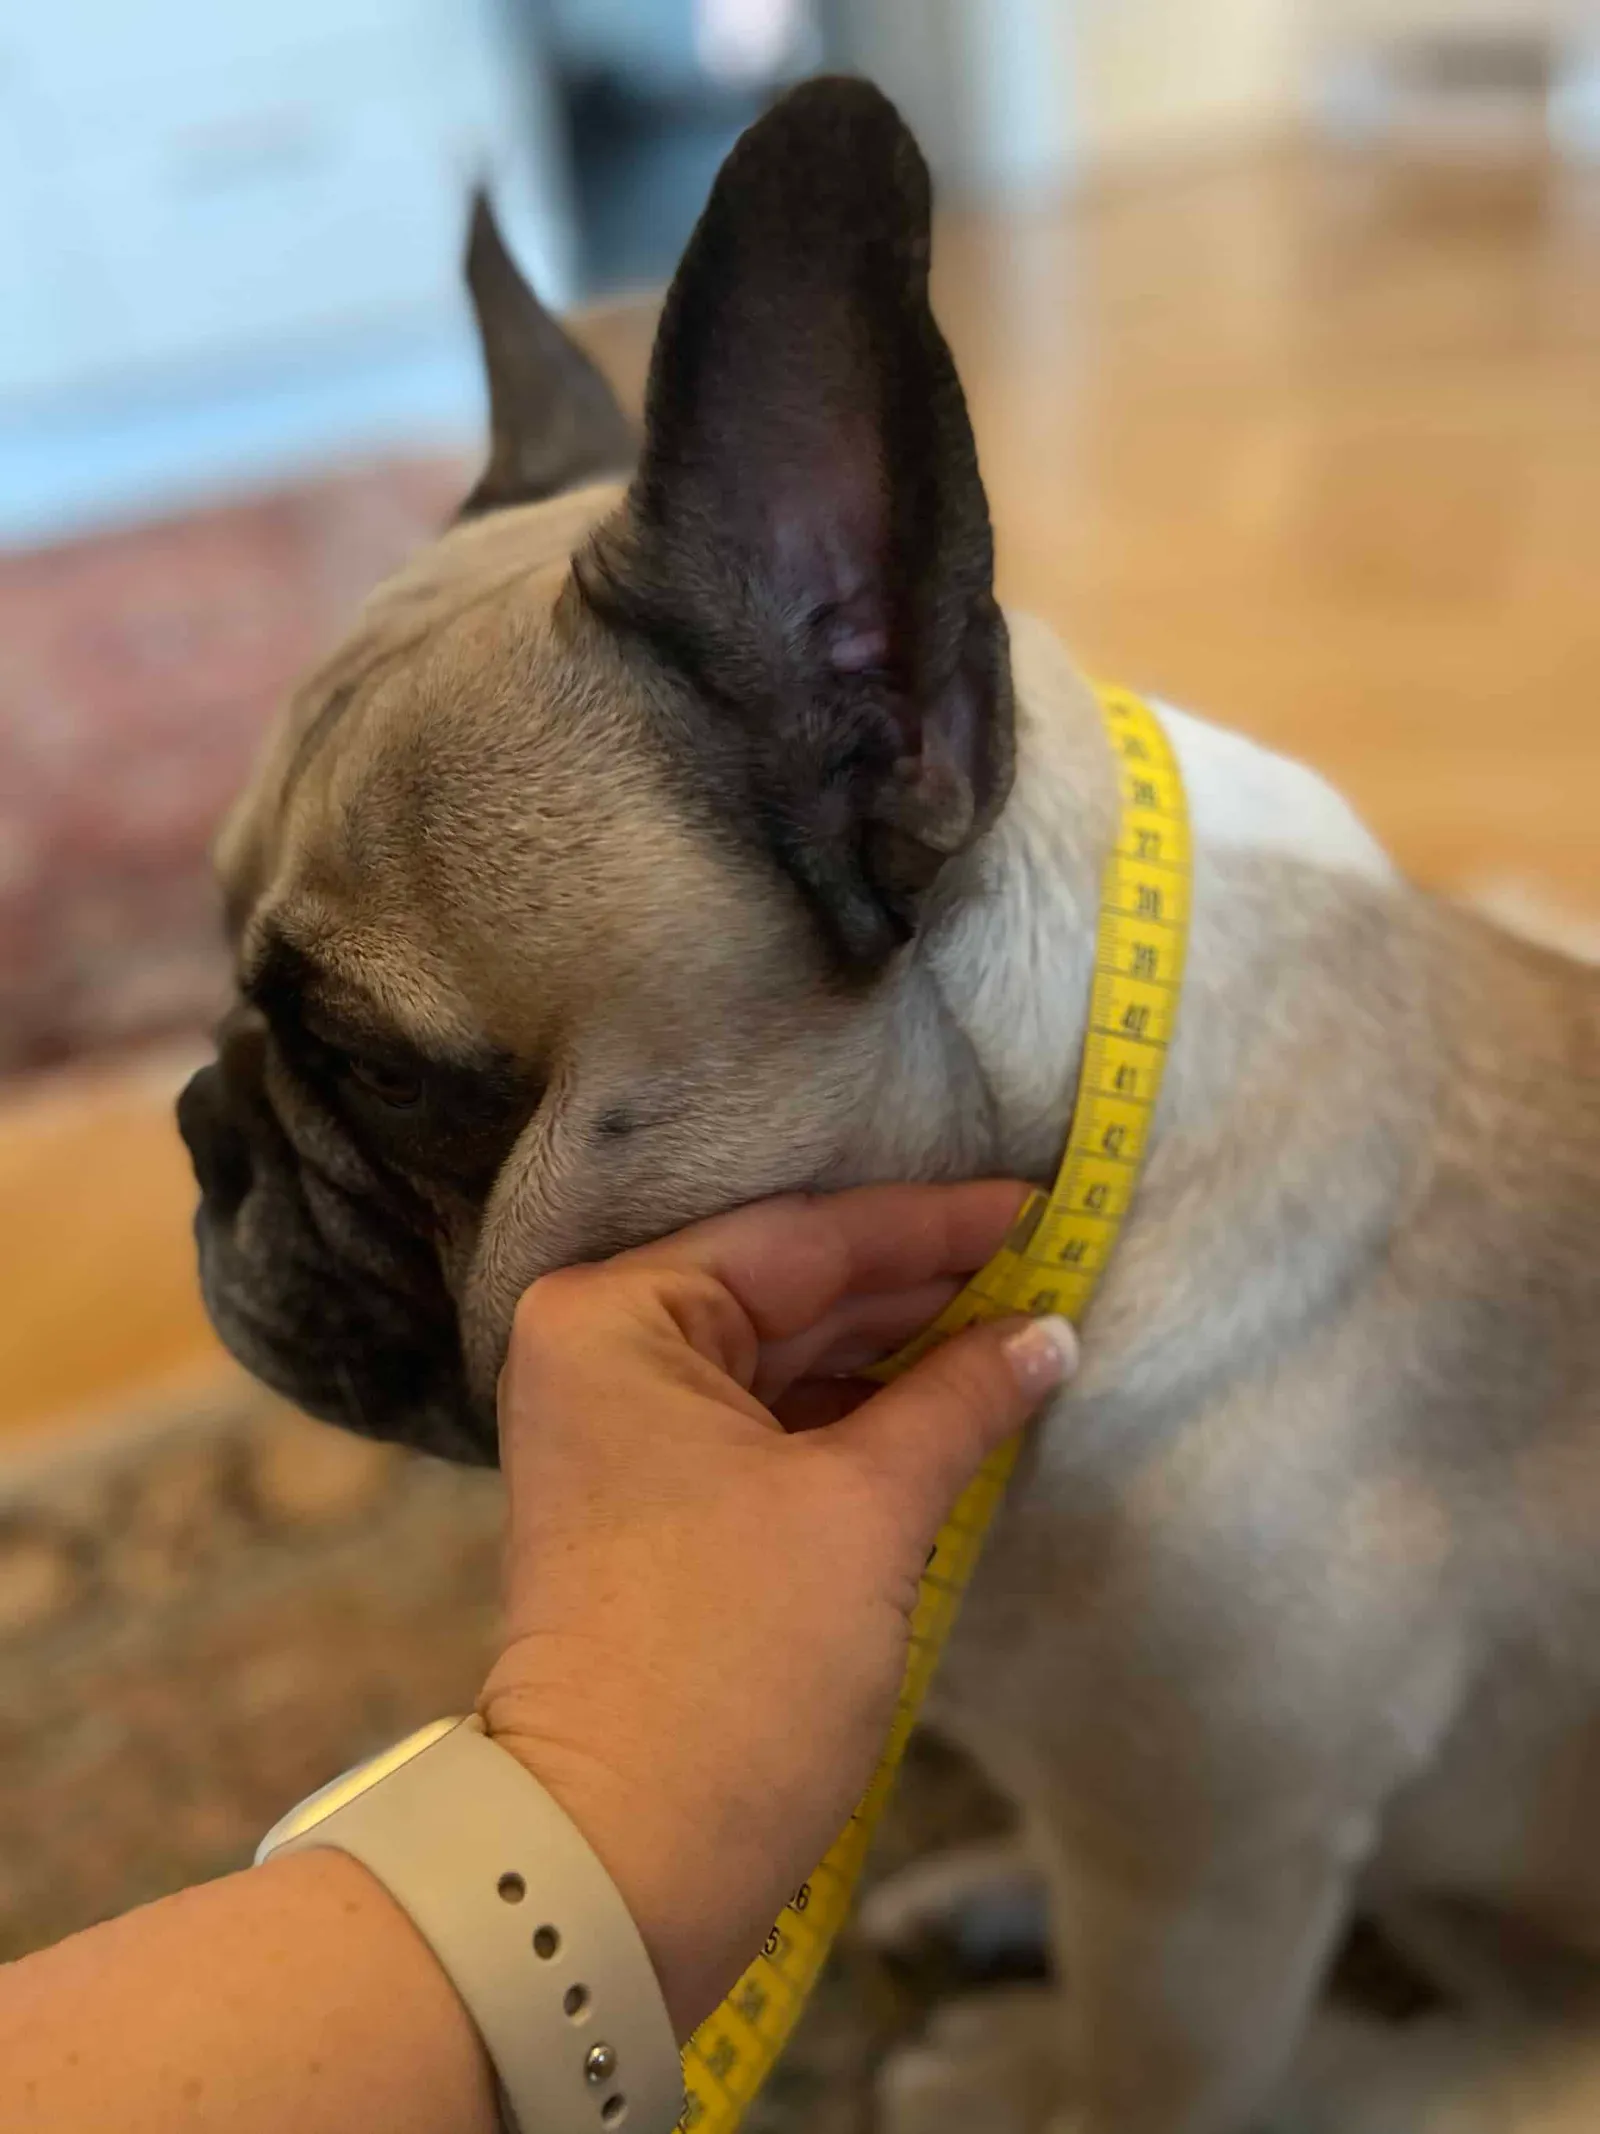
Murphy's neck circumference was: 43 cm + 6 cm = 49 cm length.
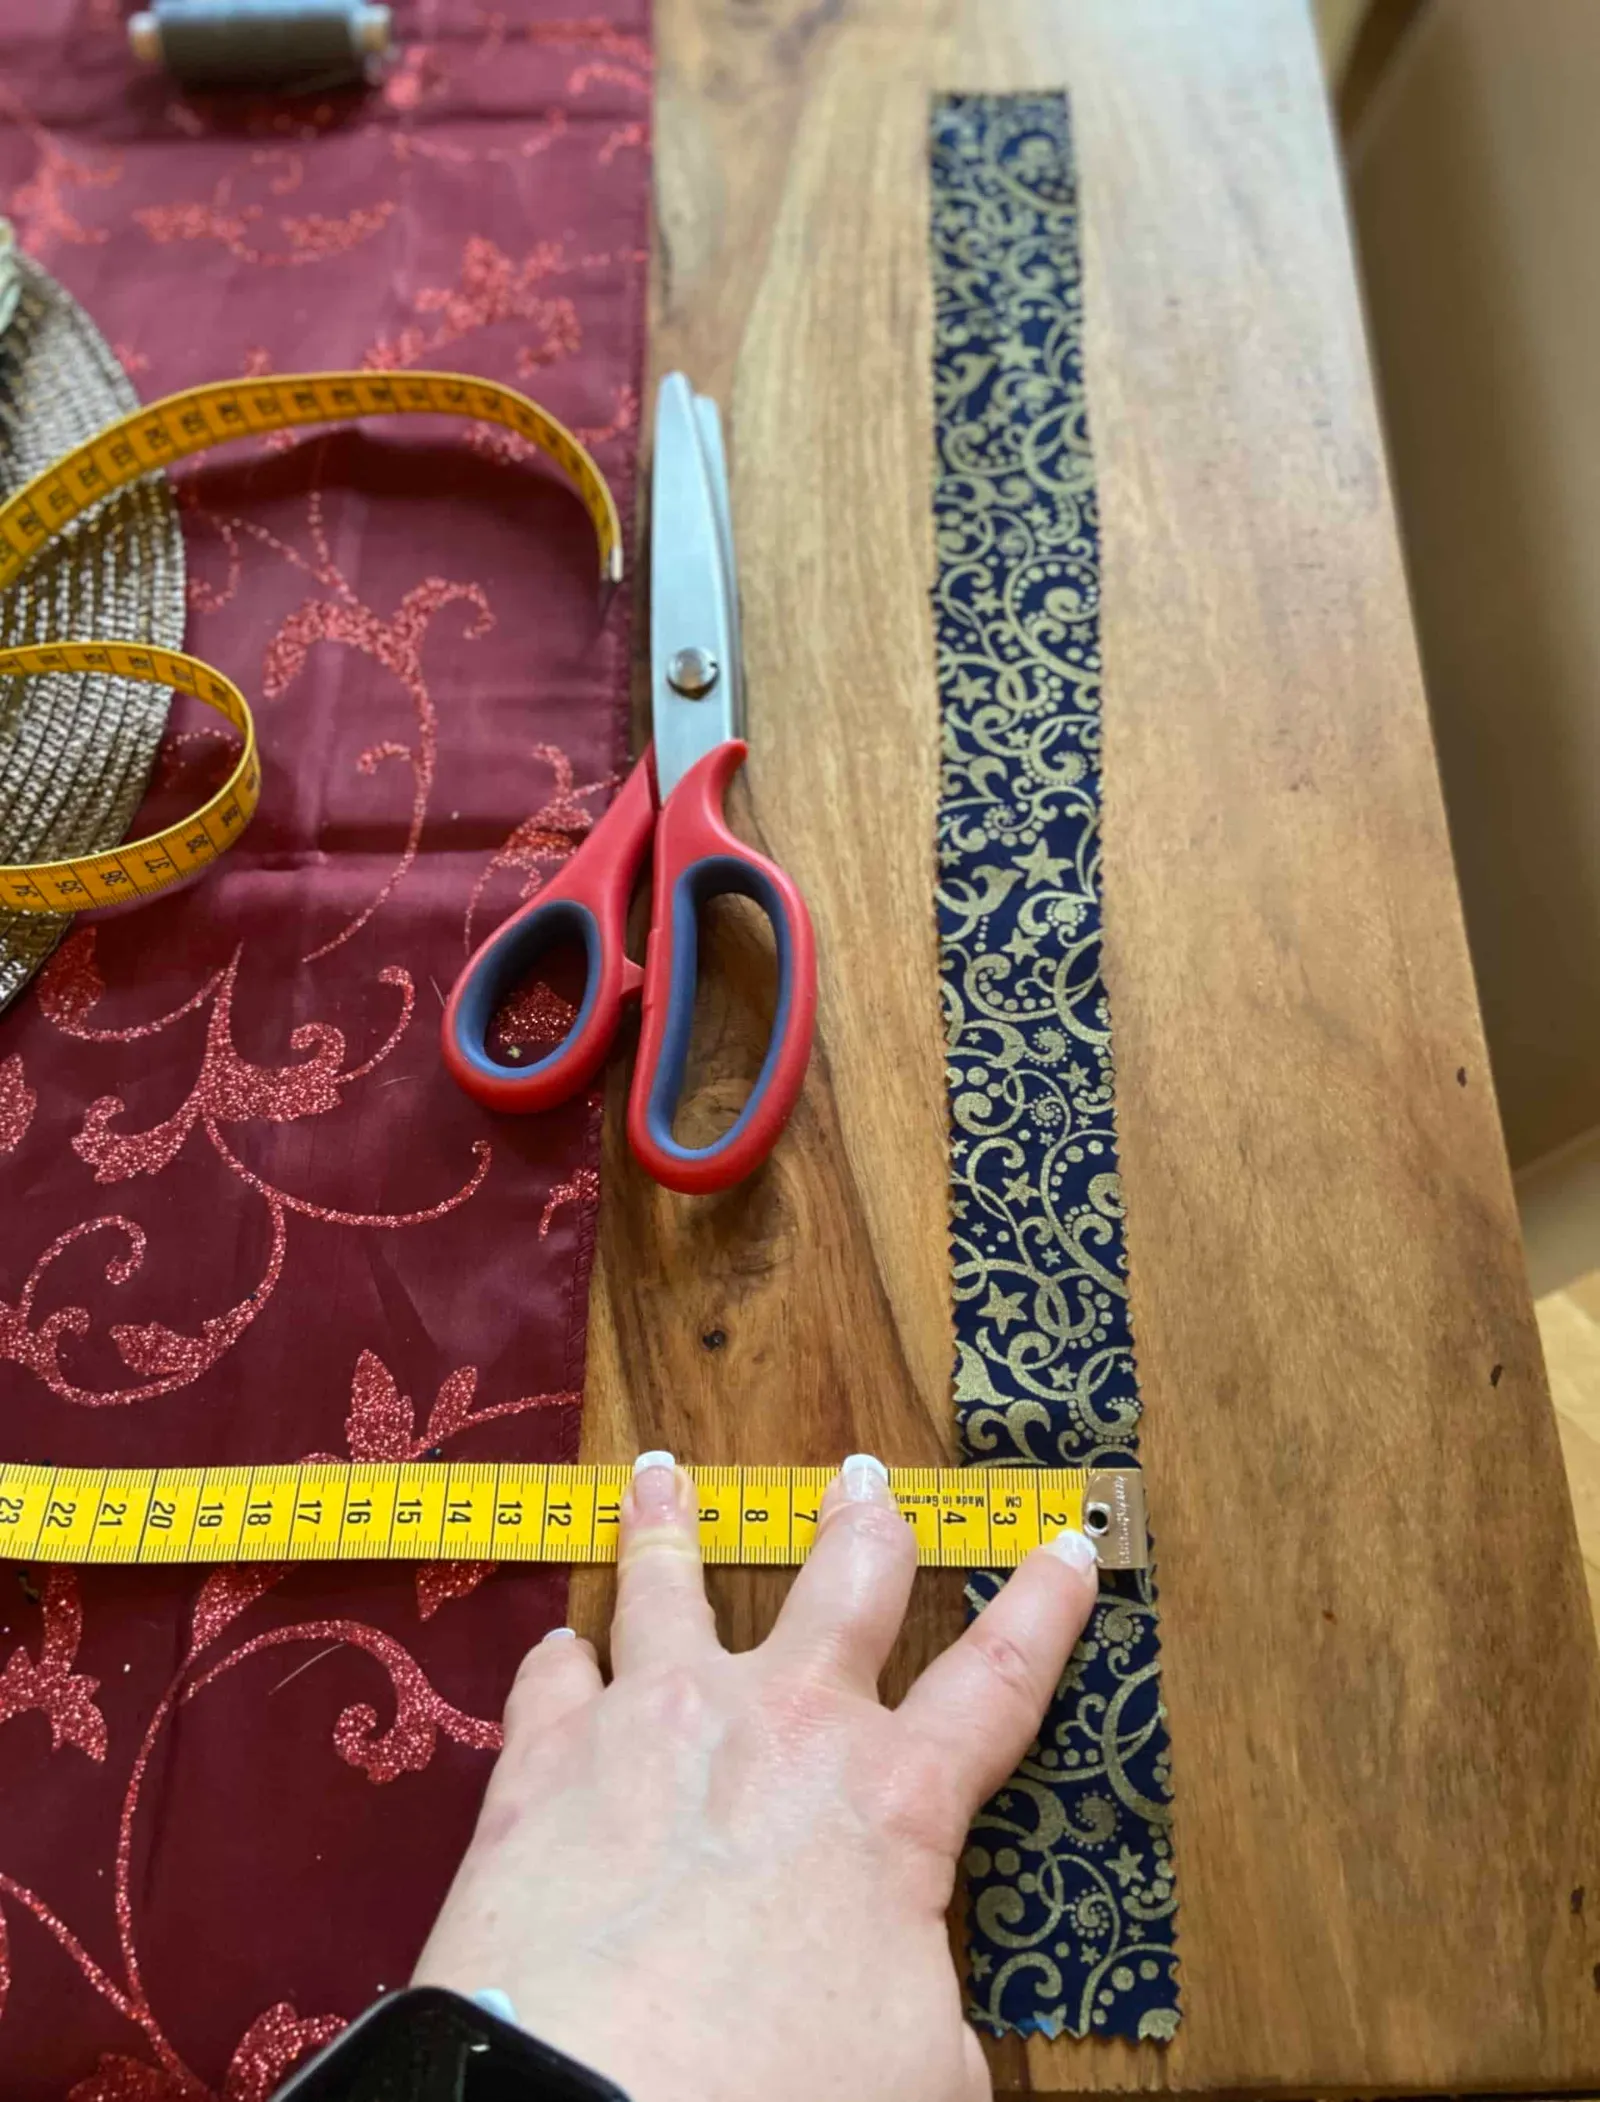
For the width I chose 3.5 cm.
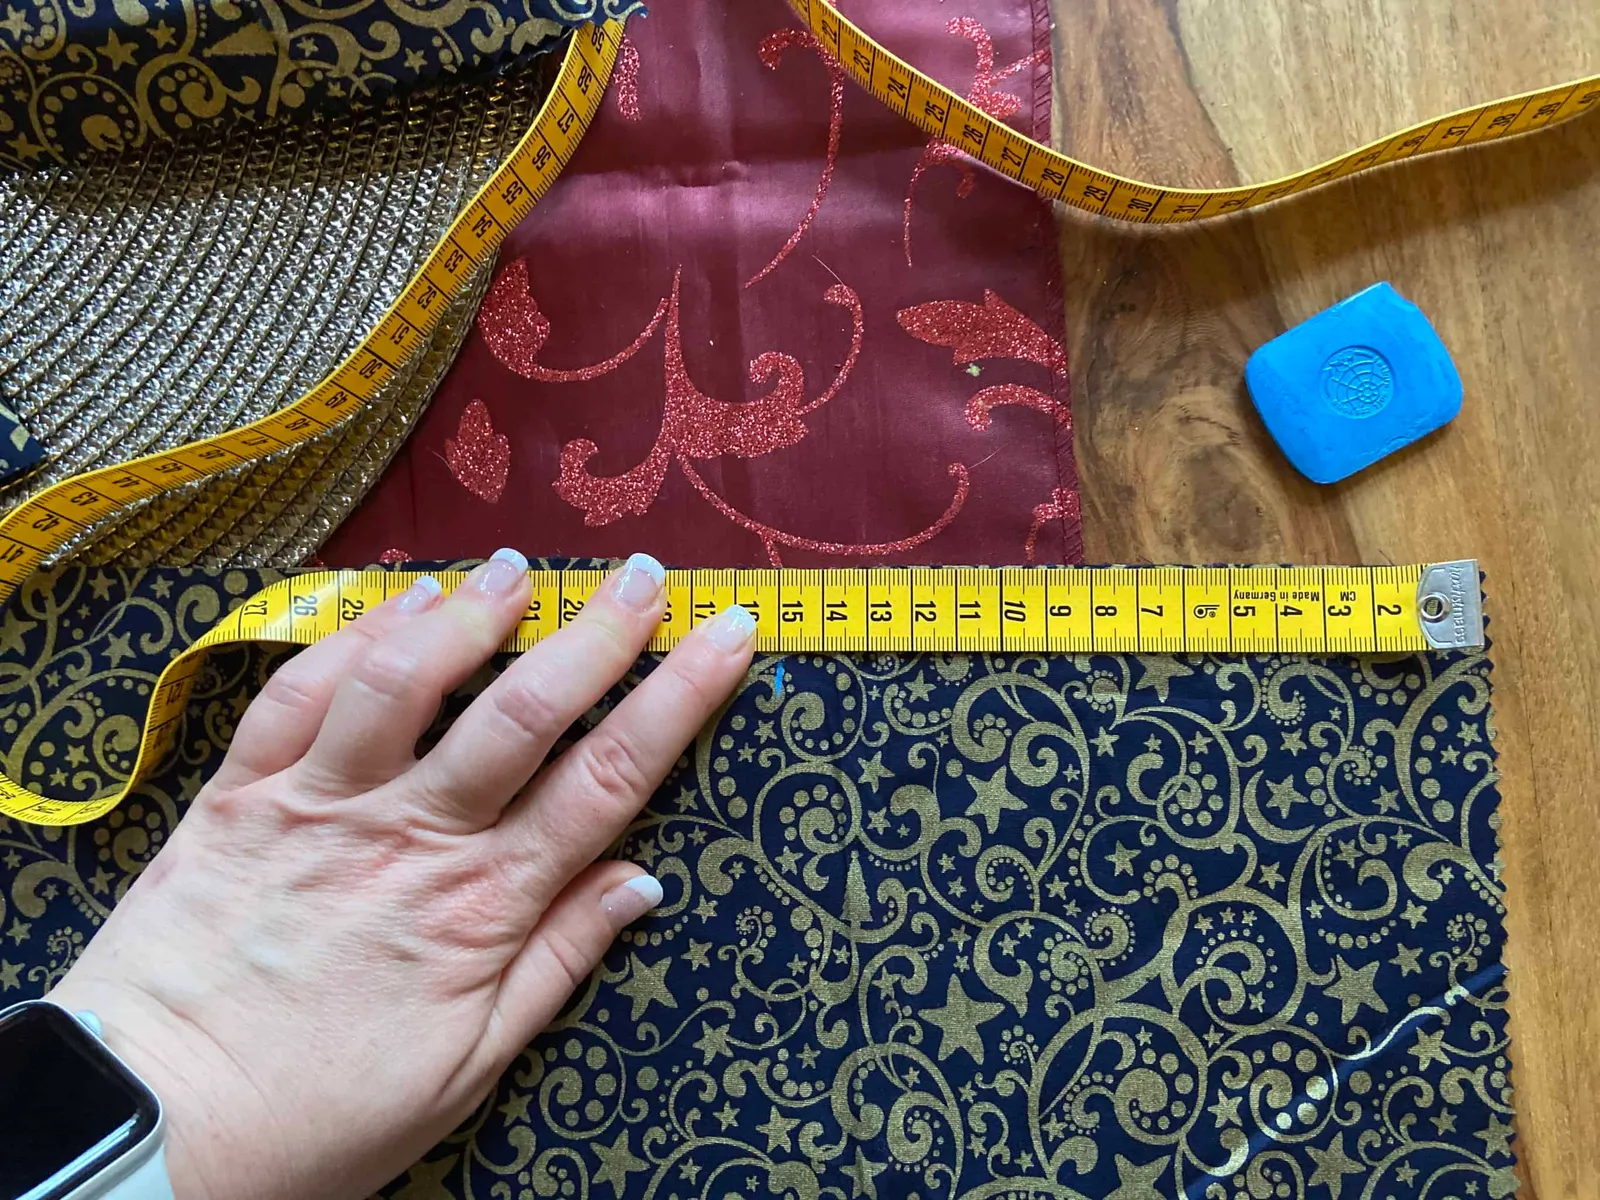
Take the fabric, mark your length and width, and start cutting.
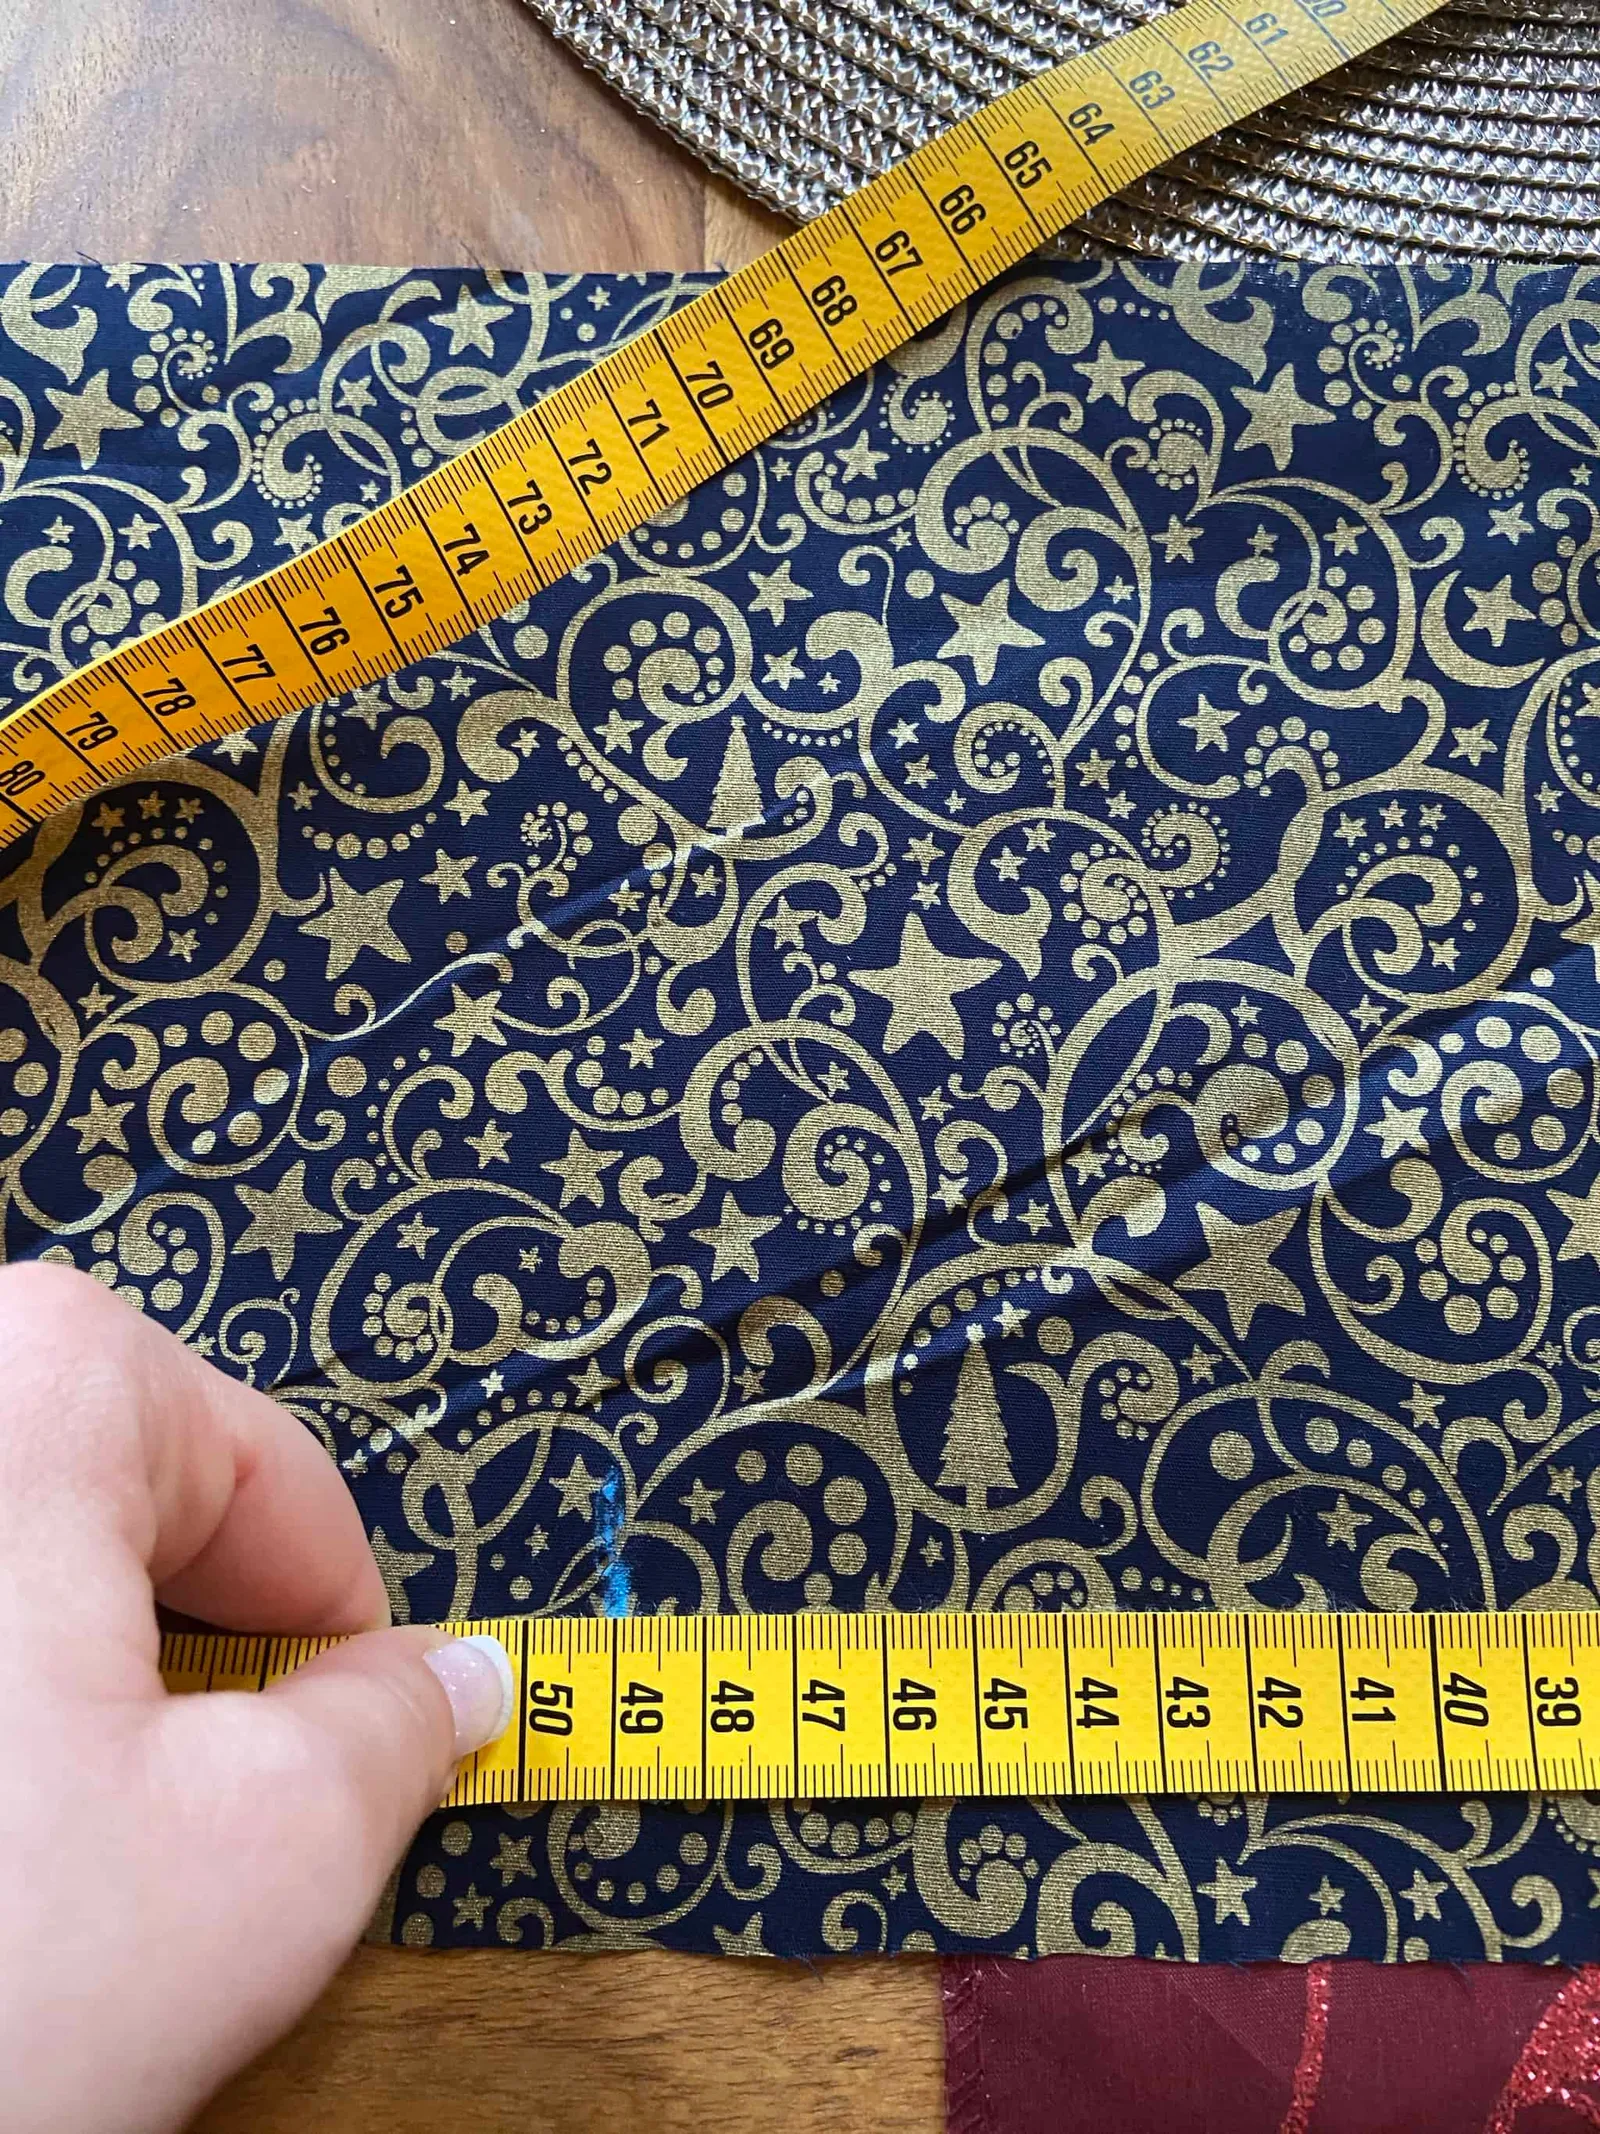

Next comes the rectangle for the bow tie. I used the following measurements:
- 20 cm x 15 cm
Again, mark the measurements on the fabric and pick up the pinking shears.

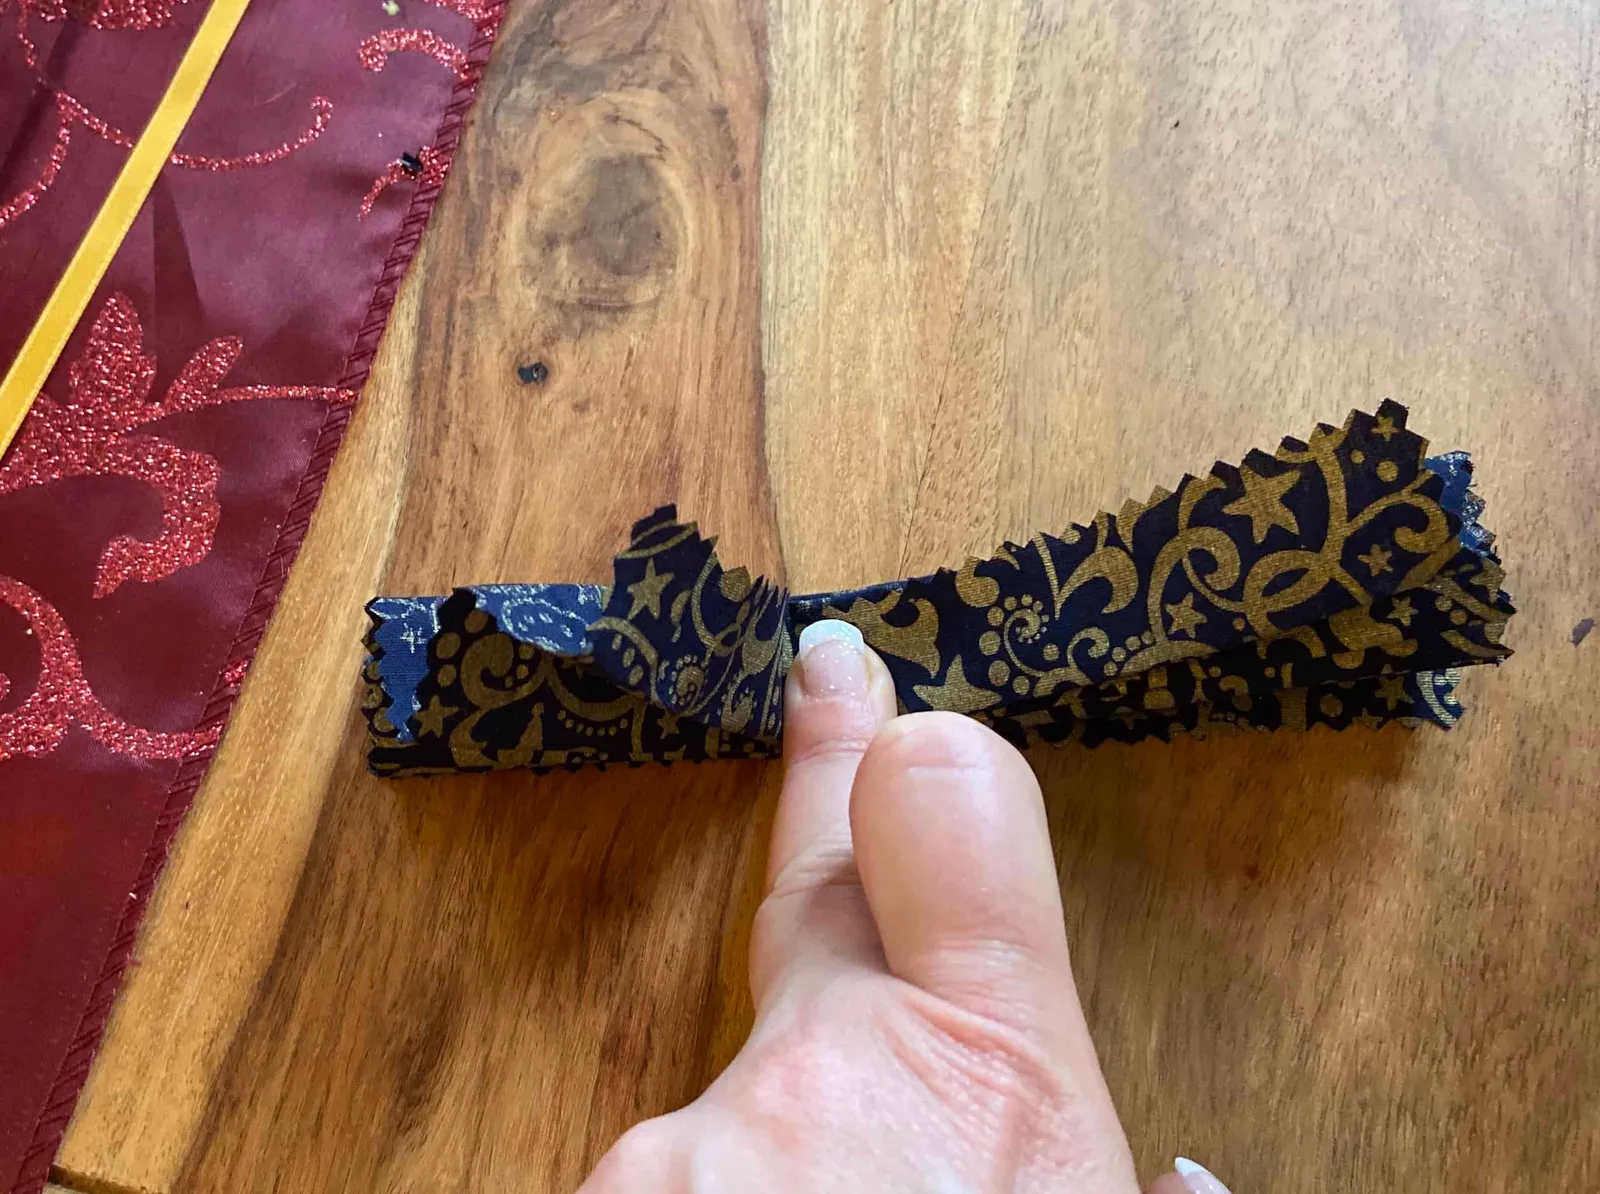
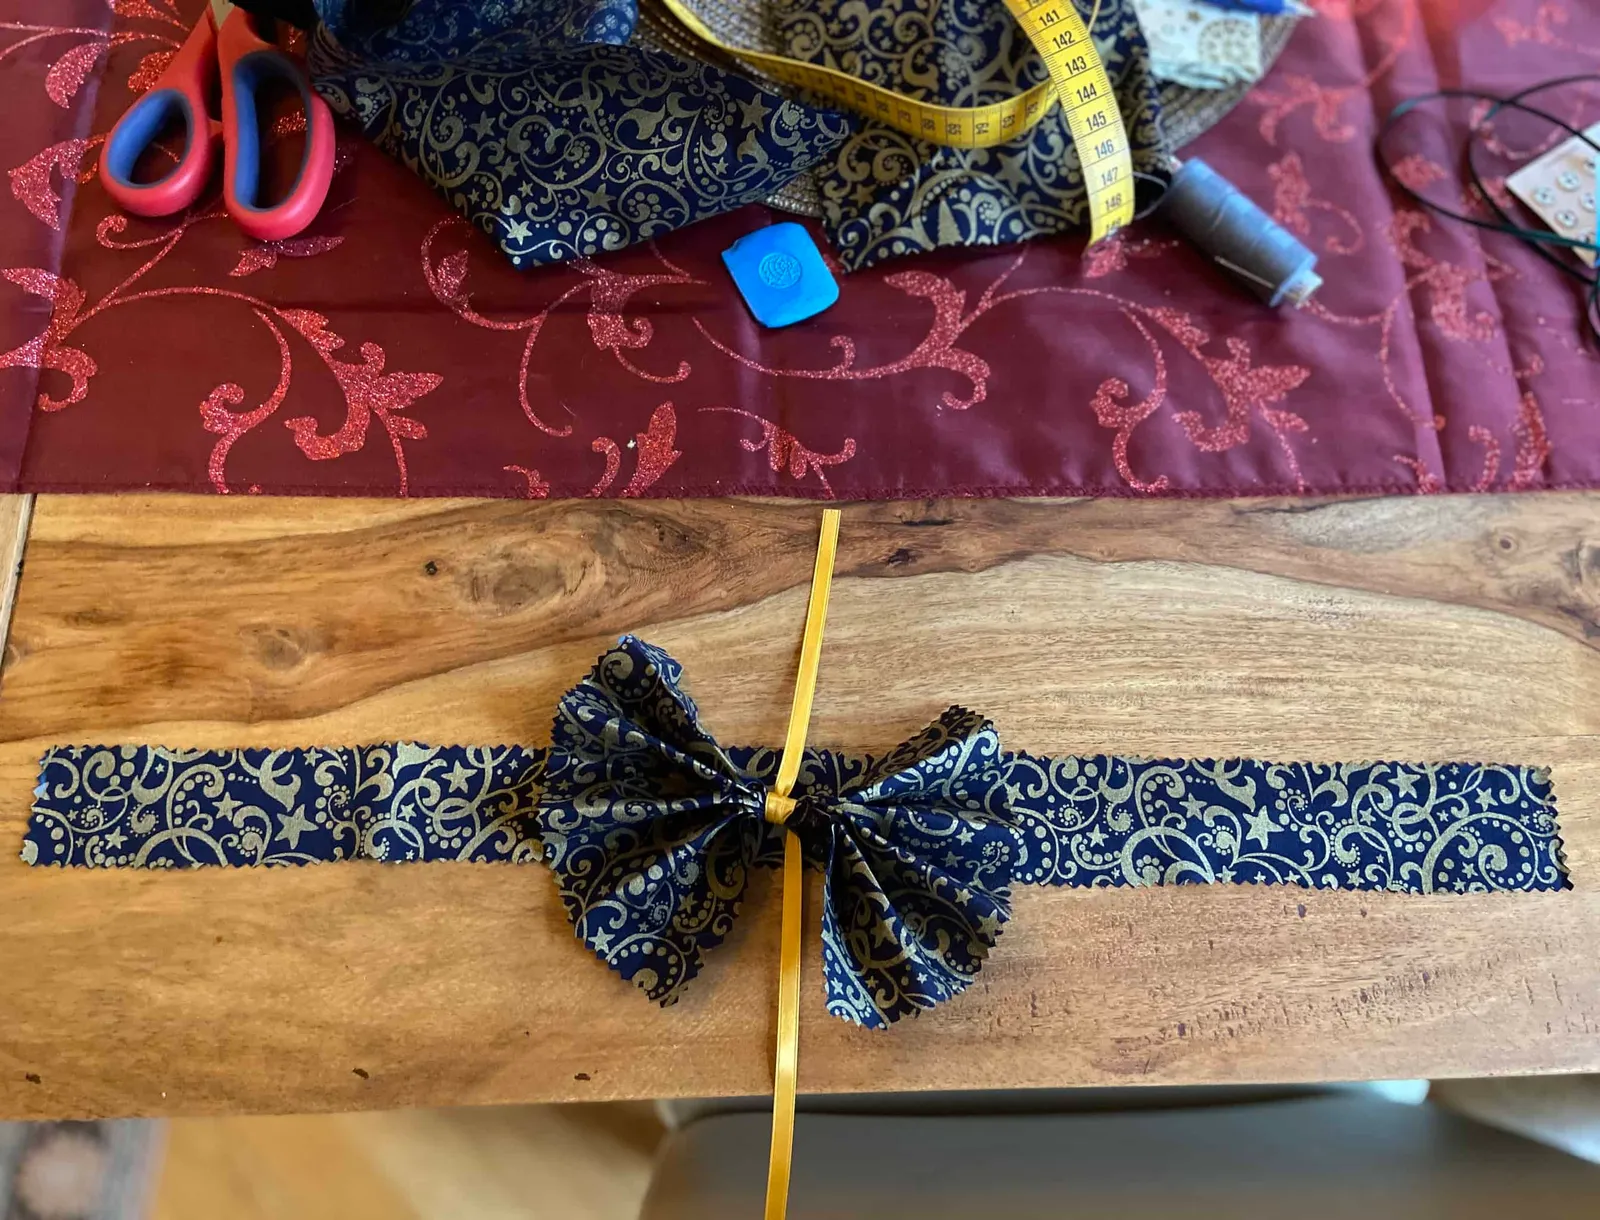
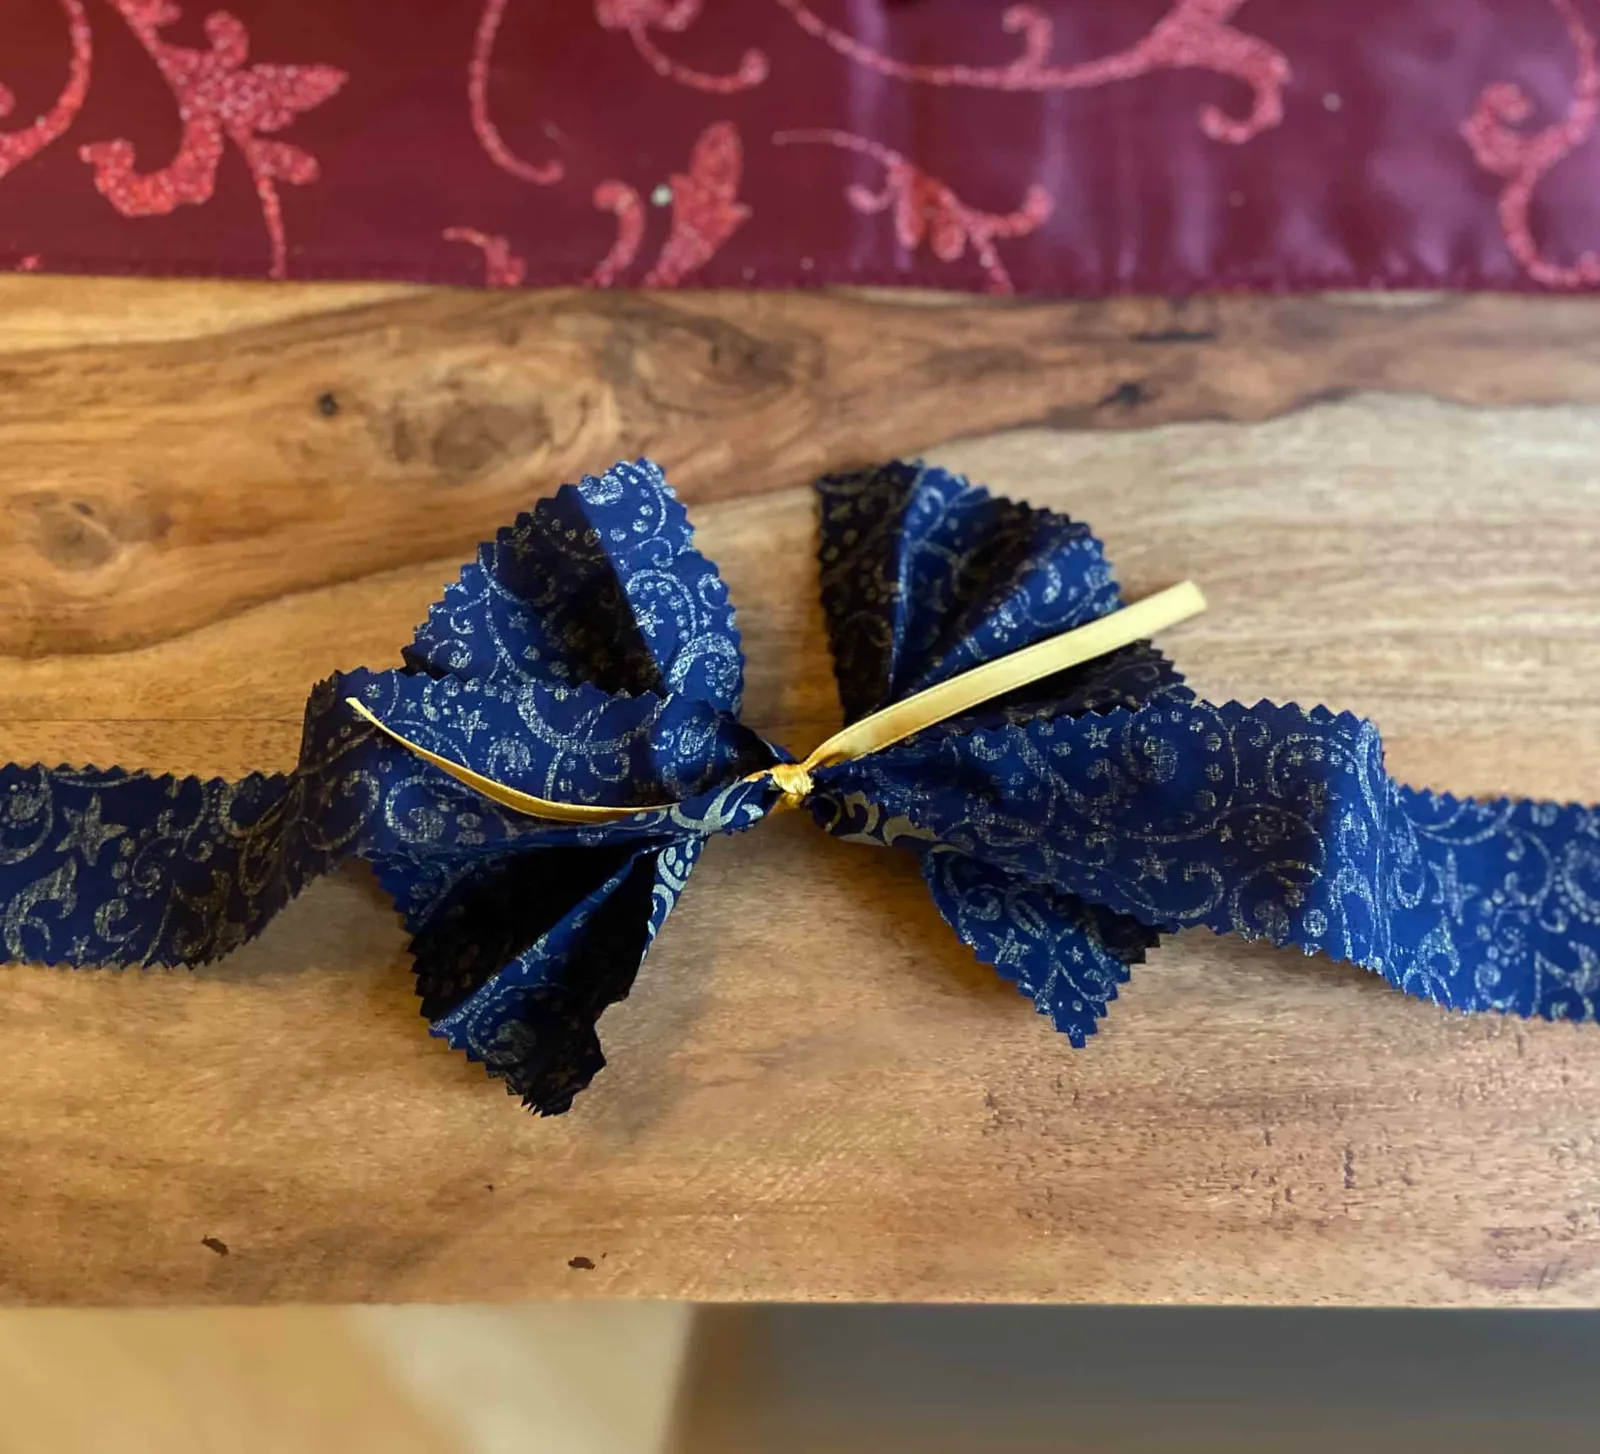
Once you have the rectangle, hold the fabric at the short side and start folding the long side evenly. Keep the satin ribbon within reach, as you'll now wrap it around the centre of the fabric. Knot the satin ribbon at the back of the fabric, but leave a few cm free at both ends. Can you already make out the bow tie shape?
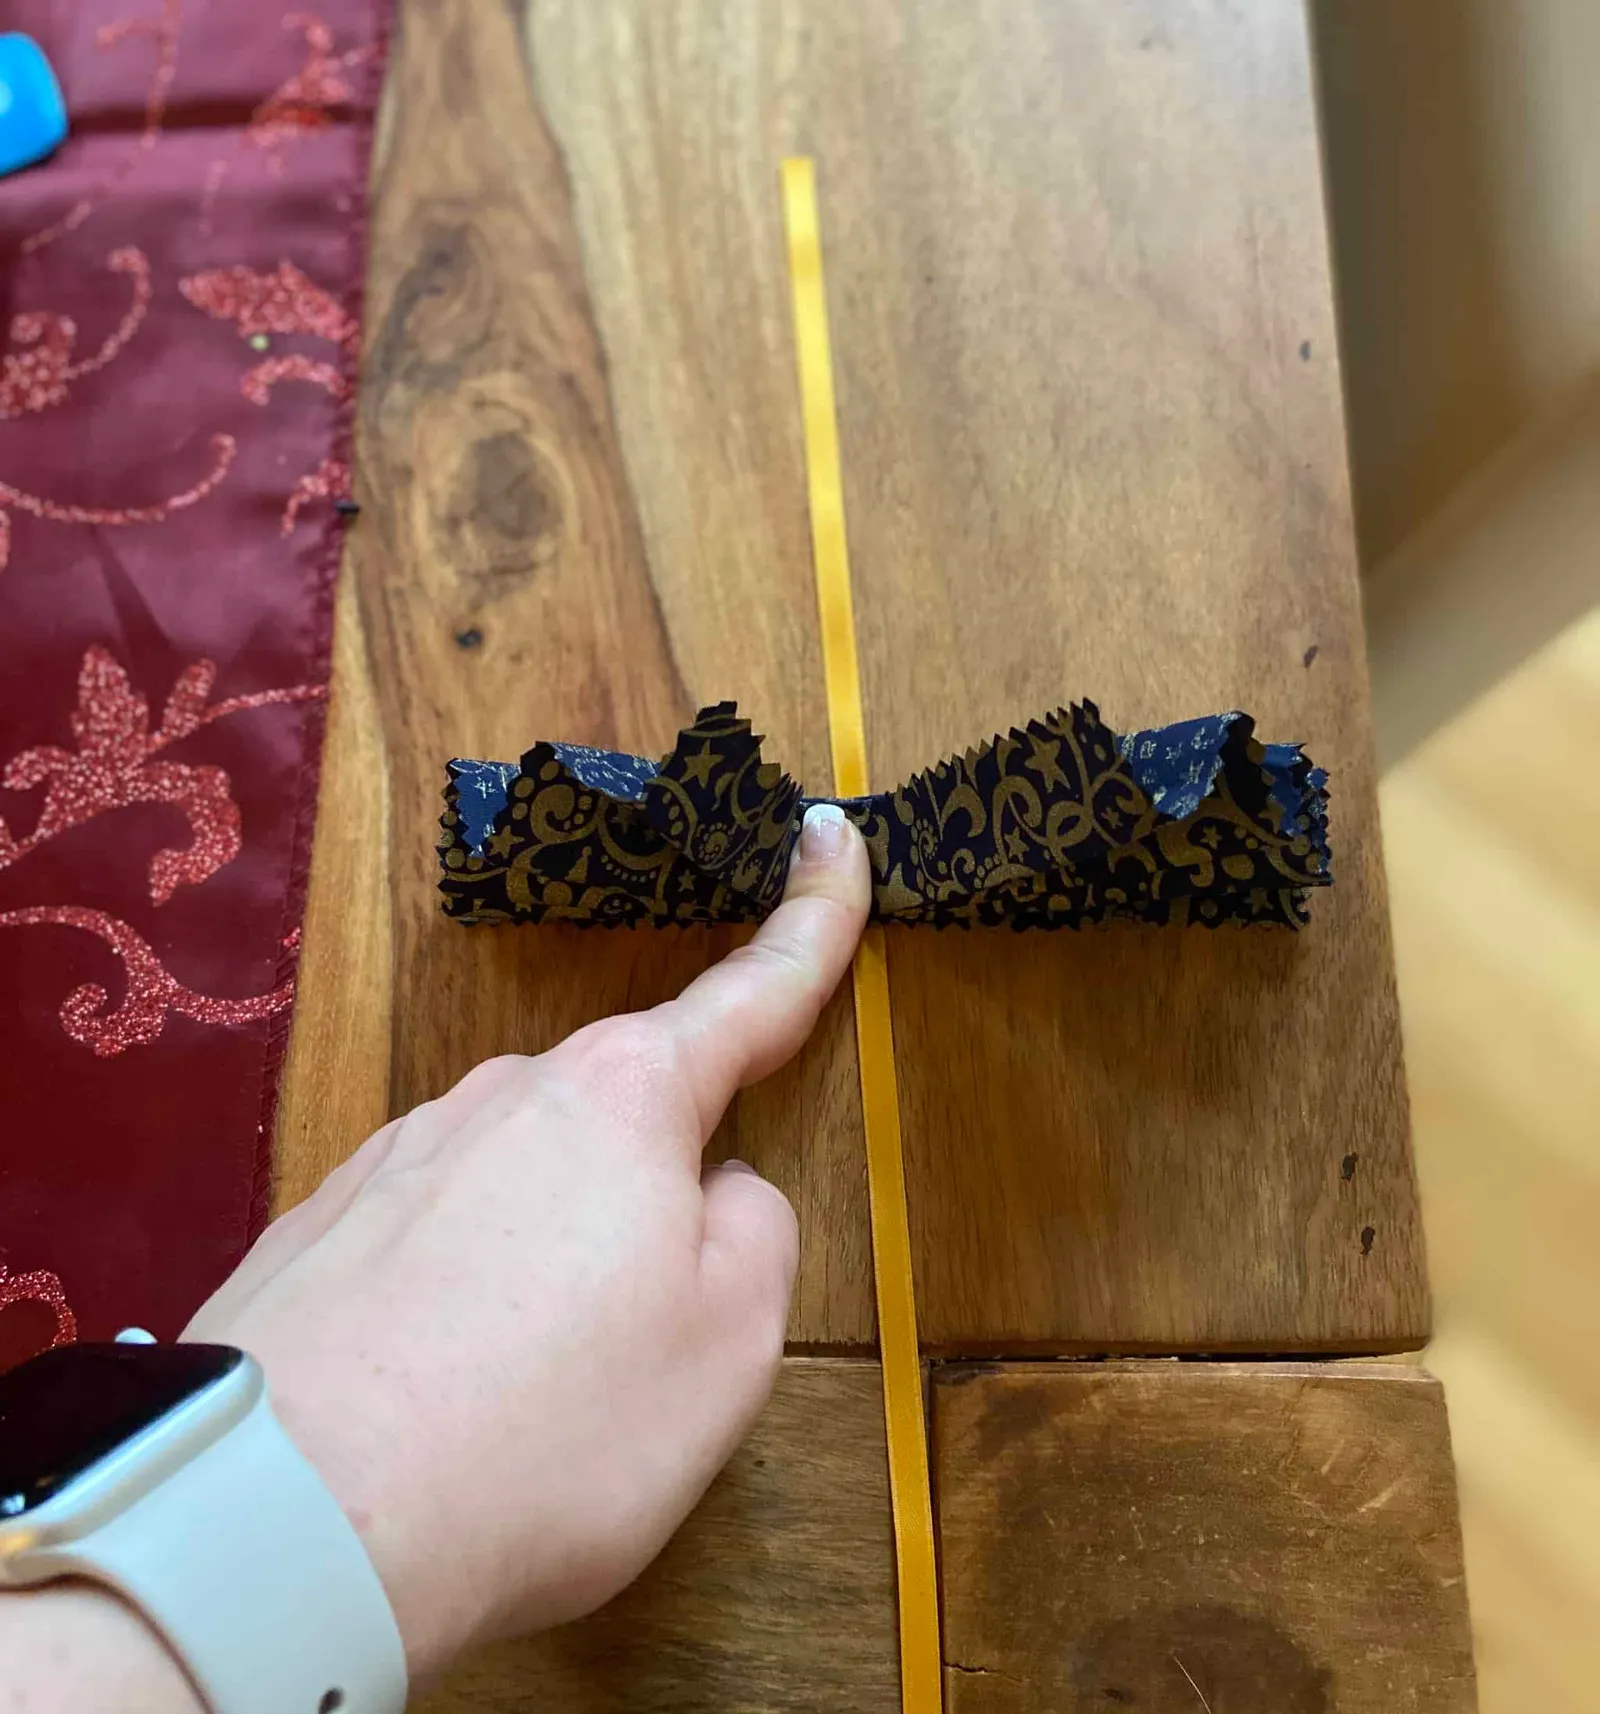
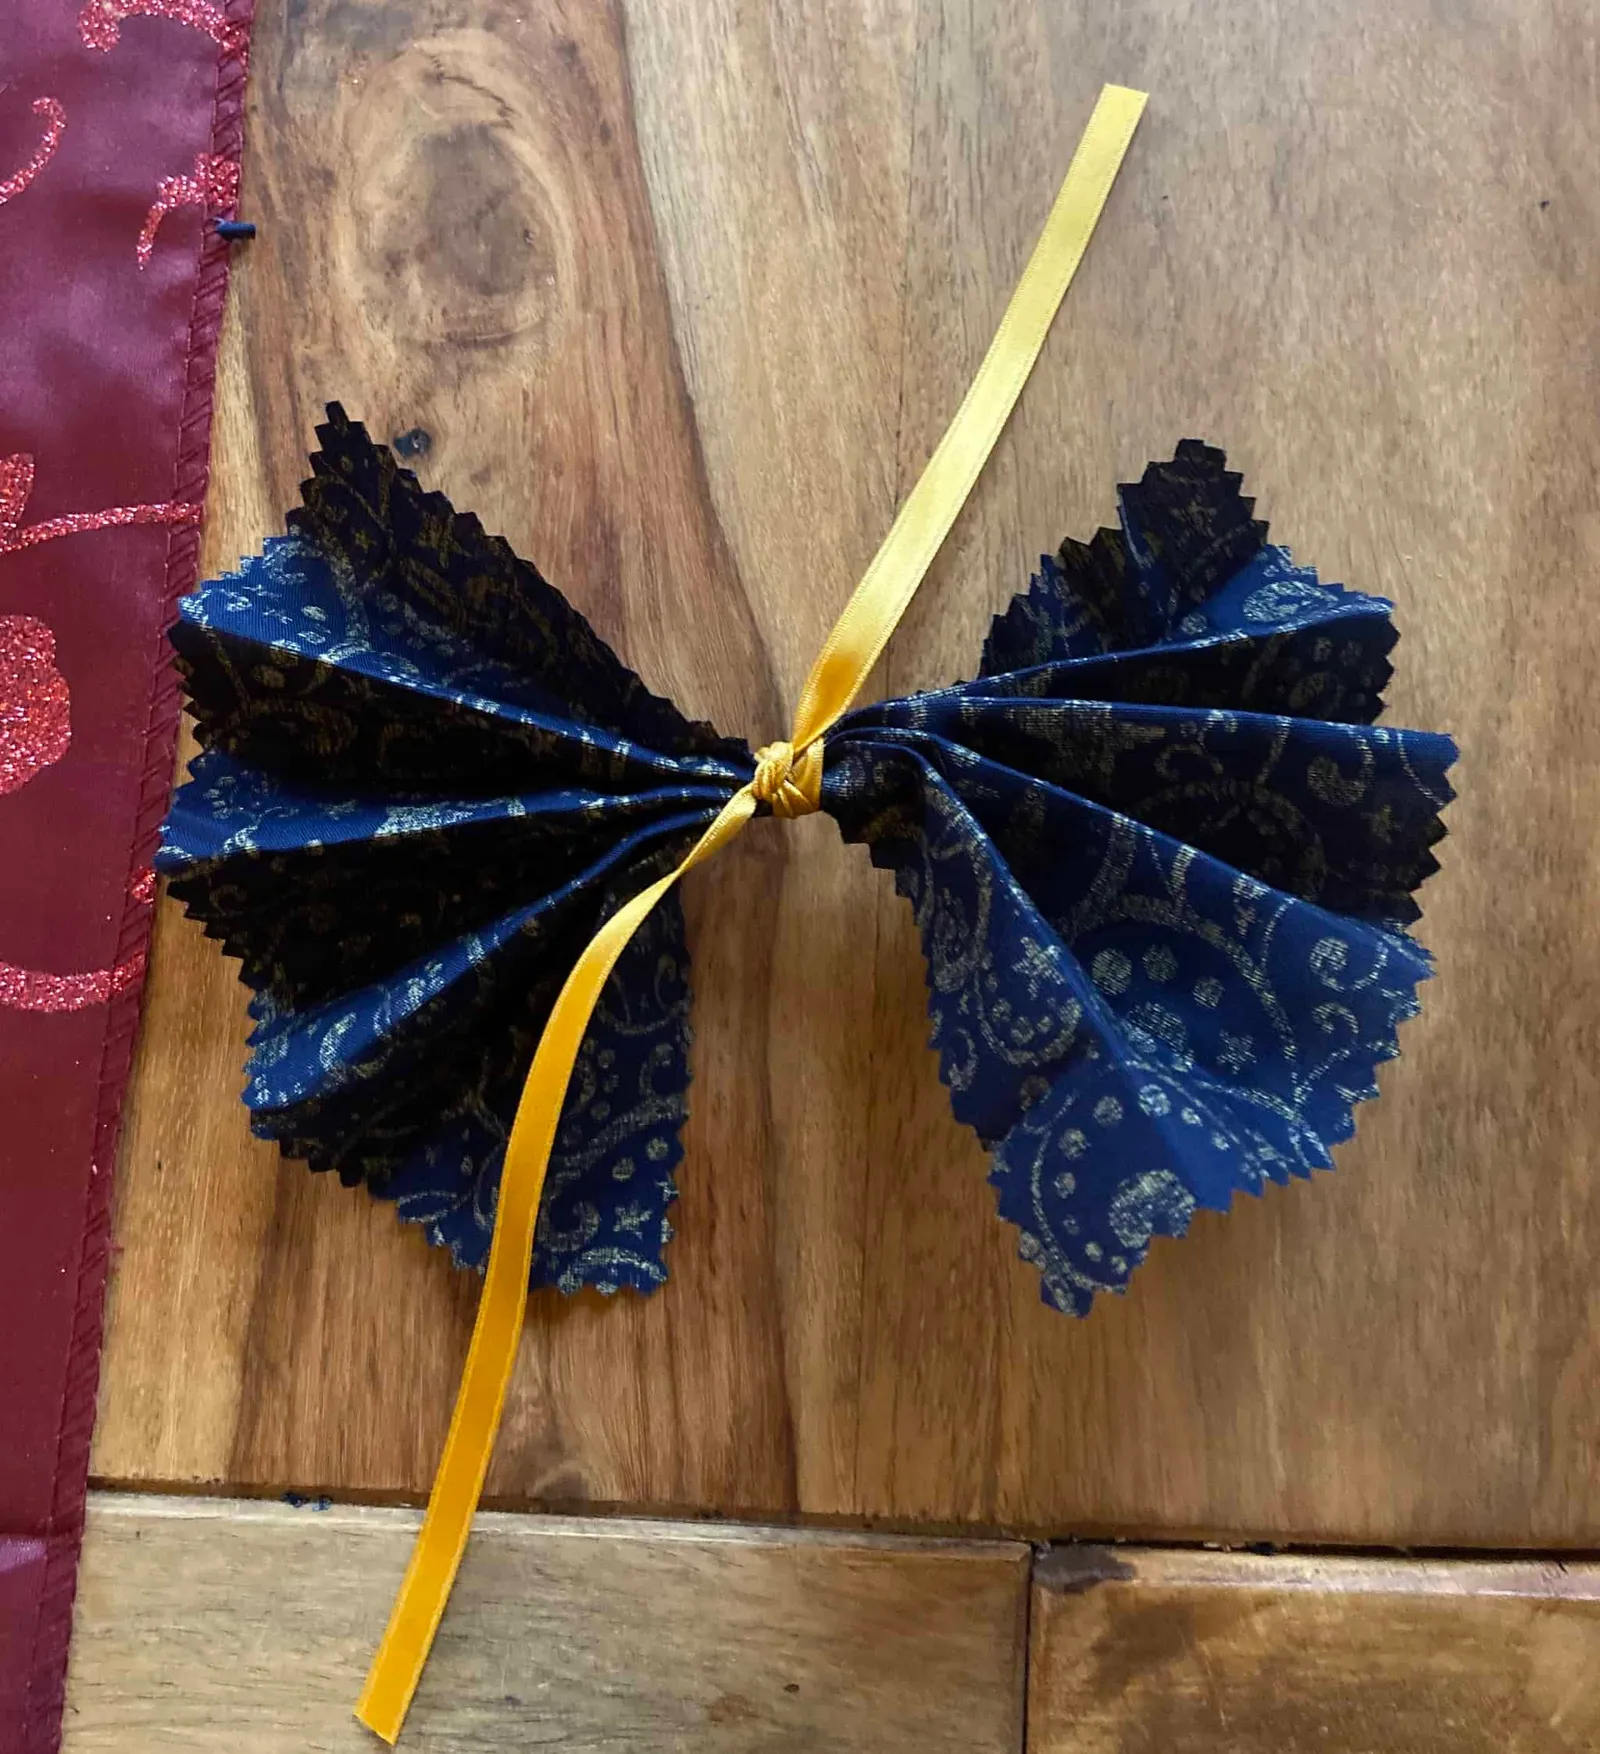
Now place the bow tie at the centre of the fabric band you cut first and secure it there with another knot. I also wrapped the ribbon once more around the bow tie and the band and knotted it at the back. This made the bow tie align nicely parallel to the collar.
A little sewing is still required ;)
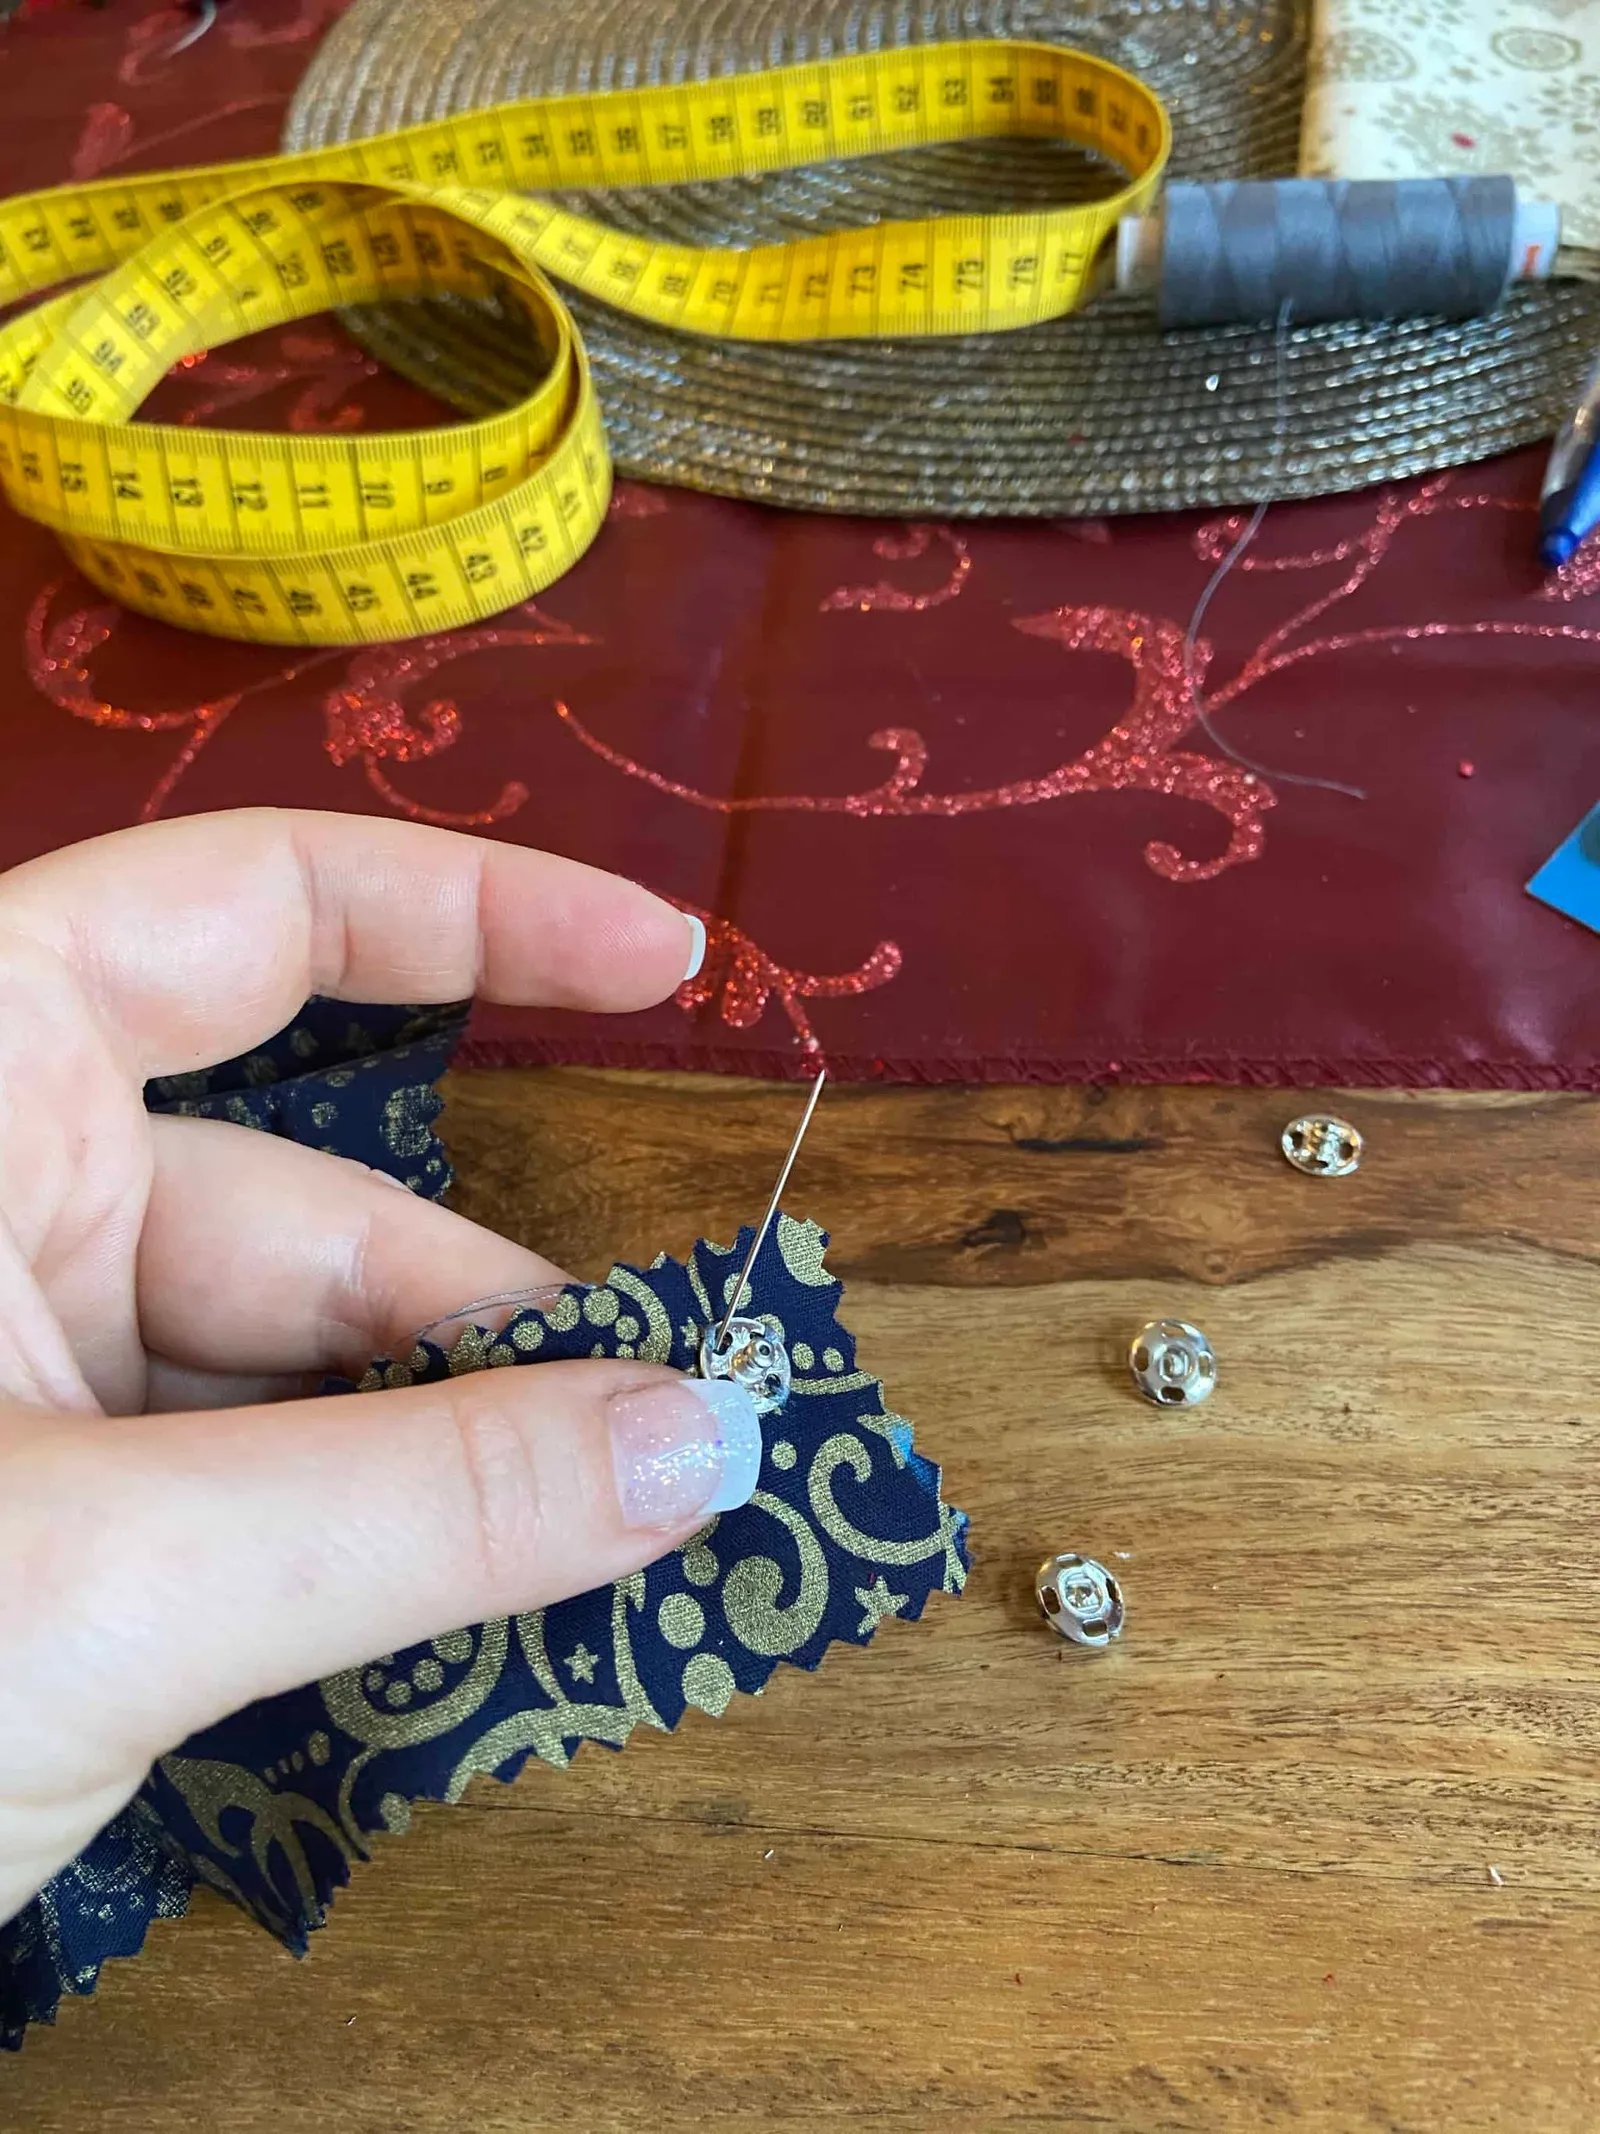
We're almost done and the outfit is already looking the part. But somehow the whole thing needs to be fastened around the Christmas dog's neck. To make sure the bow tie sits neither too tight nor too loose, hold the band up to the neck and mark the points where the press stud or Velcro should be sewn on.
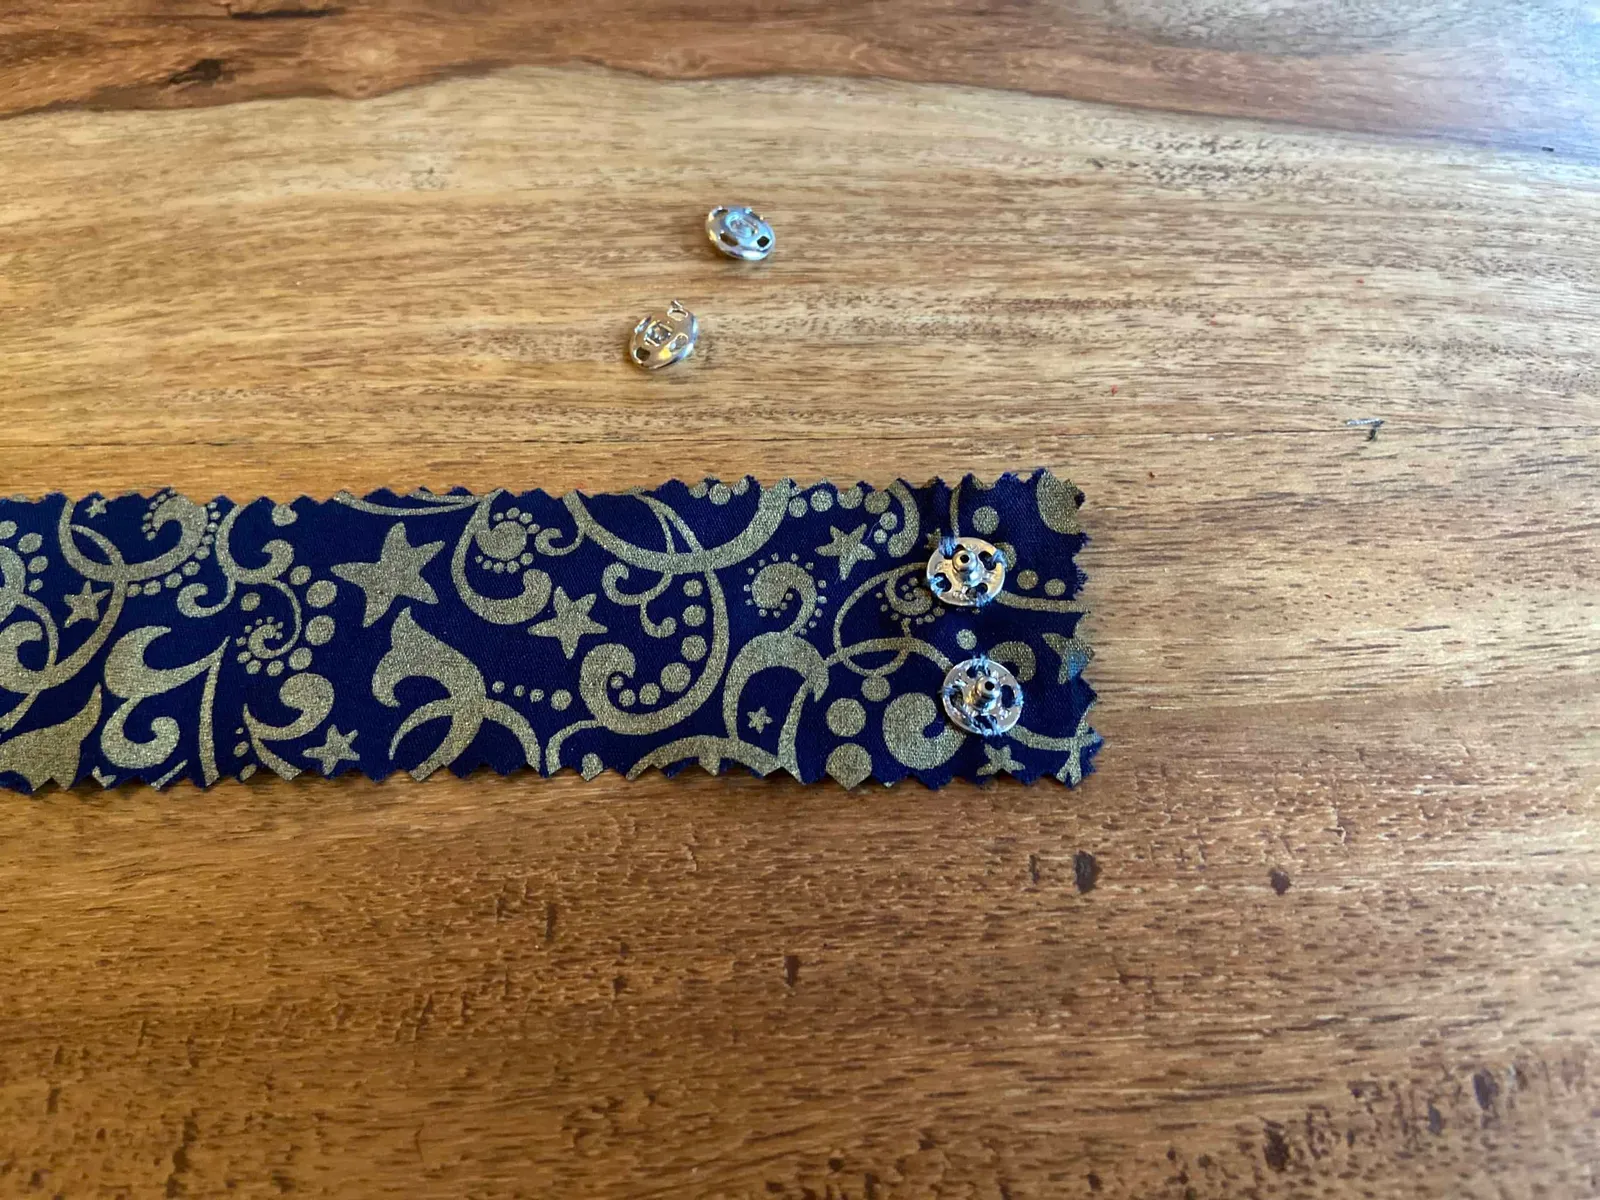
Use needle and thread to attach the fastening of your choice. The wider the band, the more press studs I would use, so that the band is held together evenly and neatly. And please make sure the parts of the fastening are placed on the correct side of the collar band (photo 3 below).

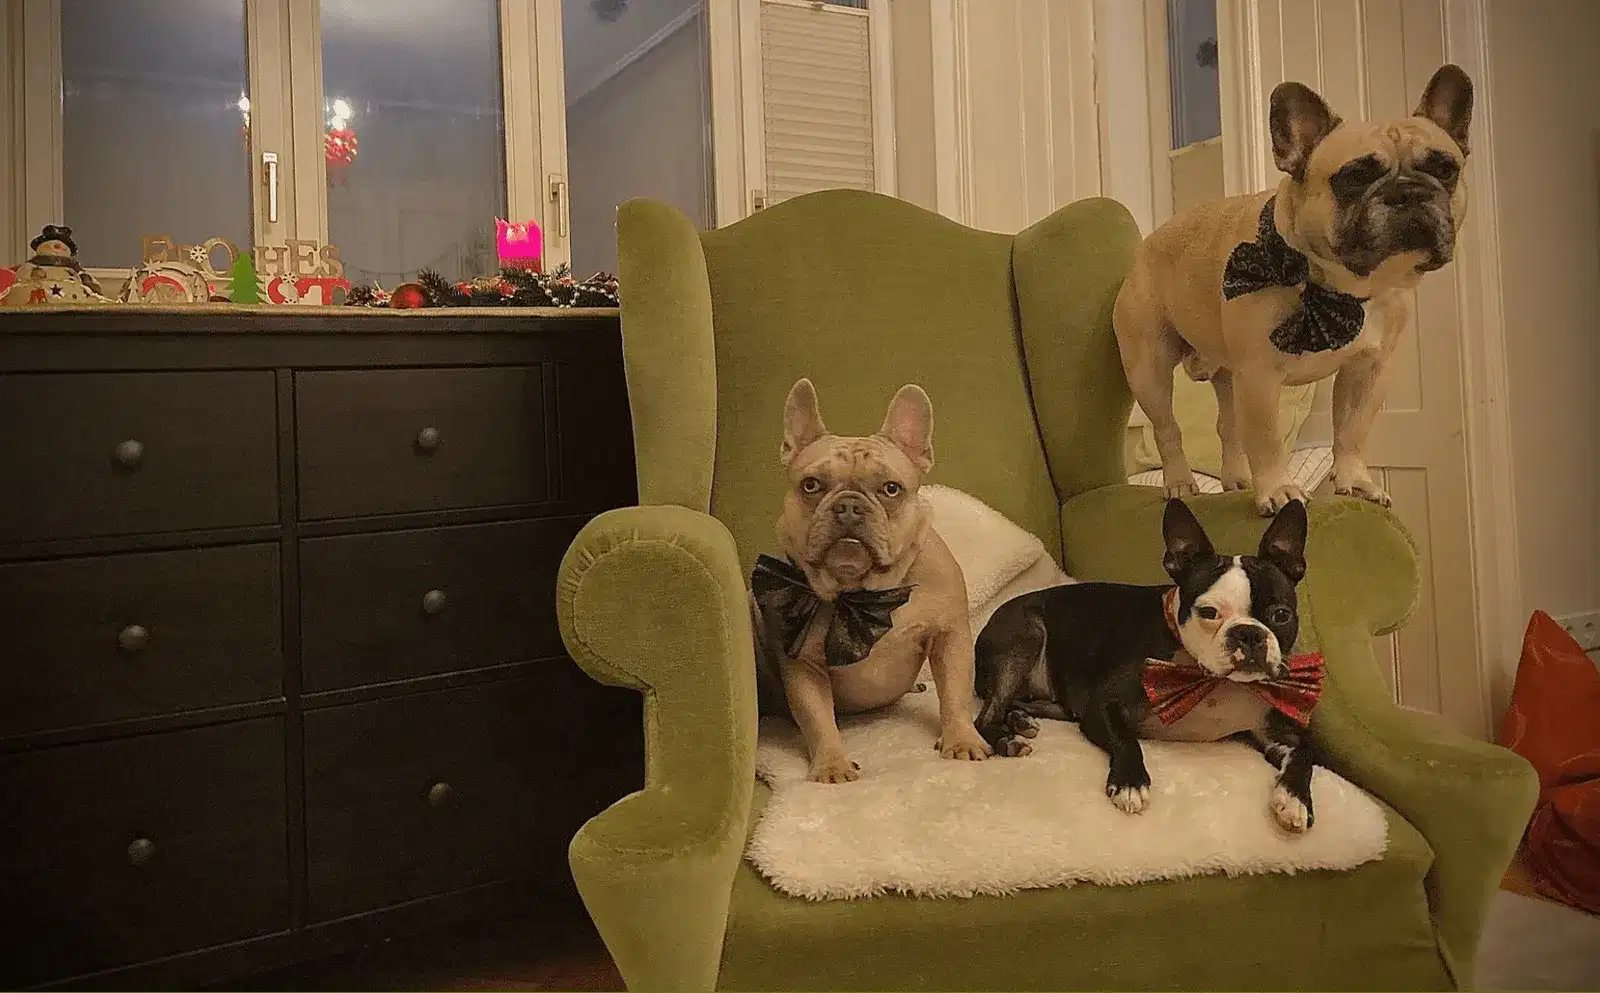
Let the Christmas dog wear the bow tie
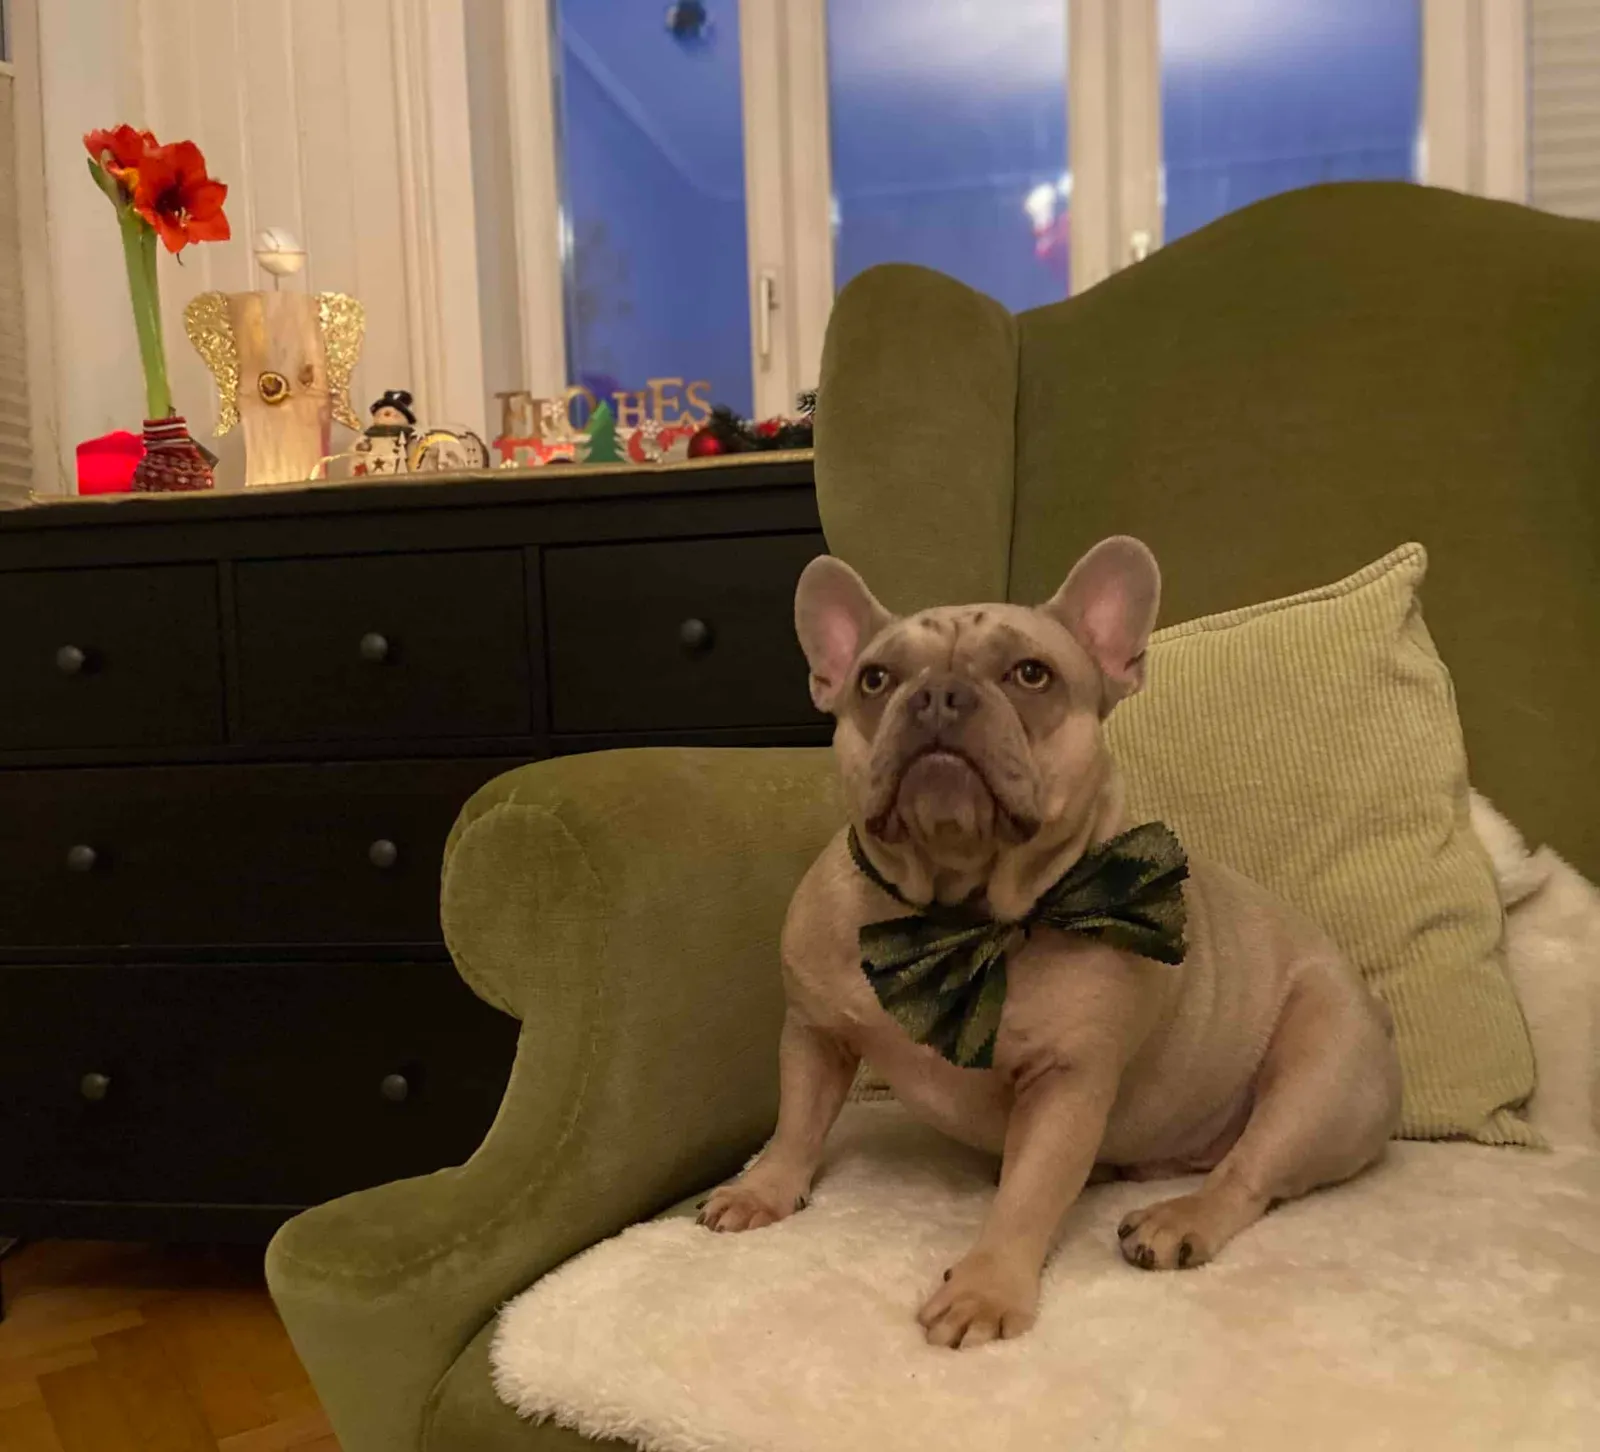
The festive bow tie is now finished and will have your pup shining in a dapper outfit on Christmas Eve. With this bow tie — reminiscent of a little gift bow — our sweethearts really do look like the most special presents. And aren't they all?
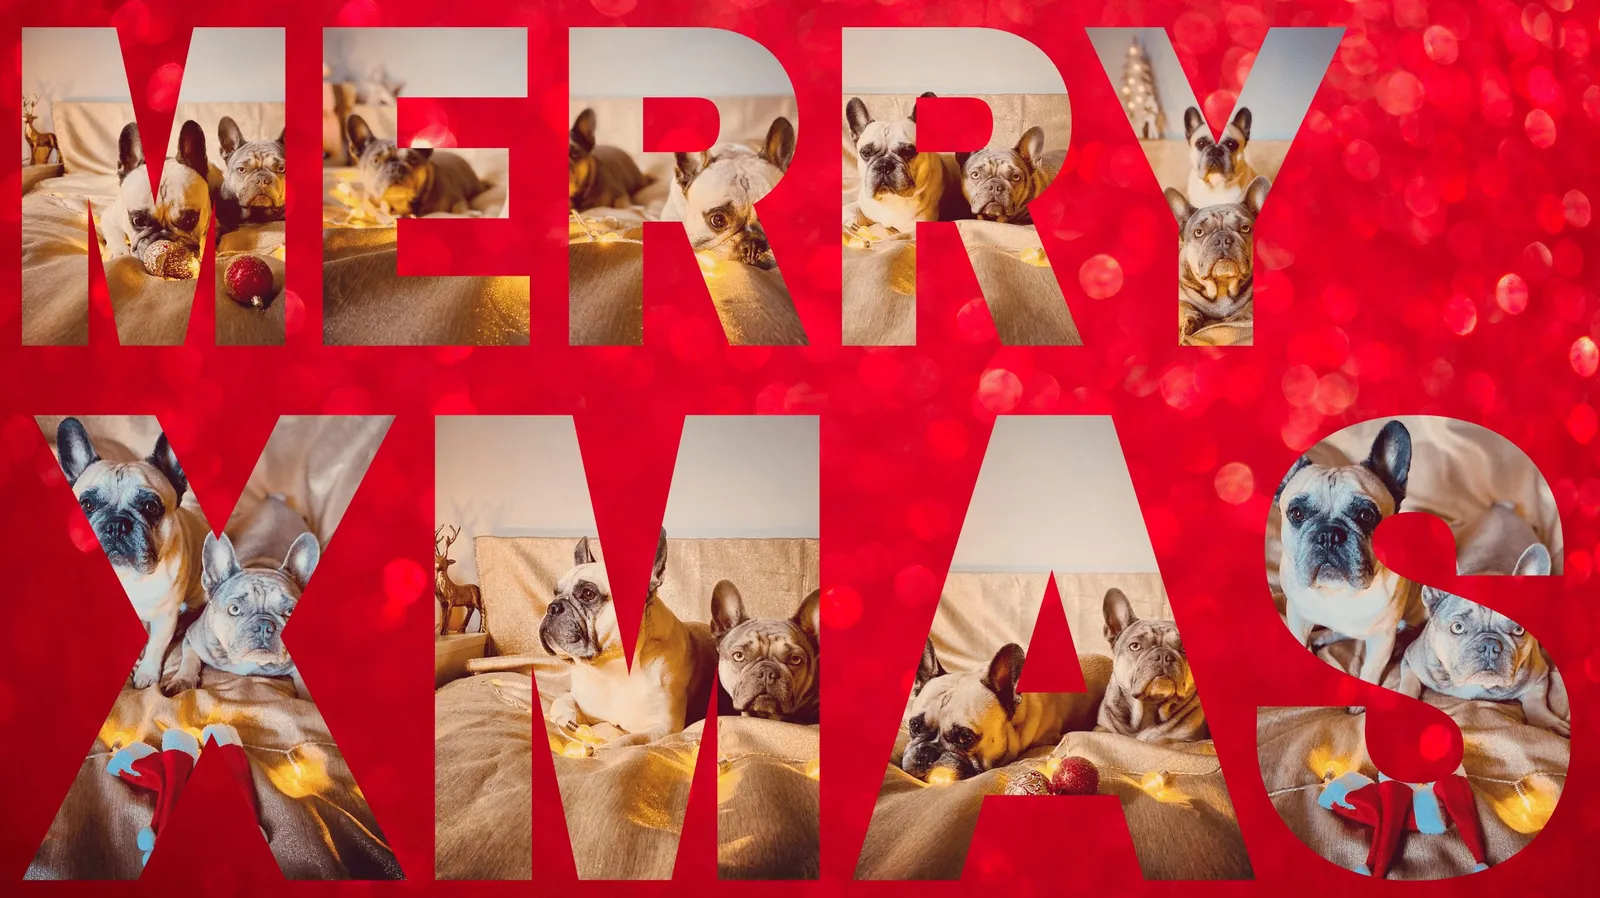
Gifts from heaven

We wish you and all your loved ones a very Merry Christmas,
a peaceful celebration and a restful holiday season!!
Take good care!